Julia Bobbin Header Image and Menu Past Projects Tutorials Celebrity Copy Cat Awards About Me
Showing posts with label bias silk. Show all posts

Friday, 13 March 2020

TWO Tutorials - Couture Rolled Hem + Hand Pick Stitch AND a Silk Slip Dress

julia bobbin
julia bobbin

Hi sewing friends!

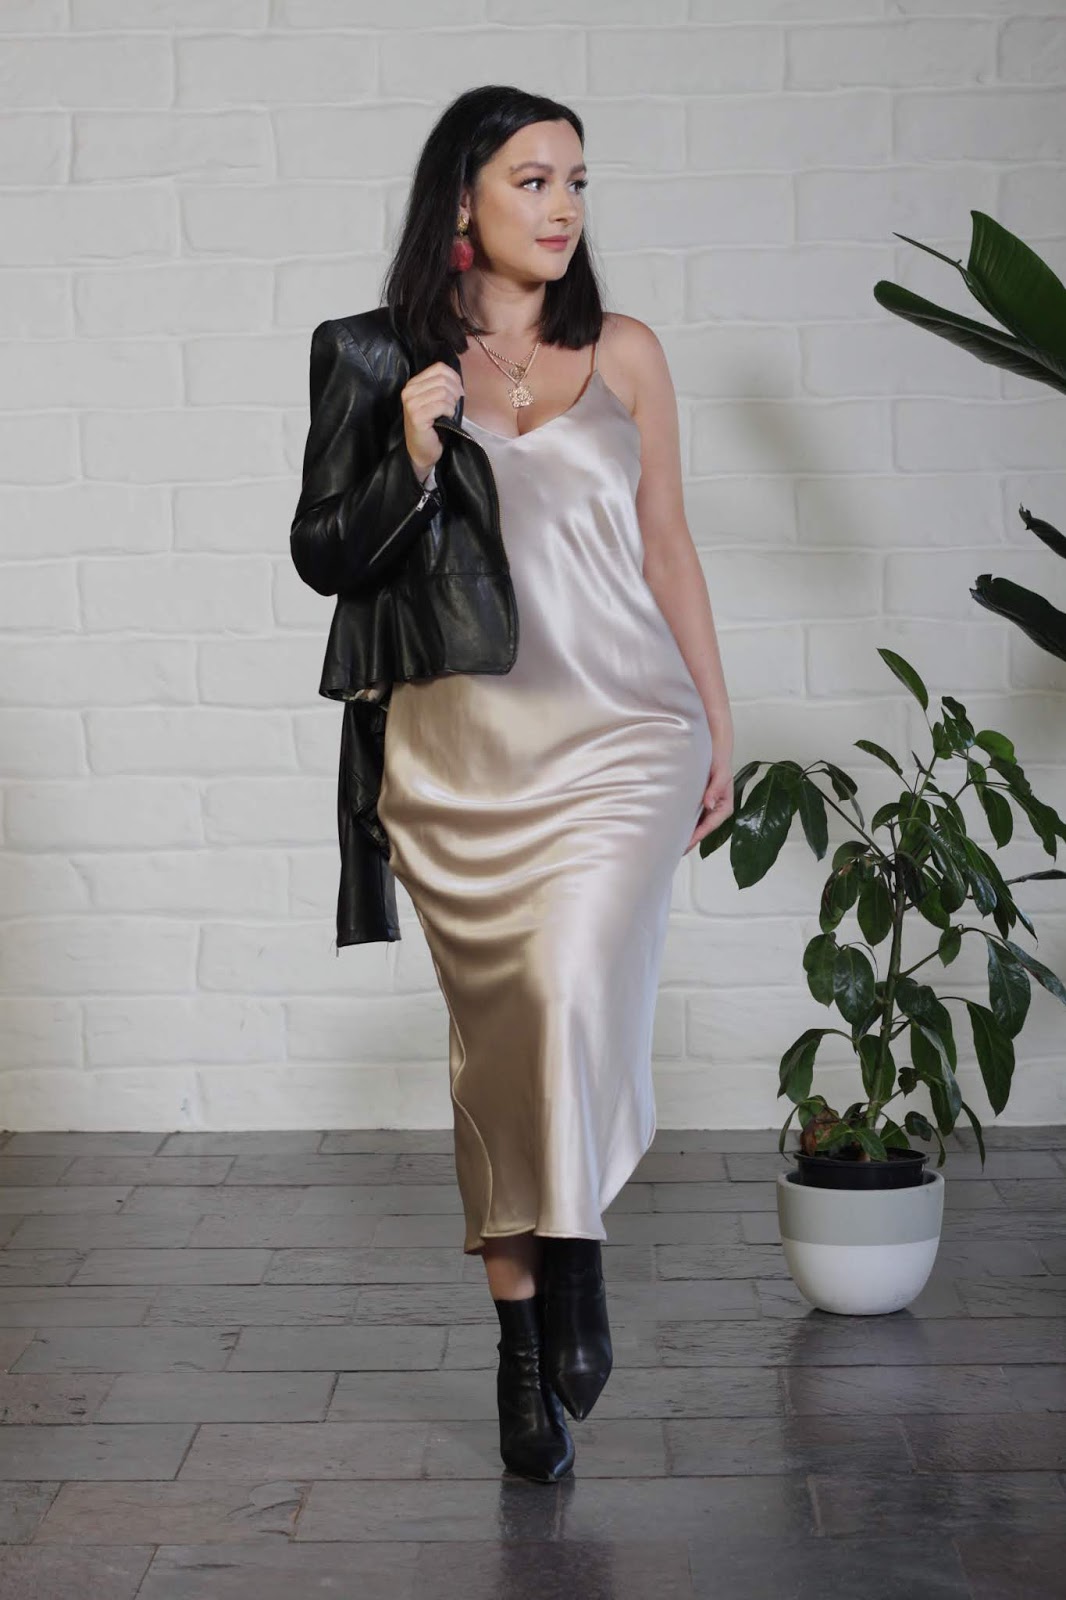
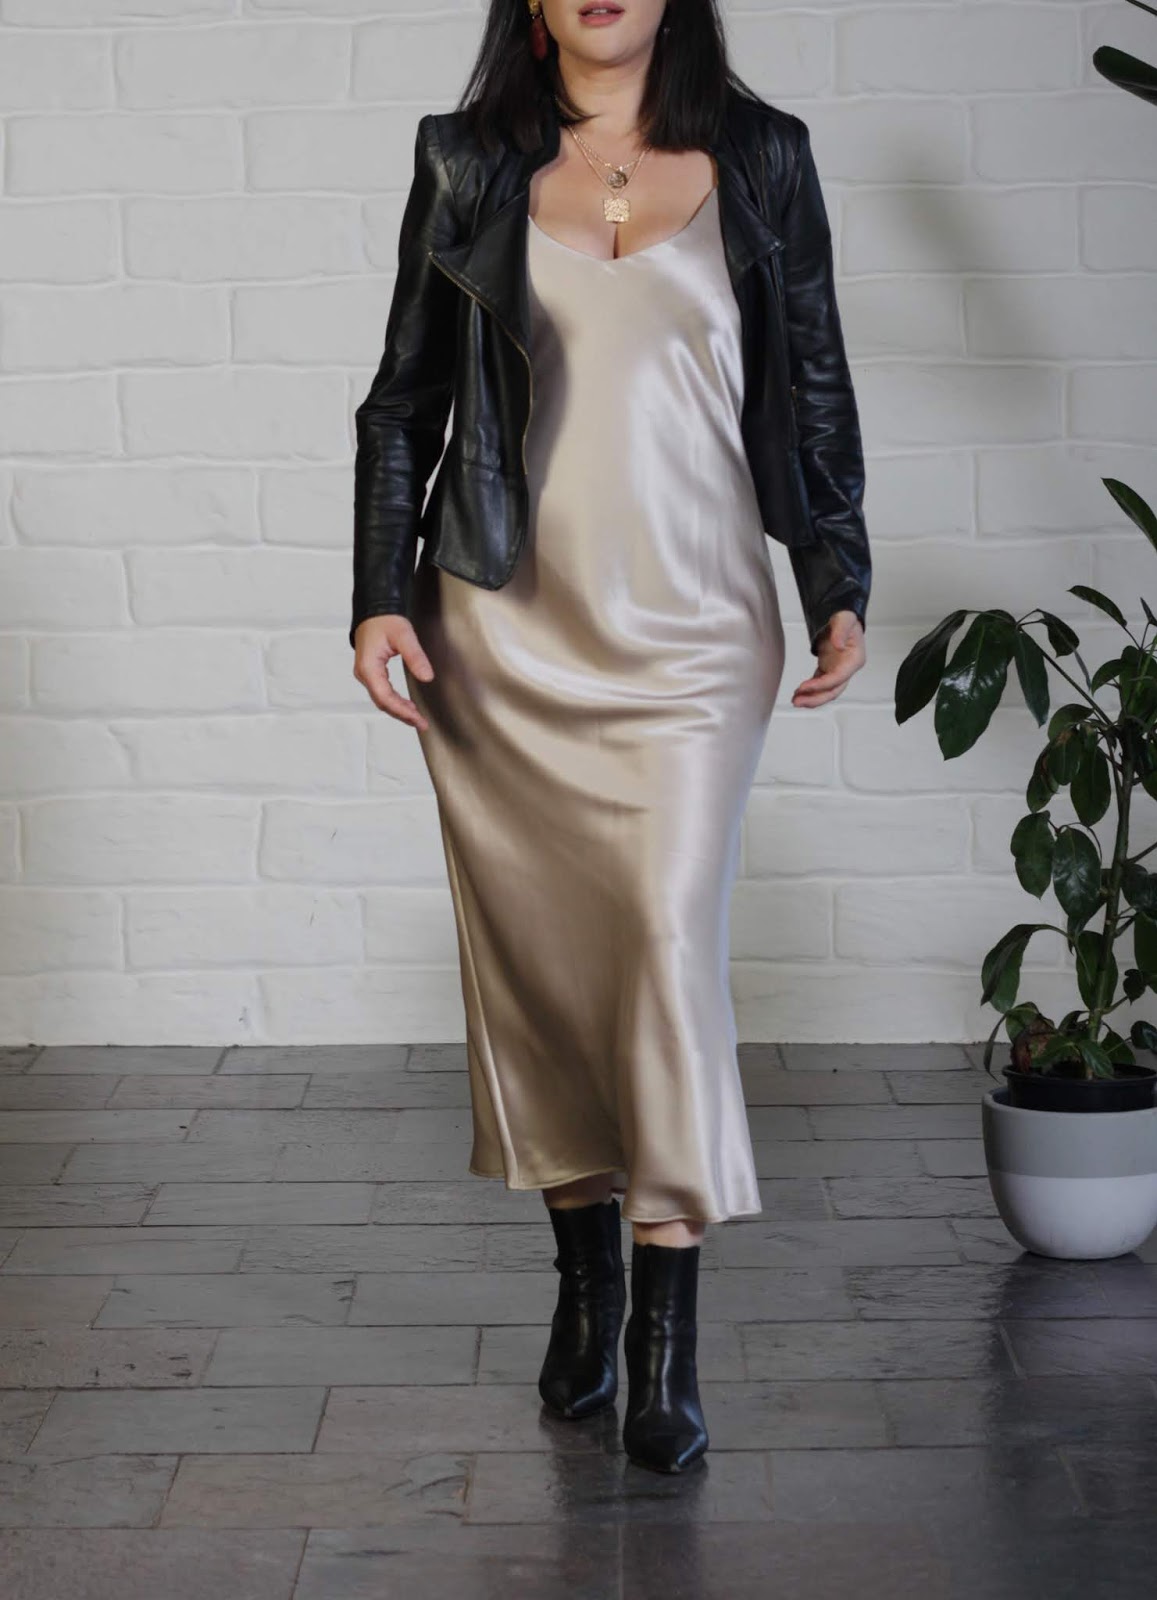
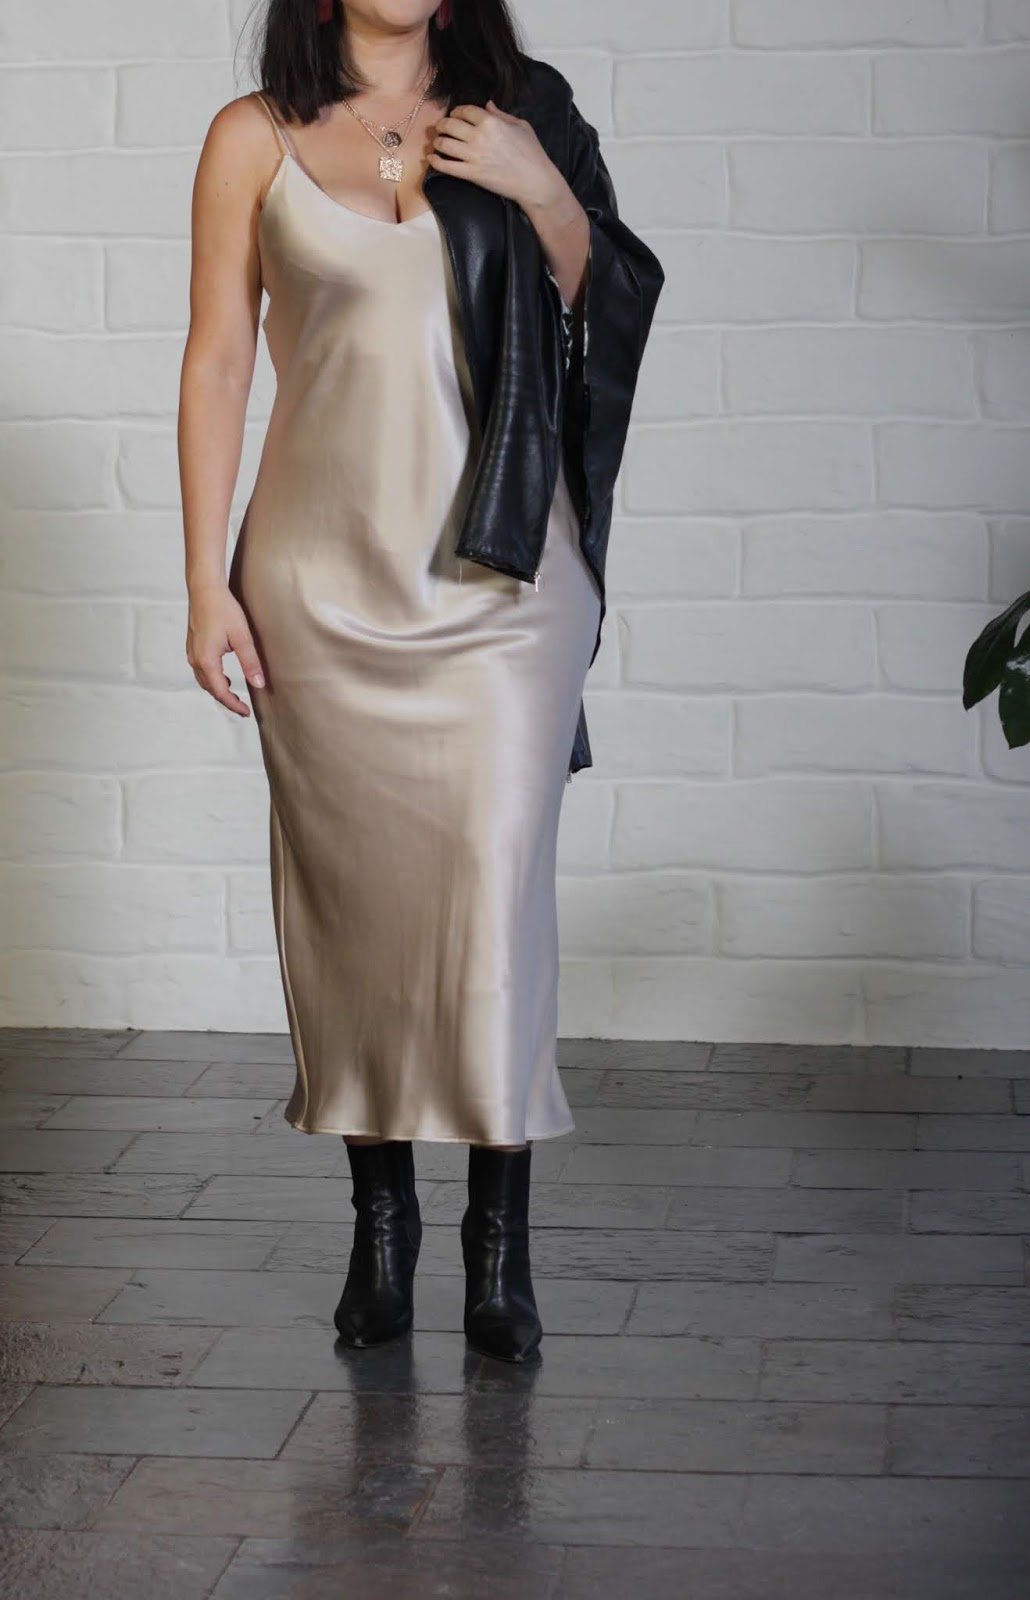
Today I have two mini hand sewing tutorials to share with you, and a fresh new silk slip dress!

The Dress

Made with the most divine, 22mm silk satin from Tessuti Fabrics, this self drafted cowl neck dress features:
  • fully lined in a beautiful chocolate silk satin from The Cloth Shop
  • French seams
  • Bias cut silk
  • pick stitched underlining
  • bias cut spaghetti straps
  • hand rolled hem
I love taking a simple dress and making it 'extra' by adding couture techniques, such as a hand pick stitched lining instead of a machine under stitching.

Hand Sewing Is Your Friend!

Typically, when we think about hand sewing we associate it with 'hard work', but friends, I am here to tell you that hand sewing is misunderstood!

I used to do everything I could to avoid hand sewing, associating it with the chore part of making a garment; necessary but not enjoyable.
Looking back I realised that the reason I felt that way is because I never really understood HOW to do it, and didn't appreciate how transformative and useful it was to a garment.

Once you realise the benefits of hand sewing and learn how to do it (it's actually easier than using a machine!) the dread is taken away. In fact in my experience I now actually enjoy it! Now I look at patterns to see where I can actually substitute machine sewing for hand sewing.

So what are the benefits of hand sewing?
  • AESTHETICALLY PLEASING - there is nothing quite like hand finished details on a garment. It signifies couture and indicates the amount of effort and love put into a garment. The slight variations in stitches that are typical of a hand stitch, are in stark contrast to the uniform flat stitches of a machine.
  • THE CONTROL - Hand sewing allows you to be exact. You can manipulate the fabric in front of you and place it exactly where it needs to go. 
  • KINDER TO YOUR GARMENT - When you sew on the machine, you're forcing your whole garment under one small space, the needle. With hand sewing, you can sew with the garment on your lap, on a dress from, standing and sitting. You work on just the relevant area and don't add stress to the rest of the garment.
  • DELICATE FABRICS -When sewing with fabrics such as silk, hand stitching allows you to use less thread, and control the amount of layers you want the stitch to go through. On a machine the thread is continuous and goes through all of the layers, which can distort the fabric. Ever tried sewing a machine stitched narrow hem on bias cut silk chiffon? It's almost inevitable to end up with a hem that is twisted in some spots. This is basically non existent on a hand rolled hem.

The Hand Rolled Hem

SWIPE for left and right-handed views.

I am currently having a love affair with hand rolled hems. It just seems to be one of those things that once you've tried it, nothing else compares.

Not only is a hand rolled hem visually pleasing with it's tube like plump finish, it is also mesmerising how it works! Making those stitches and then pulling the thread and watching them roll, is some sort of sewing magic. WATCH the first video above to see it in action!

As with anything, there are many ways to roll a hem, but the above is how I do it.
There are two types of finishes for a hand rolled hem: The Italian and The French finish.

THE FRENCH rolled hem has the roll turned to the 'wrong' side of the fabric, which is typical for dress and skirt hems.

Above is an example of a French rolled hem, where the roll is on the 'wrong' side of the fabric.
This silk/wool blend pocket square is from Gentelman's Gazette.
THE ITALIAN rolled hem, and my personal favourite, is where the roll is turned to the right side of fabric. 
This is a typical finish on couture pocket squares (my other current obsession) and scarves and a favourite for couture houses such as Hermes (which is French; the irony!).

An Italian rolled hem, the roll is visible on the 'right' side of the fabric. The above silk twill pocket squares are from Rampley & Co
The Hand Pick Stitch

SWIPE for left and right-handed views.

A pick, or prick stitch refers to small, subtle back stitches that can be used to under-stitch a facing or lining (as I've done in the above video for my slip dress), or as decorative top stitch on garments such as lapels and pockets.

A hand pick stitched lapel on a suit is a strong indicator of a bespoke, high quality suit. Because of this, many 'ready-to-wear' brands use pick stitching on their garments to make it look high-end, but when you look up close, the uniformity of the stitch is a clear give away that it was done by machine.

A hand pick-stitch has slight irregularities and is usually done with a silk thread. Once you see the difference it's quite easy to spot.
A subtle, hand pick-stitched lapel from bespoke tailors Burdi Clothing
Final Thoughts

The more I go down the rabbit hole of couture sewing, the more I fall in love with it and want to learn more! 

What excites me the most, is that these techniques, though they may take a bit more time than a machine, are not complicated or reserved for the experienced and highly skilled. They are repetitive, easy enough stitches that home sewers can achieve whether beginner or advanced.

The end result is something beautiful, well engineered and a push back on fast fashion where everything is mass produced and not built to last. Hand sewing for the win!

julia bobbin

Wednesday, 11 December 2019

Christy Slip Dress + Kate Bias top HACK - Just Patterns


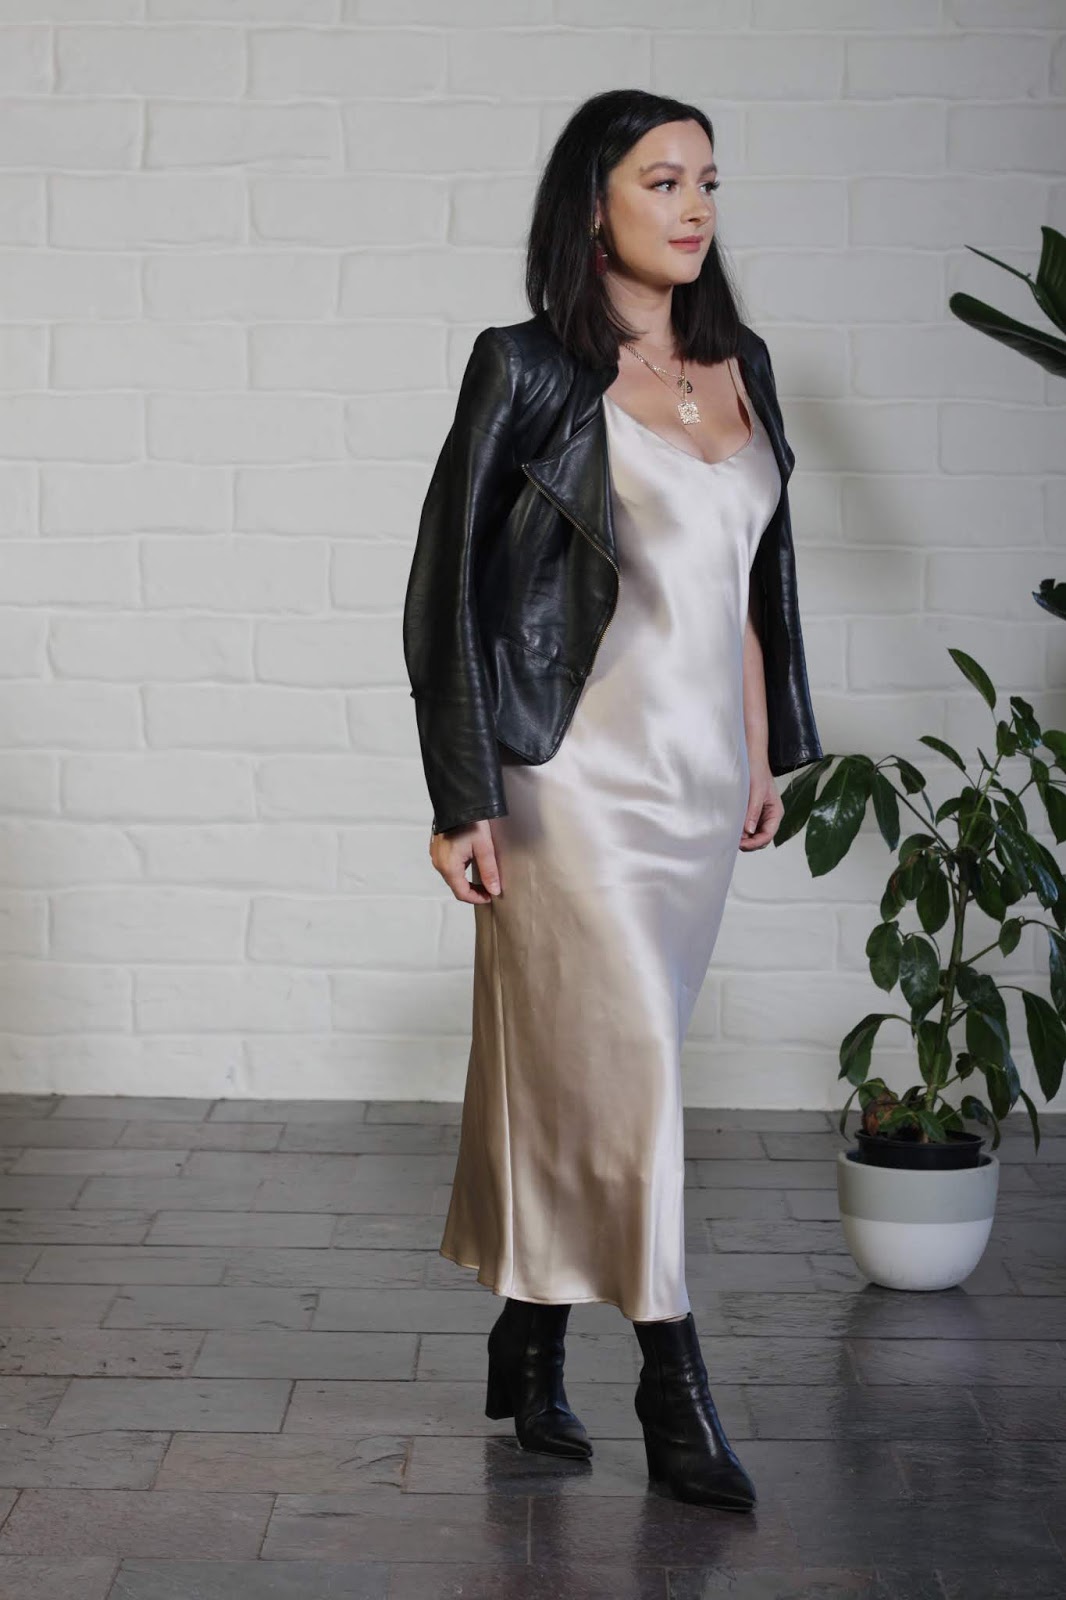
Julia Bobbin - Christy Slip Dress by Just Patterns

The Pattern
To make this dress I used the Christy Slip Dress by Just Patterns, with the front neckline of the Kate Bias Top also by Just Patterns.

I've made the bias top THREE TIMES, and it's just a balanced, well engineered design, so it knew it would translate well into a dress.


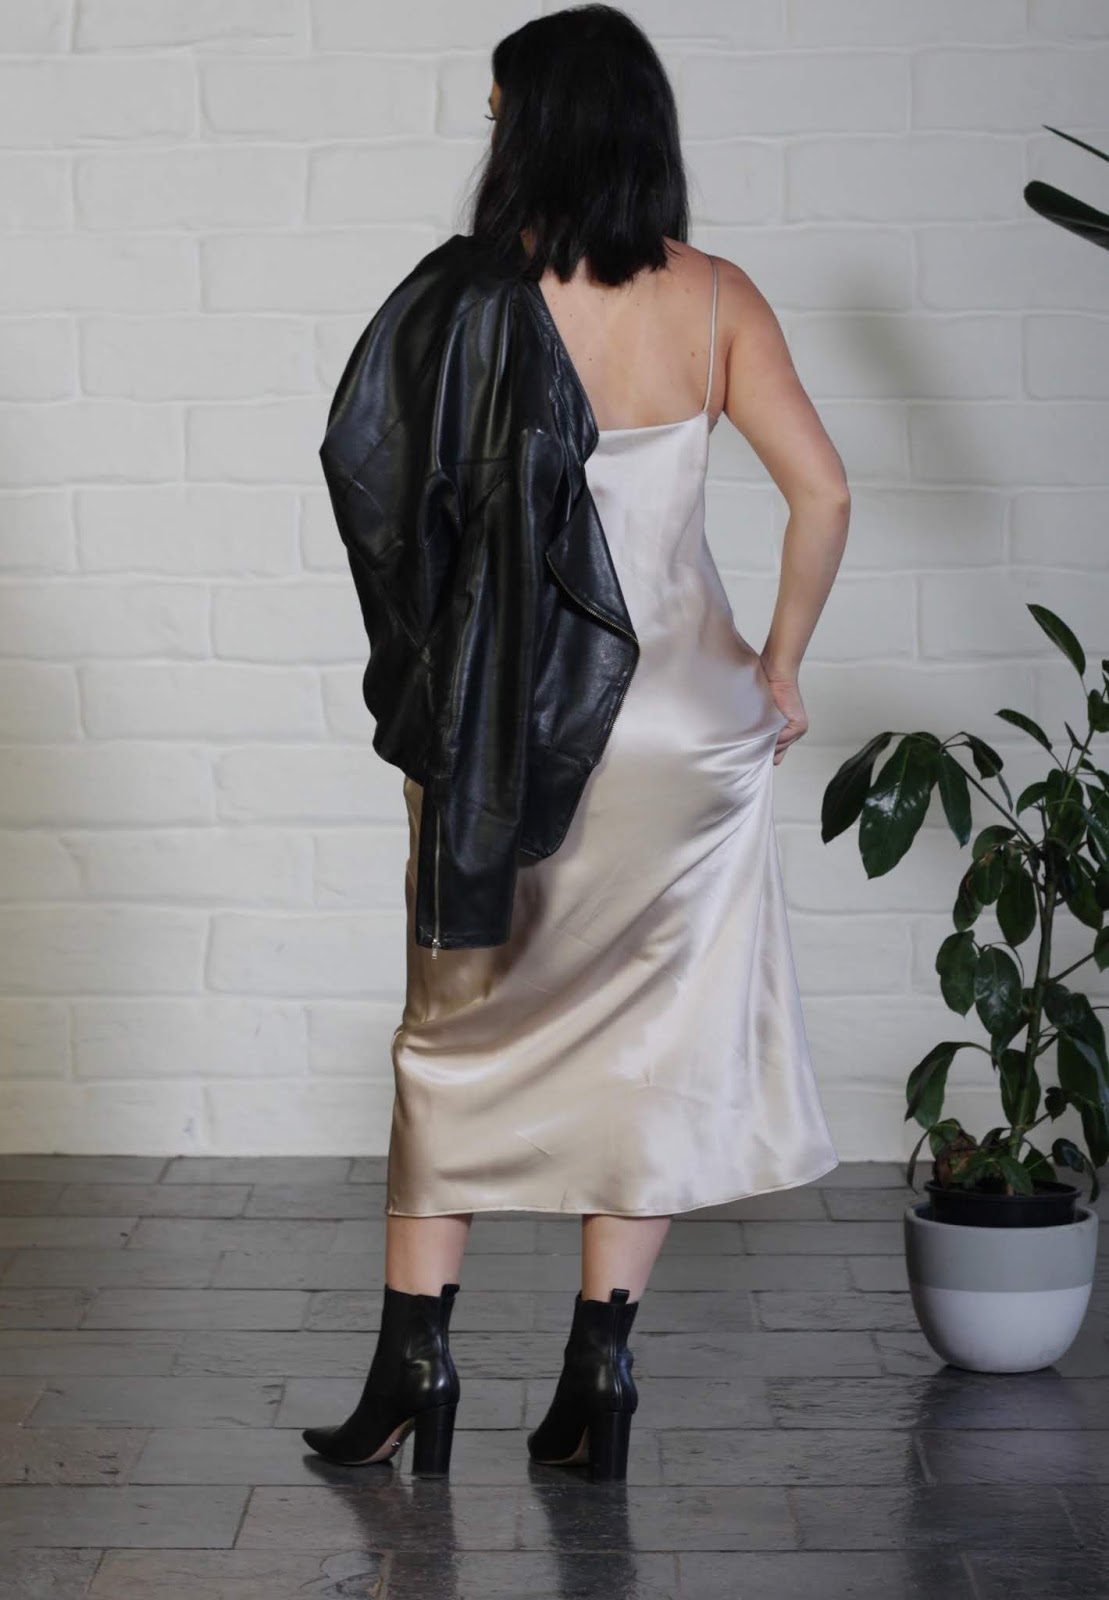
I'm wearing the dress with my me-made leather jacket, which you can read about here.

Pattern Hack
Because these two patterns are from the same company, this was a super easy hack.

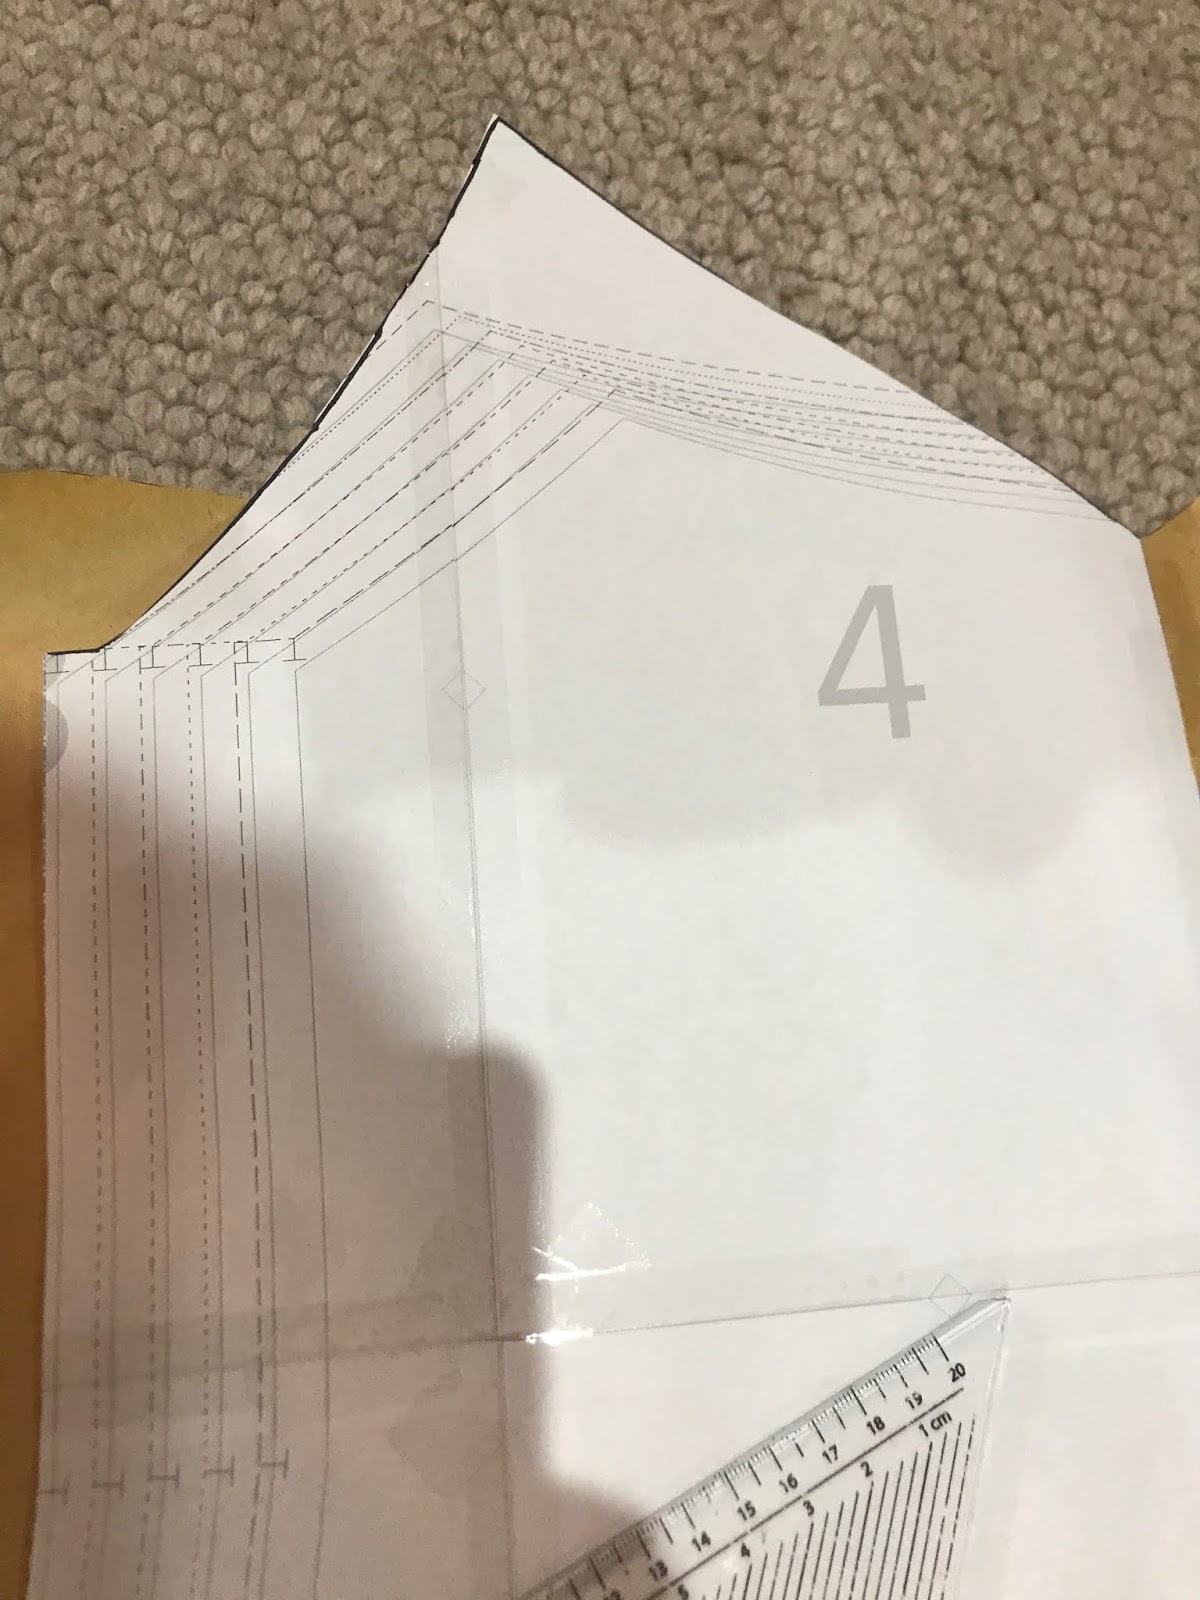
I lay the Kate Bias top over the pattern for the Christy Slip, which both have the same width and shape from the side notch, which is conveniently positioned in the same spot.

I then simply traced the Kate Bias Top neckline onto the Christy Slip Dress pattern and cut out the modified pattern.

Julia Bobbin - Christy Slip Dress by Just Patterns

The Fabric
A glorious silk satin from Tessuti Fabrics.
It has a 22mm weight, and is the colour 'almond'.
Tessuti always stock the most beautiful silk satins, and I'm yet to find better quality elsewhere.

The fabric is cut on the bias, interfaced at the necklines with silk organza and fully lined with a poly georgette.

Julia Bobbin - Christy Slip Dress by Just Patterns

The Details
This is a classic, straightforward dress, and I love adding extra details that make a dress more wearable and more precious.

I FULLY LINED the dress, and FRENCHED my seams.

Instead of under-stitching the neckline with a machine, I PICK-STITCHED the neckline on the inside of the garment. This gave me so much more control, and allowed me to reach spots on the neckline that you normally can't get to with a machine.

Narrow bias cut SPAGHETTI STRAPS hold the dress up at the shoulders.

I finished the dress with a delicate NARROW HEM that looks so polished on bias cut fabric.

Julia Bobbin - Christy Slip Dress by Just Patterns

Neckline Tip
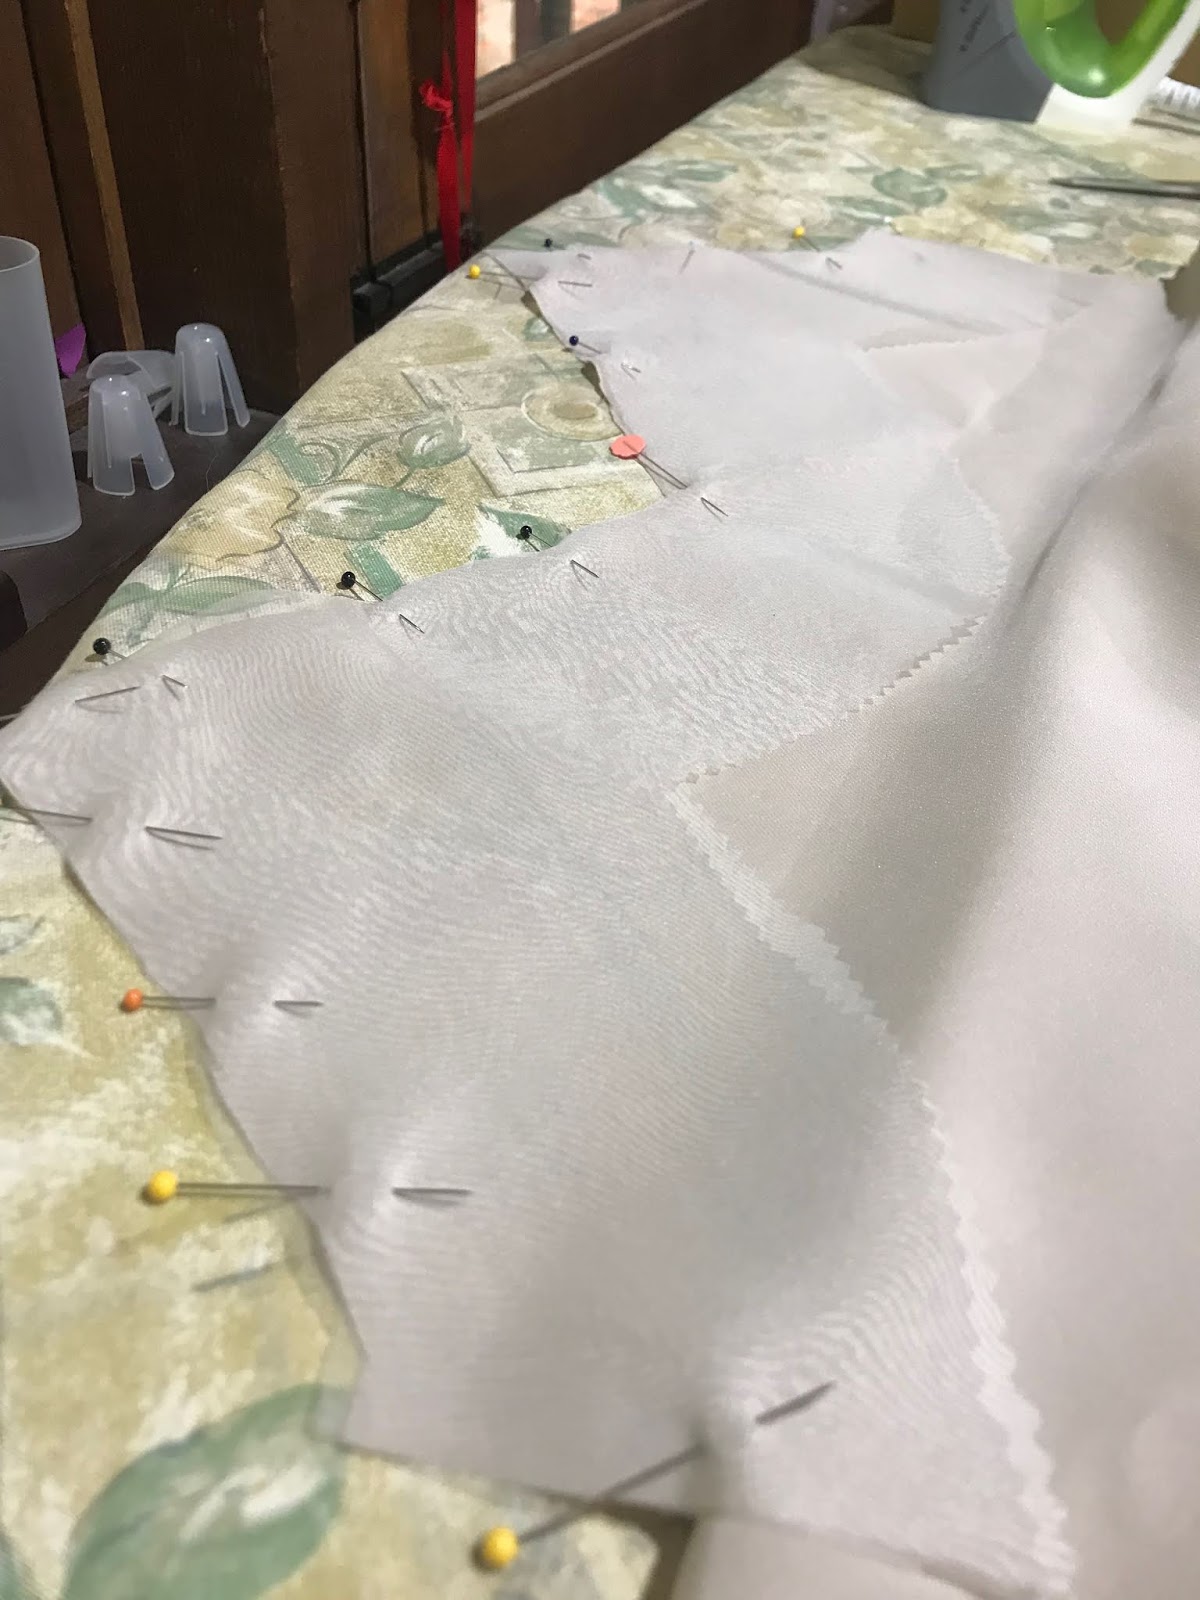
To stabilise the neckline, I forewent the iron-on stay tape and used the pattern pieces to cut out a facing of silk organza (about 8cm in length).

Silk satin cut on the bias is a tricky textile to deal with, and iron on interfacing, even stay tape, can distort the lovely drape of the bias fabric and the stiffness can show through to the outside of the garment.

Using silk organza, which is about 6momme (mm) in weight, gives the neckline structure, support and strength, without adding bulk and is invisible from the right side.

Just like regular interfacing, you attach it to the individual pattern pieces on the wrong side. I hand basted my organza facings along the necklines and side seams, and pinked the organza edges.

The finished result is a smooth, sharp neckline that doesn't pucker, pull, flip out or bulge. It's well worth the extra 15 minutes it might take to cut out and attach.

Julia Bobbin - Christy Slip Dress by Just Patterns


The Changes
I cut the pattern in a size 42 as the pattern was drafted with negative ease, and I wanted to make sure I allowed enough room for my lower body.

Aside from hacking the neckline from the Kate Top, there were no fit changes.

I added 18cm to the length at the hem, as I love silk in a midi length and the original hem sits just below the knee.

Julia Bobbin - Christy Slip Dress by Just Patterns

Final Thoughts
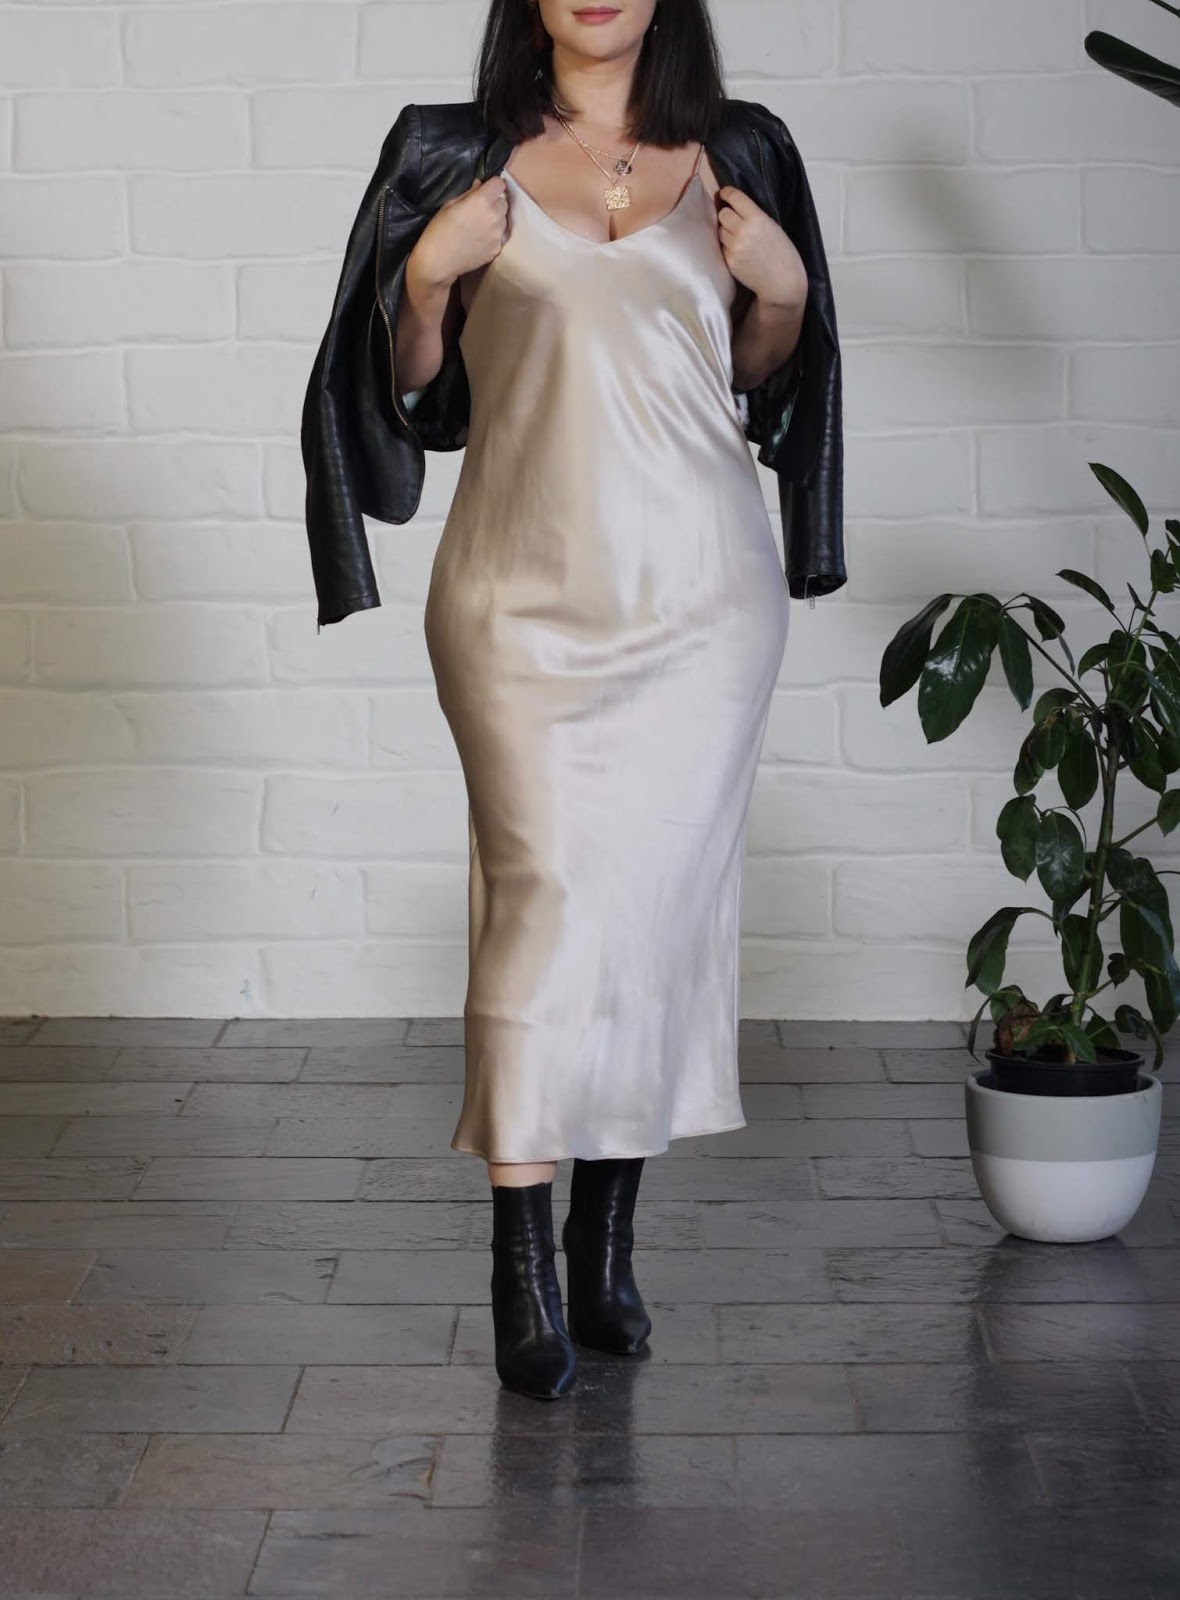
I love the proportions of this bias cut dress and I love how it can transition from a day look to a night time look, depending on the shoes or the accessories.

It's super comfortable, straight forward to make and surprisingly flattering to wear on this curvy frame.

I think I just found my new favourite pattern for summer!

Julia Bobbin - Christy Slip Dress by Just Patterns

Tuesday, 1 October 2019

Silk Cami - Kate Bias Top by Just Patterns

Kate Bias Top - Julia Bobbin

There has come a point in my life where I have realised that my dress sense is akin to that of a magpie. If it's bright and shiny, I want it on my body.

I'm ok with this.

The Pattern

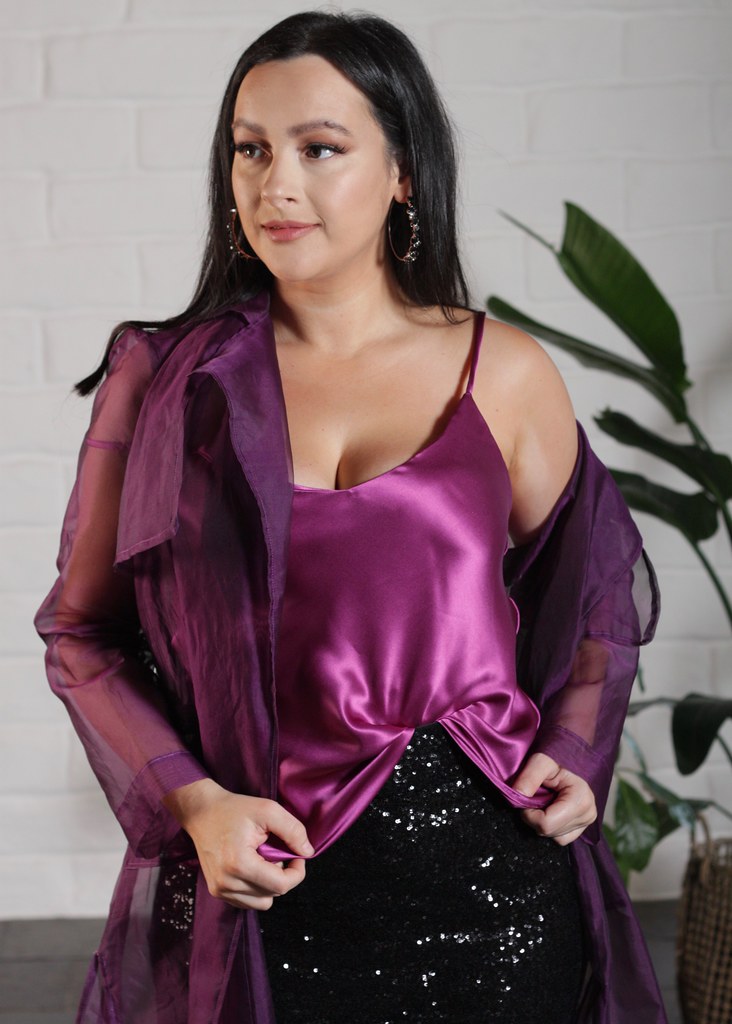
Introducing my latest bright and shiny, the Kate Bias Top by Just Patterns
This is so beautifully cut and for some crazy reason, the pattern is only $3AUD. So actually, what are you waiting for.

This is my second time making this pattern and it's as good as I remember.

Kate Bias Top - Julia Bobbin

The Fabric

Luscious silk satin in a beautiful purple hue and 19mm weight, which I purchased from Home Craft Textiles.

I will never get over the feel and look of silk satin cut on the bias. It's just everything that is beautiful and wonderful about fabric and it soaks up colour like nothing else.

Kate Bias Top - Julia Bobbin

The Details

This bias top is free of darts, is cut on the bias and fully lined.

It is held at the shoulders with bias cut spaghetti straps and hemmed with a narrow hem.

It has a lovely soft V shaped neckline and is figure flattering but not form fitting.

Wearing with

And hey! My whole outfit is me-made! That's happening more and more these days and I find that so encouraging and exciting!

I've paired my silk cami with this self drafted sequinned skirt:


And my silk organza trench coat that I made using Simplicity 8554


Final Thoughts

A quick easy make, that looks and feels fancy and chic. This is my third silk cami and it will not be my last!

Kate Bias Top - Julia Bobbin

Wednesday, 31 July 2019

Misty Cami by 'Sew Altered Style' - The HACK-A-THON Blog Tour

Misty Cami - Julia Bobbin
IMG_4401

NEW indie pattern company ALERT!

The talented Mac and Katie are the creatives behind the new pattern company 'Sew Altered Style' and they are kicking off their first pattern release with a 'Hack-A-Thon' blogger tour!
The concept is to take their new pattern, make a change (hack) big or small and have a bit of fun!

Misty Cami - Julia Bobbin

The Pattern

It's the Misty Cami and the first pattern released by Sew Altered Style.

This cami comes with four different views, which is made up of two different strap versions, two different back heights and the option of camisole or dress length.

The pattern ranges from sizes 0-30 and in addition, you also select between two cup size options, A/B or C/D. If you fall outside those sizes don't worry, the pattern comes with instructions on how to do a 'full bust adjustment'.

Misty Cami - Julia Bobbin

Sizing and View

I MADE View A (low back camisole) in a size 10 with the A/B cup(!) option.

For reference, my bra size varies from anywhere between D-EE depending on the brand and, like, how much cheese I've eaten.

The instructions get you to measure the width of your breasts at the widest point, and then the width of the upper breast. The variation in length determines what cup size you need, and I'm not sure why but the difference between the two measurements for me was small.

With the size 10 cut on the bias, the smaller bust option fit well, and I love a loose drape in a camisole. The bust darts sit a little low (which doesn't bother me), but this was a tester pattern and it has since been corrected on the official pattern.

Misty Cami - Julia Bobbin
IMG_4349 (1)

Fabric

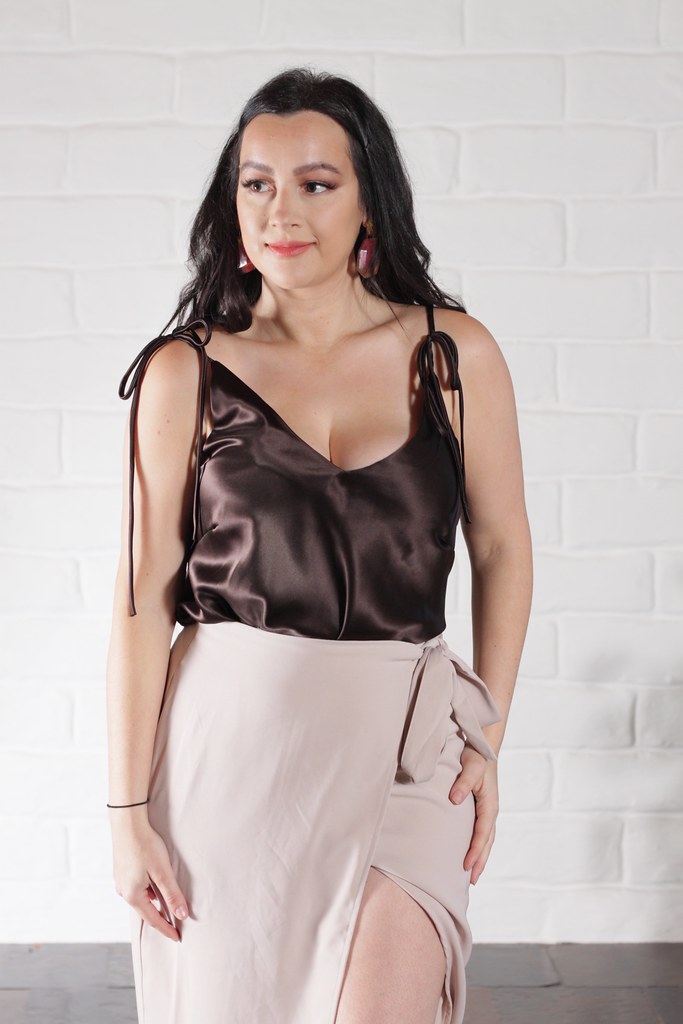
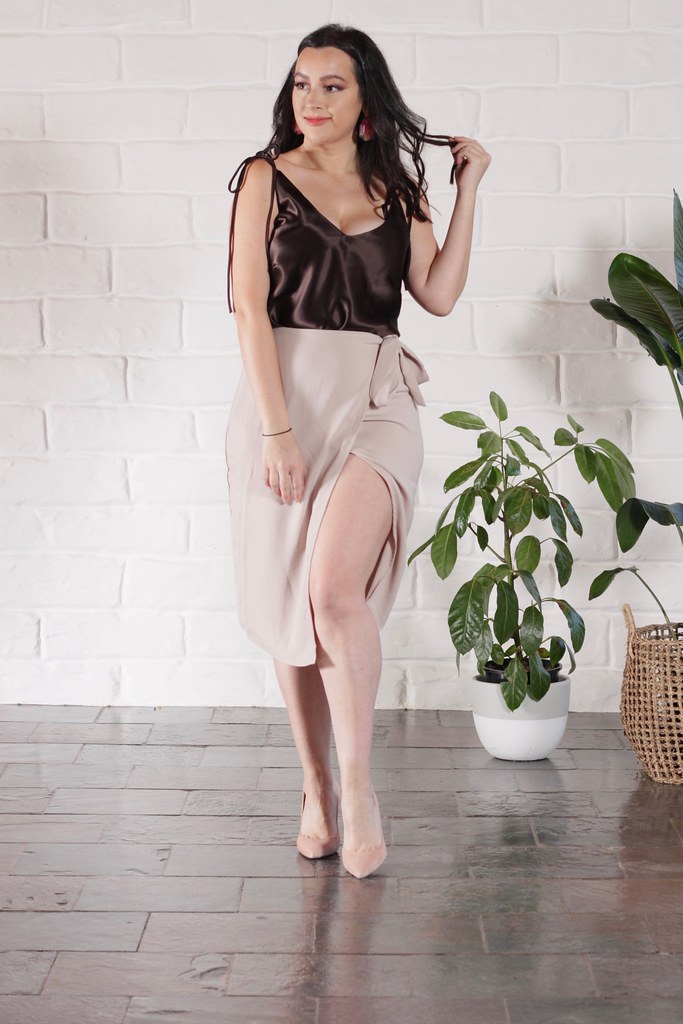
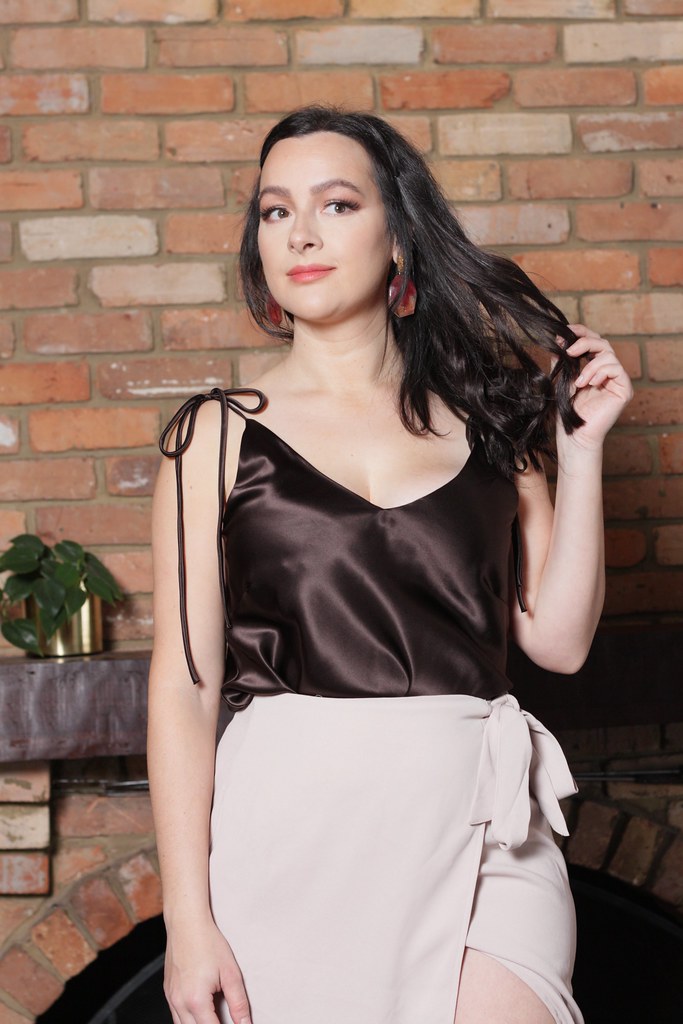
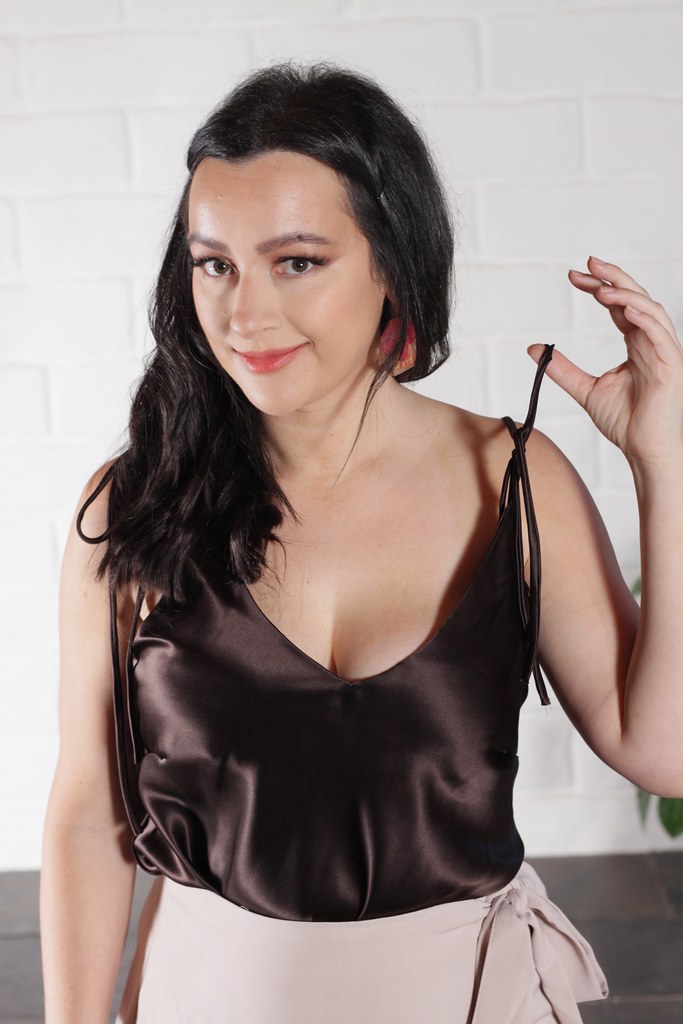
I used a stunning, saturated, chocolate silk satin that almost literally looks like melted chocolate.
This beautiful fabric was purchased from the wonderful people of The Cloth Shop in Ivanhoe

IMG_4434 (1)
IMG_4421

Details + Changes

This flattering, loose fitting pattern calls for light weight, drapey woven fabrics with the direction of the grain line following the selvage of the fabric.  Because I was making my cami out of silk, I decided to go a little extra and CUT ALL MY PIECES ON THE BIAS.
The neckline and the straps sit so well when cut on this angle, and I love how it makes the silk drape.

Instead of the regular hem and to accomodate the bias cut of the silk, I decided to finish the cami with a NARROW HEM.

I eliminated the FRONT CENTRE SEAM. The pattern gives you the option of a centre seam in the front, or to cut the front piece on the fold.

I also chose not to interface the facing pieces. When it comes to camisoles made of silk, I like both pieces of fabric to behave and drape the same, and I find the under-stitching on the neckline is enough to give structure and shape in a bias cut.

In addition to cutting my pieces on the bias, my PATTERN HACK was to change the shoulder straps to thin, BIAS CUT TIE STRAPS.
Not only does it look great, but it means you can adjust the length of your straps as you wear it, rather than in the construction stages of the garment.

Misty Cami - Julia Bobbin

Final Thoughts

It's incredibly satisfying to make something beautiful and clean and to be able to finish it in one sitting.
A camisole is such a classic wardrobe staple that can be paired with almost anything and for any occasion.

I love the fit and cut of this beautiful pattern, (which is 20% off with code MISTY20 until August 4)  and I'm very excited to see what else Sew Altered Style has for us in the future!

Misty Cami - Julia Bobbin