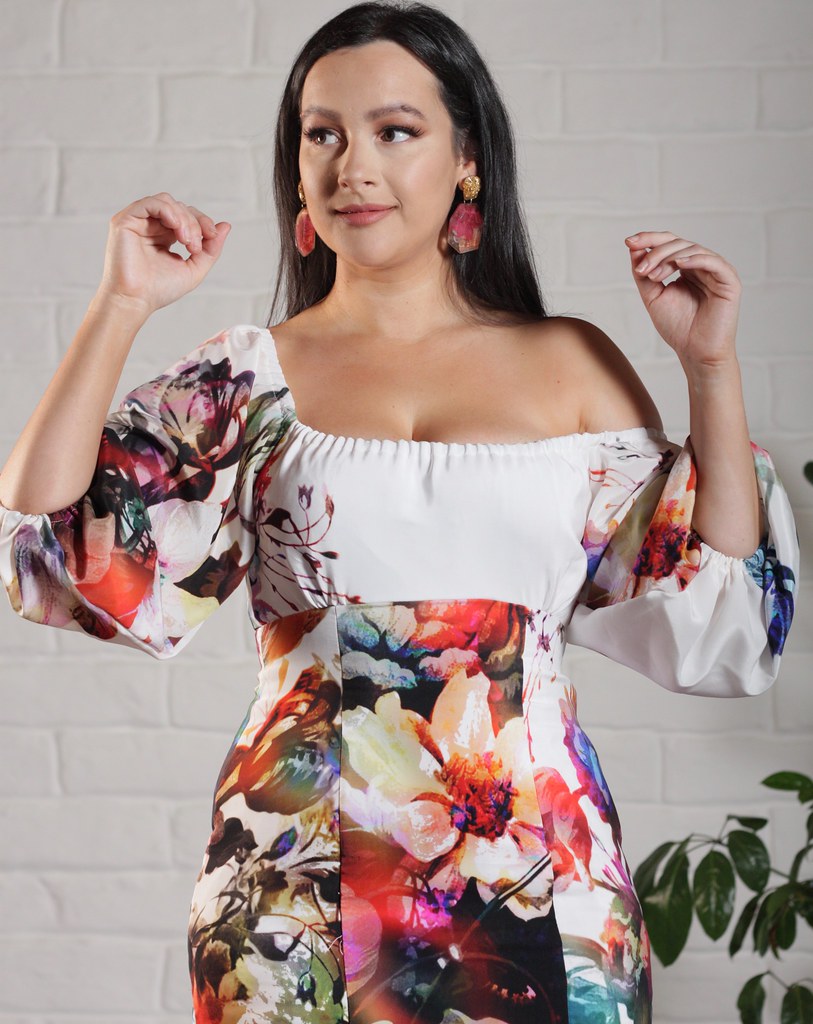
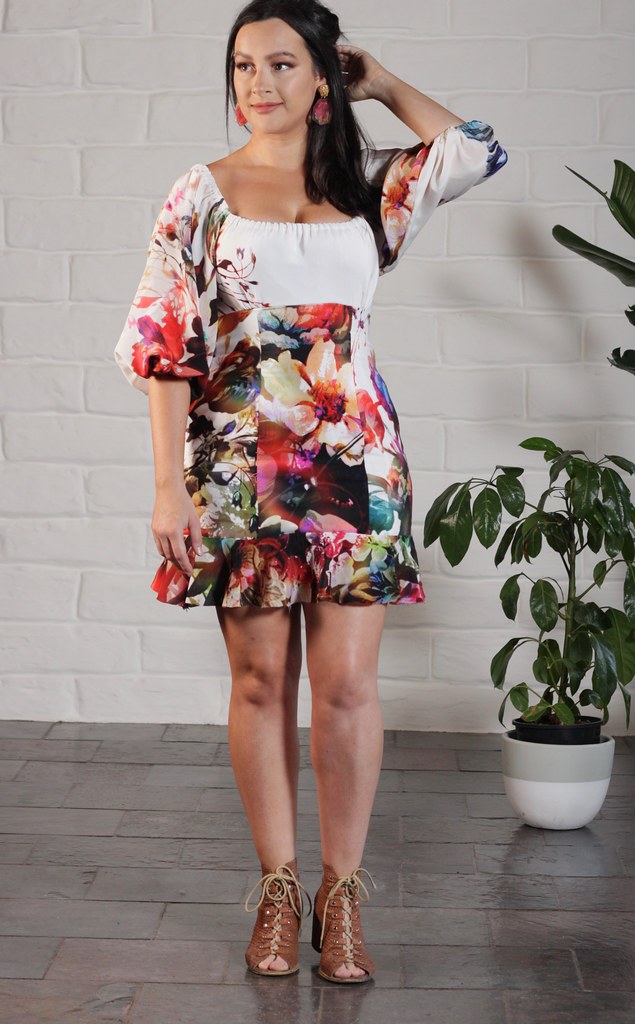
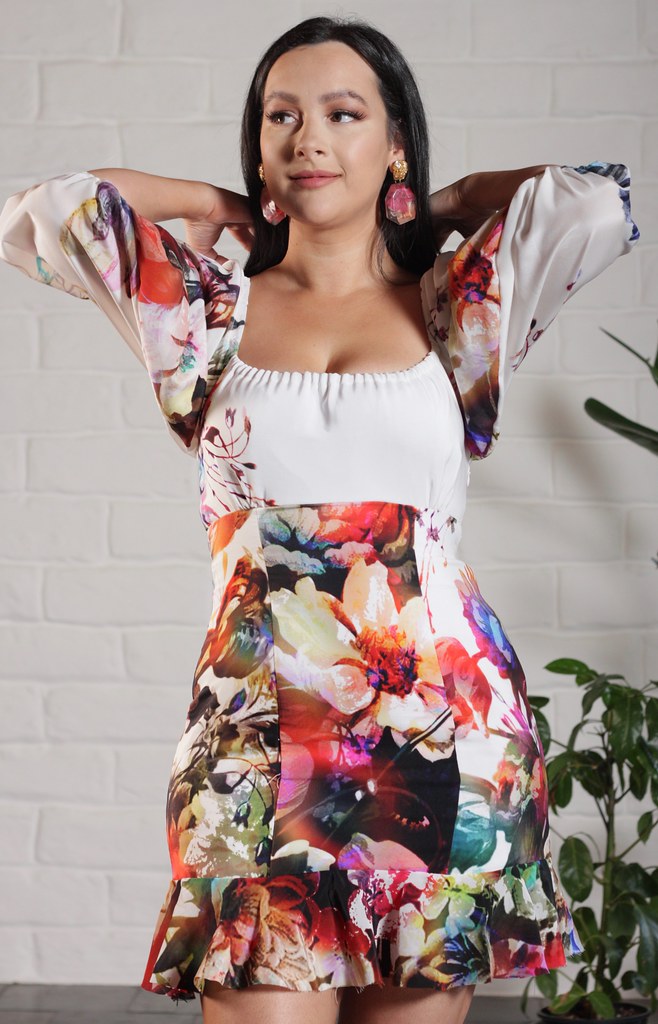
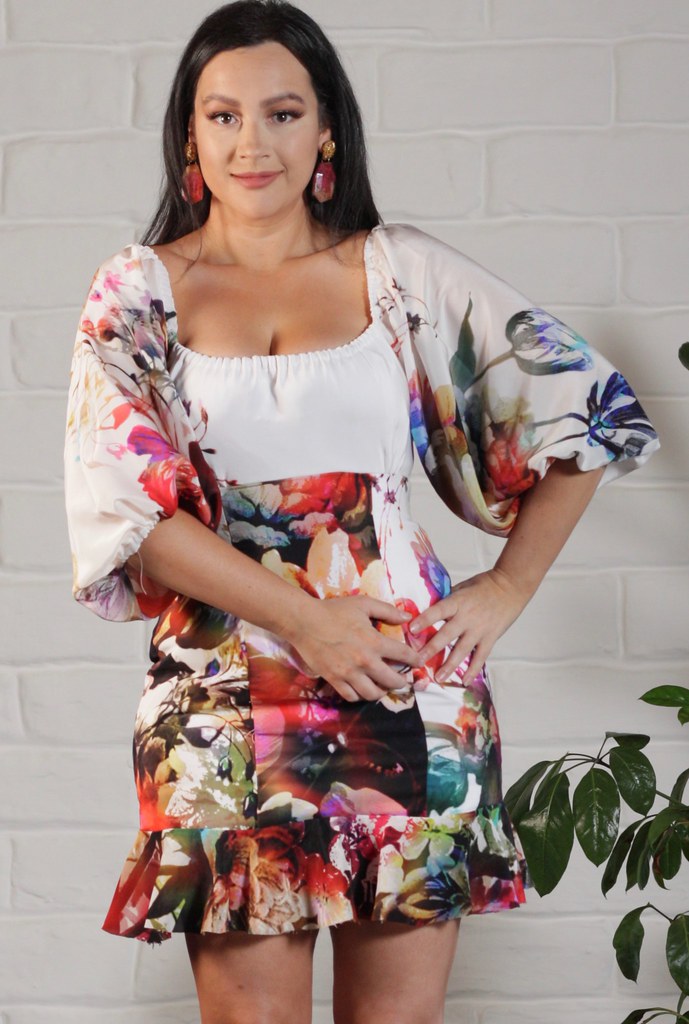
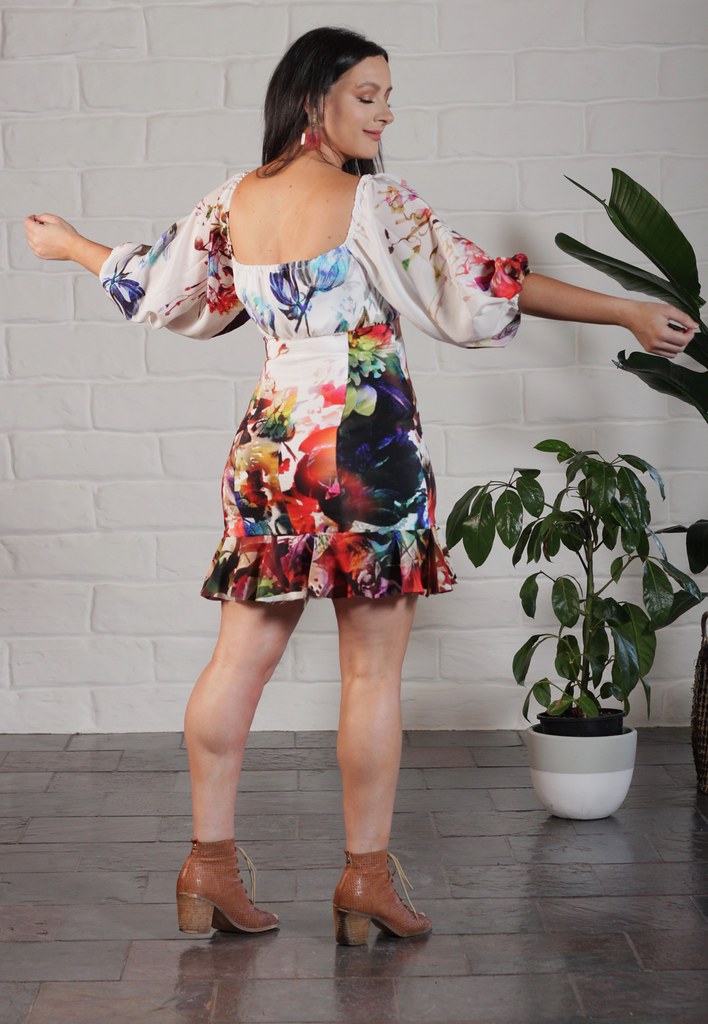
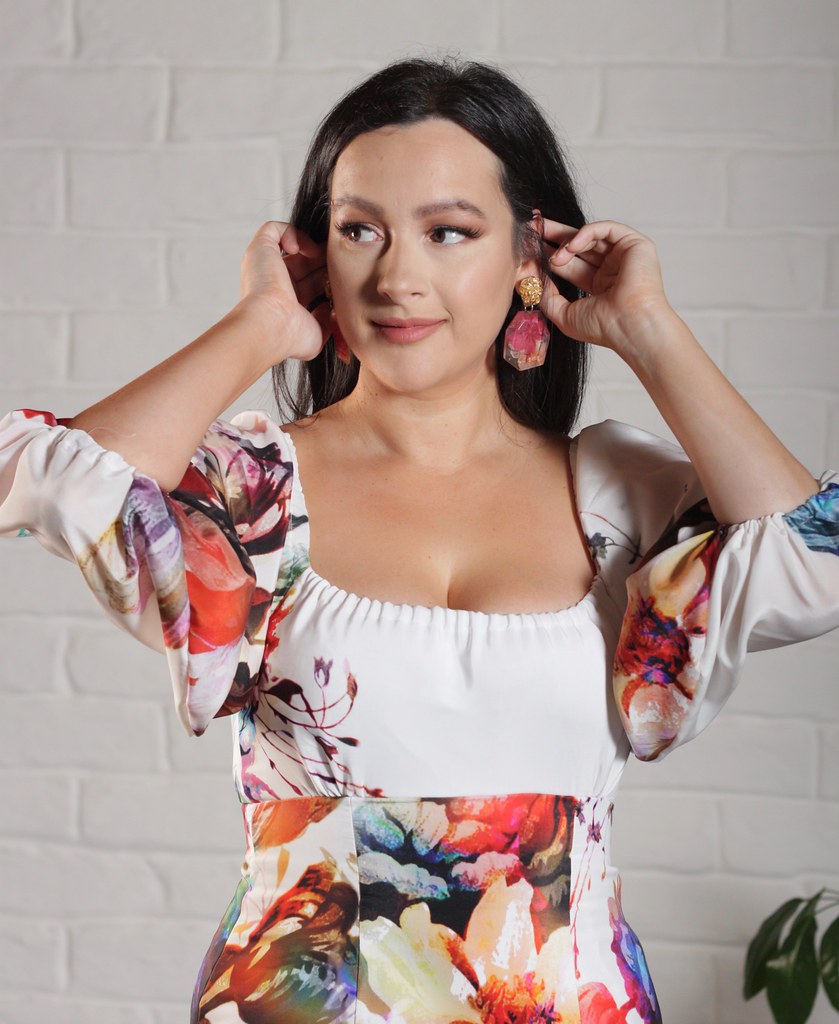
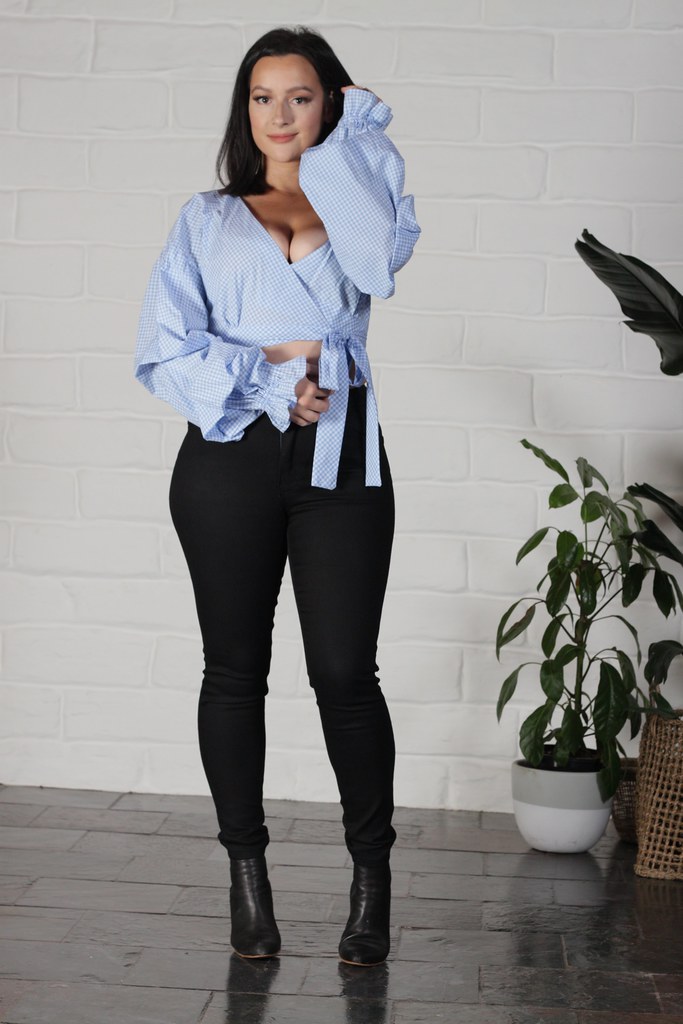
It'll surprise no one to learn that I love the Rita Blouse by Charm Patterns, seeing as I've made it THREE times, and then hacked it into a dress TWICE.
The Rita blouse has an ELASTICISED neckline and sleeve cuffs, so it was easy to substitute the Adrienne sleeve pattern, which also has elasticised sleeves and neck edging.
The BODICE is gathered under the bust, and then shaped with princess seams below the bust to the hem.
The Dress is closed with an INVISIBLE ZIPPER on the side seam.
I took the zipper all the way up to the arm pit to try and maximise the opening for when putting on the dress. The underbust seam always has to be man-handled to get it past my bust when putting the dress on.
Final Thoughts
It's not often I wear a print, so when I do I go HARD.
This was a quick and straight forward make, and I'm glad I finally put this stunning fabric to good use; just in time for a Melbourne Spring,
Friends, pockets are out.
Over-sized sleeves big enough to carry your whole family is where fashion is at at the moment.
And I'm not mad at it.
The Pattern
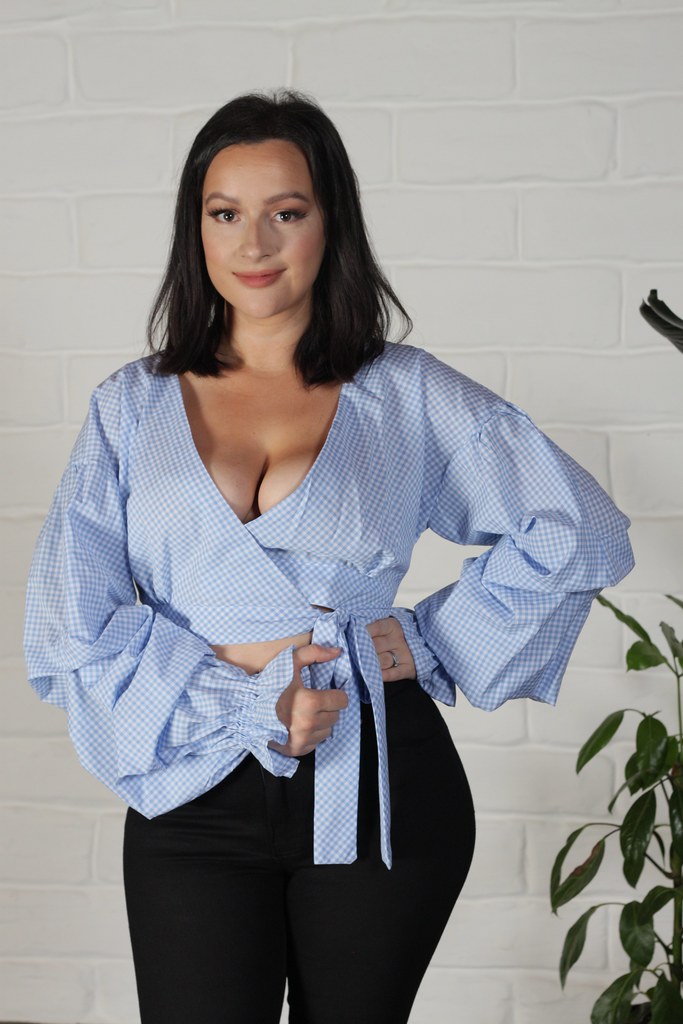
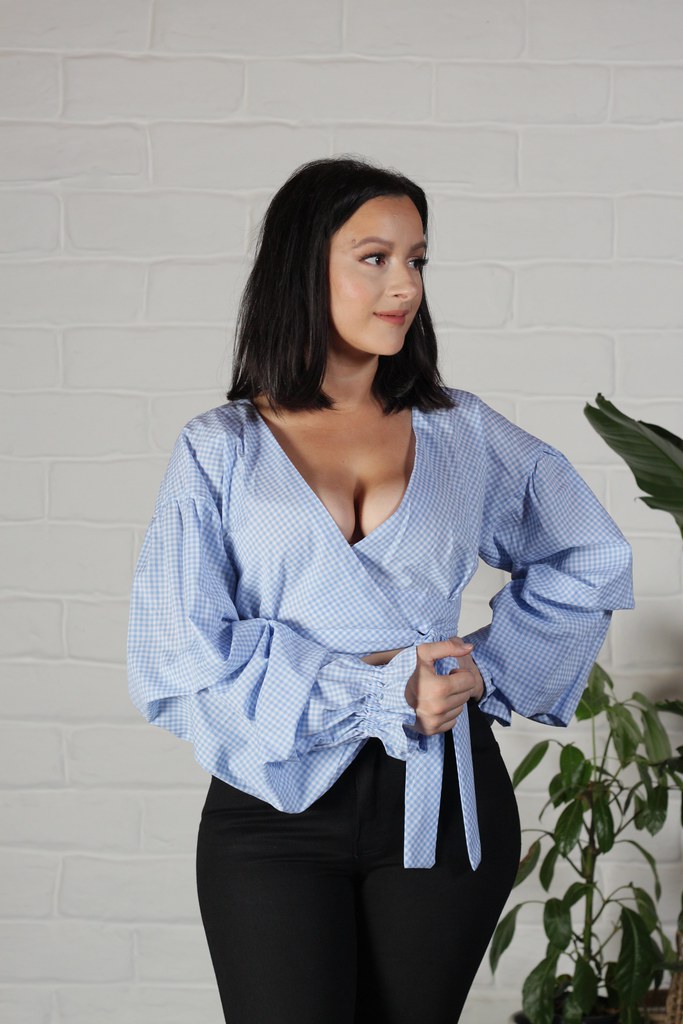
Meet Simplicity 8644 in View A.
A wrap around blouse, this pattern comes in four different sleeve options (view A being the most EXTRA) and two different bodice lengths.
The Fabric
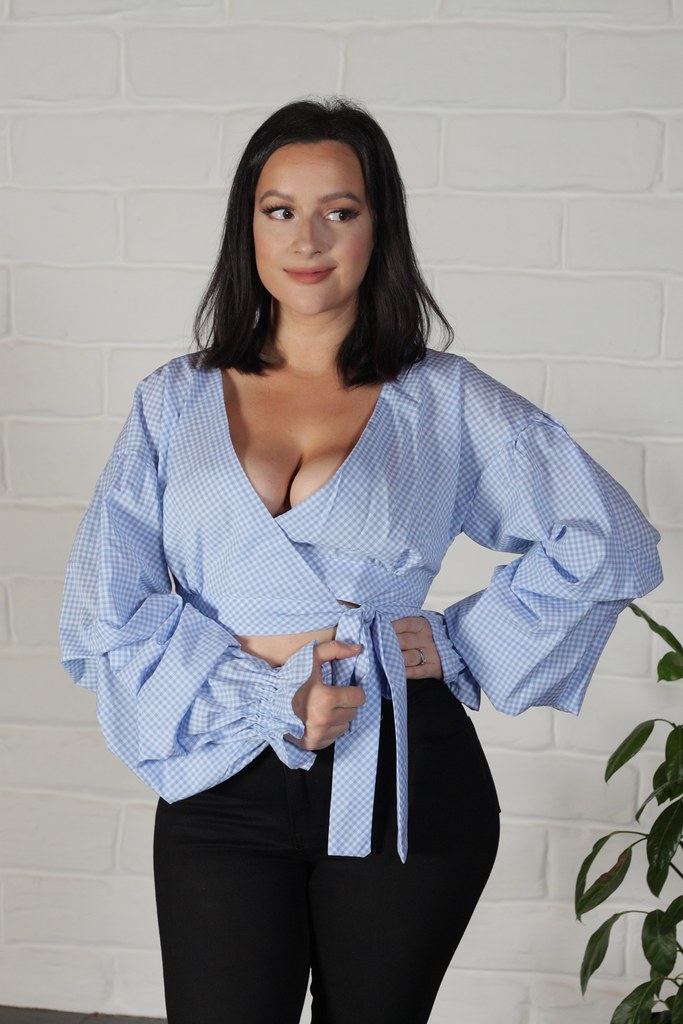
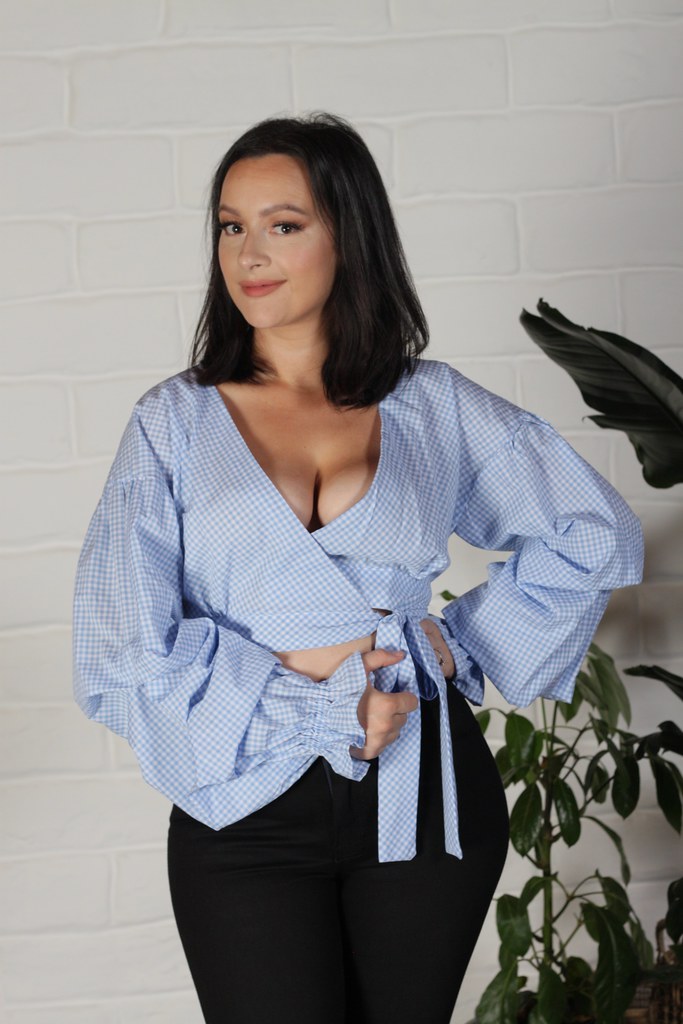
I used a light-weight, gingham print cotton from Spotlight, and cut the waistband and ties on the bias for a subtle contrast.
Pattern Details
The hero of this pattern is clearly the sleeves.
These full sleeves are shaped with soft pleats to create structure and volume, and elastic at the wrist for a flouncy sleeve hem.
There are small gathers under the bust and at the centre back of the bodice to add shape.
Completing this blouse are dropped shoulders and a cross-over V shaped neck which closes at the front with ties.
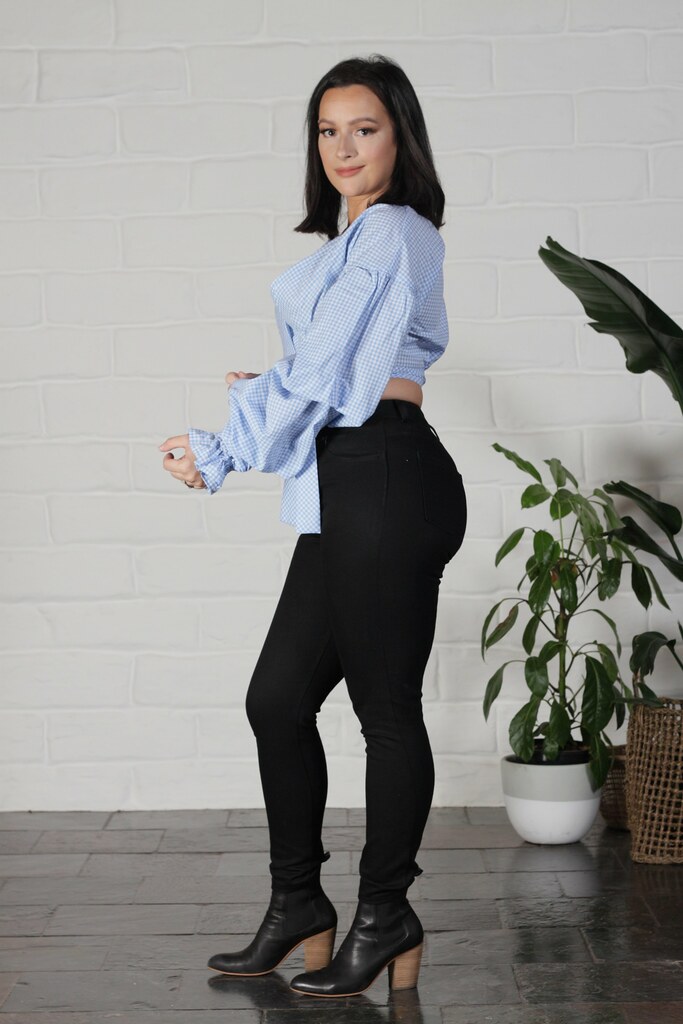
I was a bit cheeky and decided to skip the toile stage and get straight into making the real thing. I figured with dropped shoulders and a wrap closure, most fitting issues would be camouflaged.
That being said I didn't realise just how short this blouse would be; it basically sits just under the bust. This may sit longer on someone with a smaller bust, but in any case it's worth considering adding length to the bodice if you'd prefer it a little longer than under the bust.
Conclusion
Yes, these sleeves are about 80% 'extra', but I LOVE the drama it adds. It feels like a modern, edgy (and more fleshy) take on a romantic, Victorian style blouse.
I'll probably look at this in five years time and think 'oh that's so 2019', but that's what makes fashion fun and exciting and right now it's all I want to wear.
I cut a size 40 and it gave me just the right amount of ease to be fitted but not tight. I find the BurdaStyle patterns run a bit on the smaller side, but the cut of their patterns always seems to work so well for me.
The Fabric
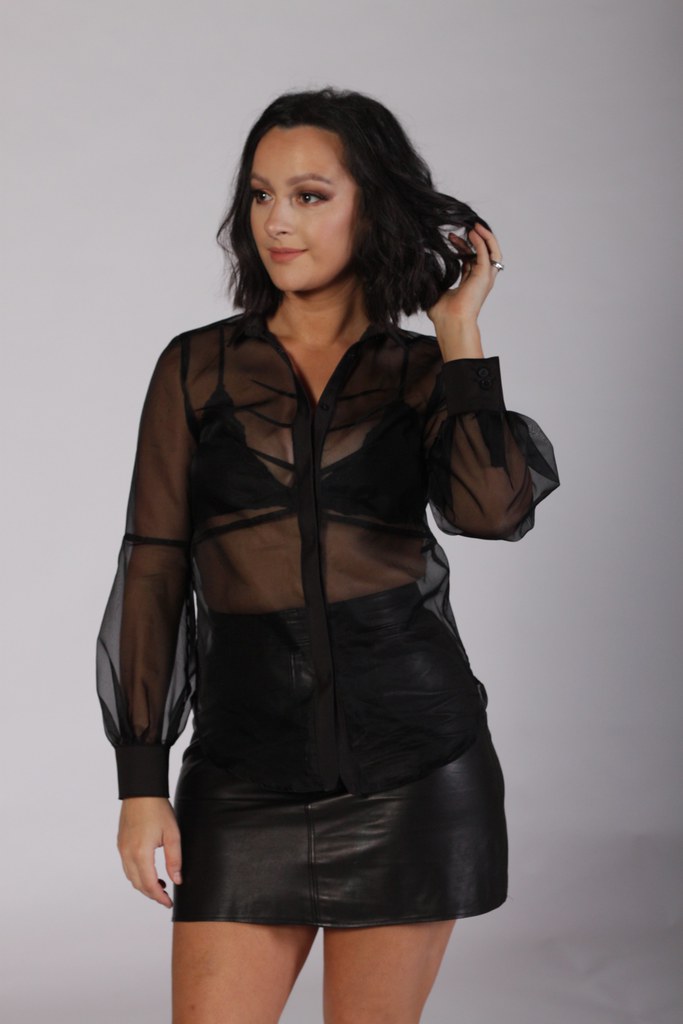
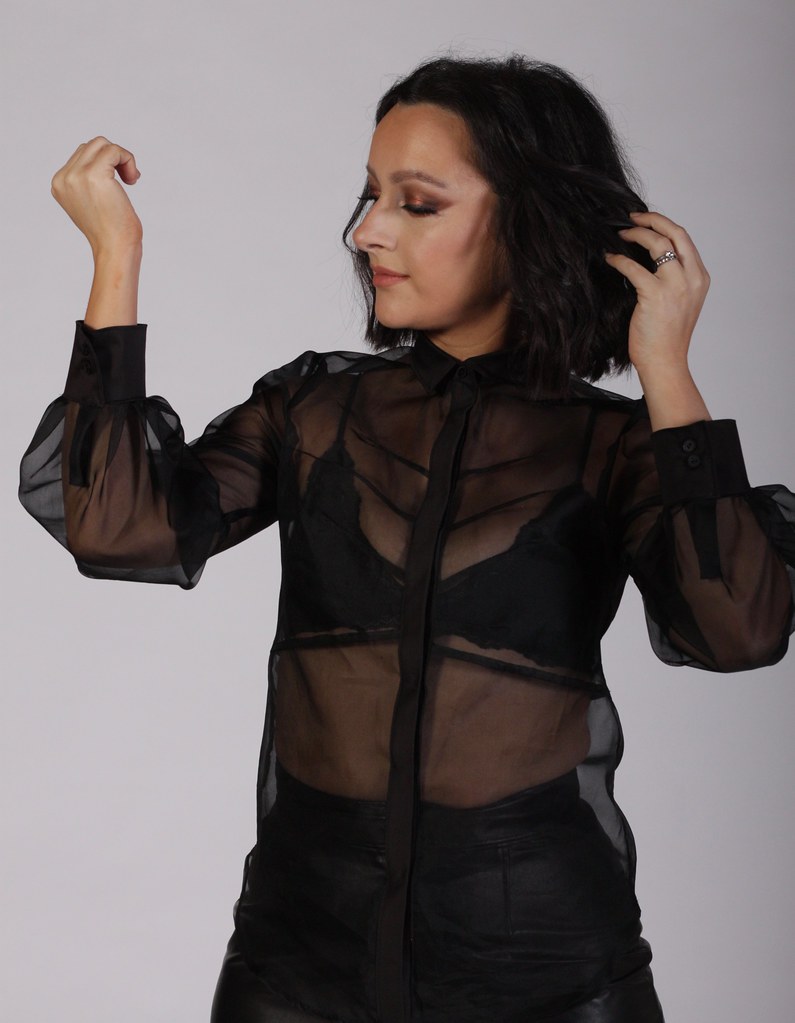
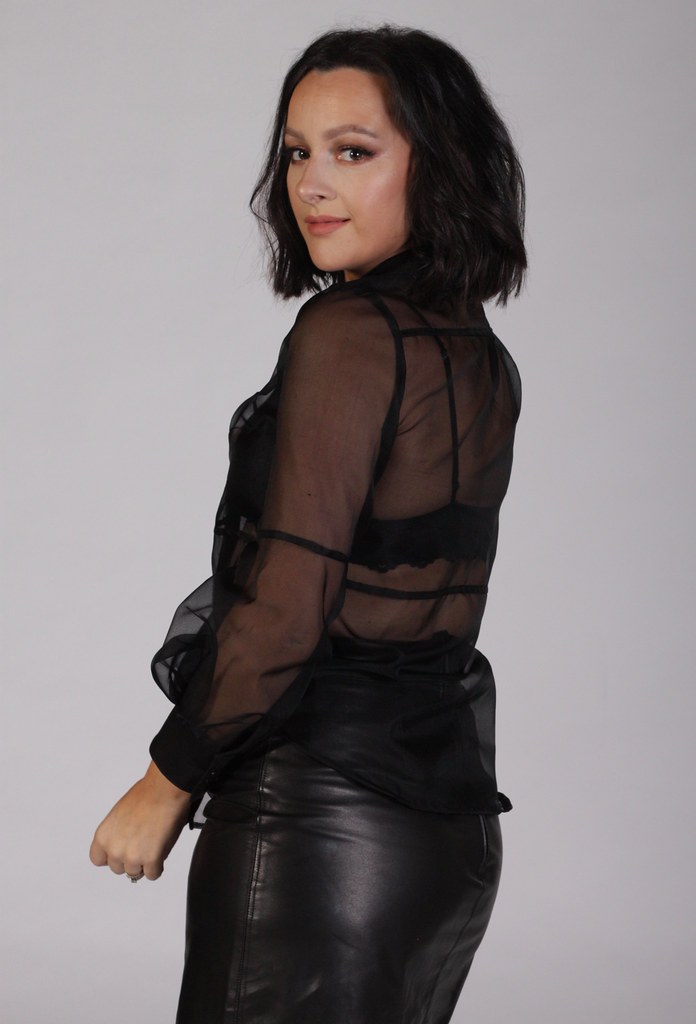
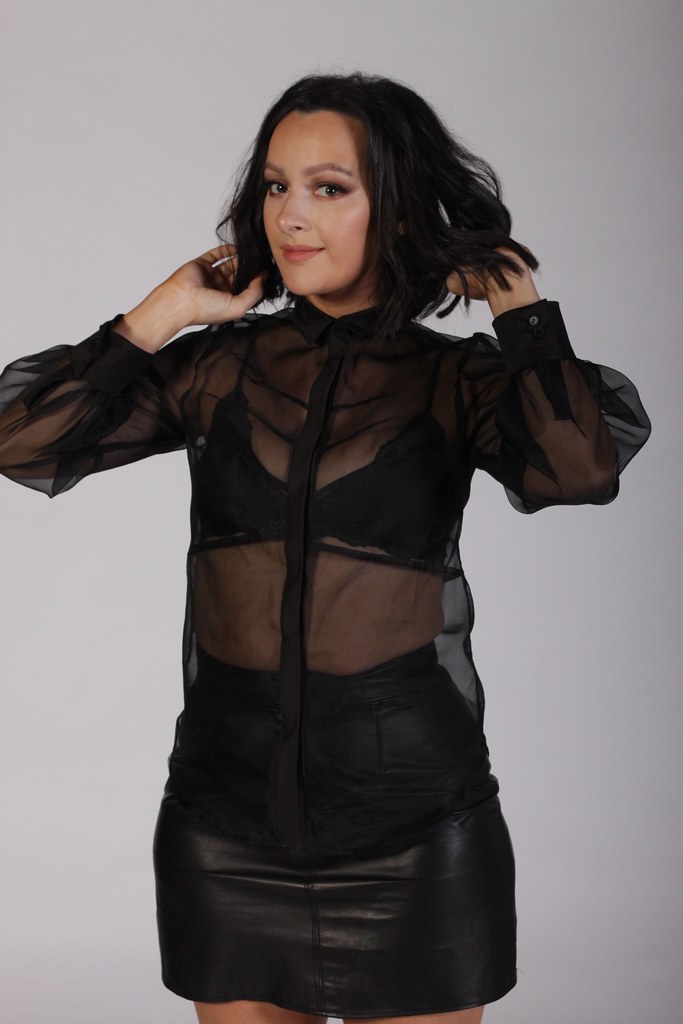
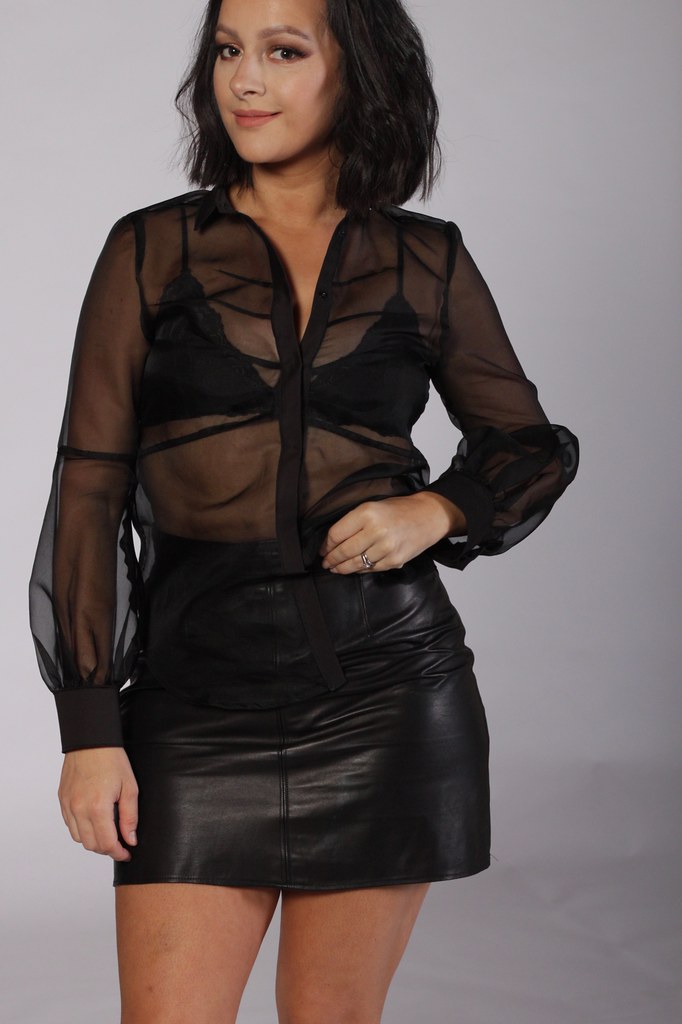
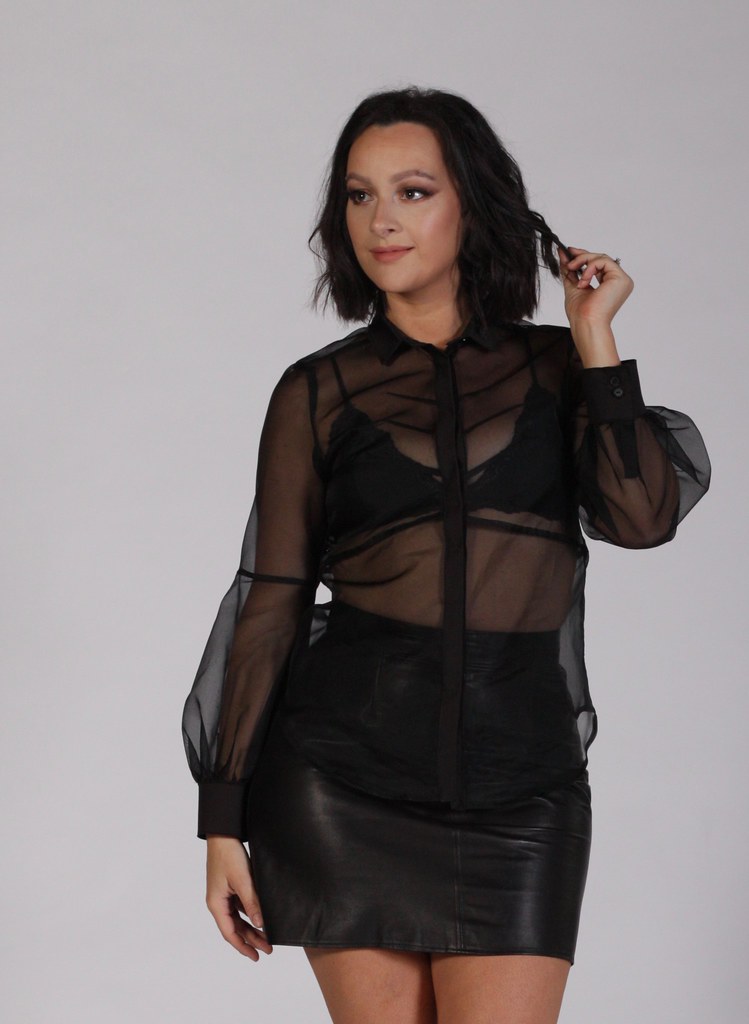
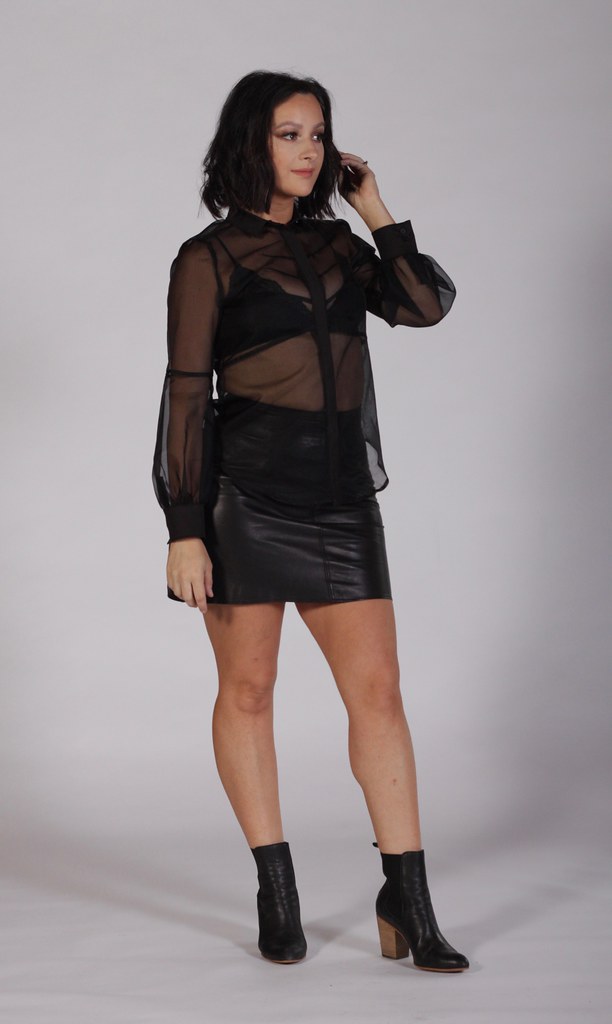
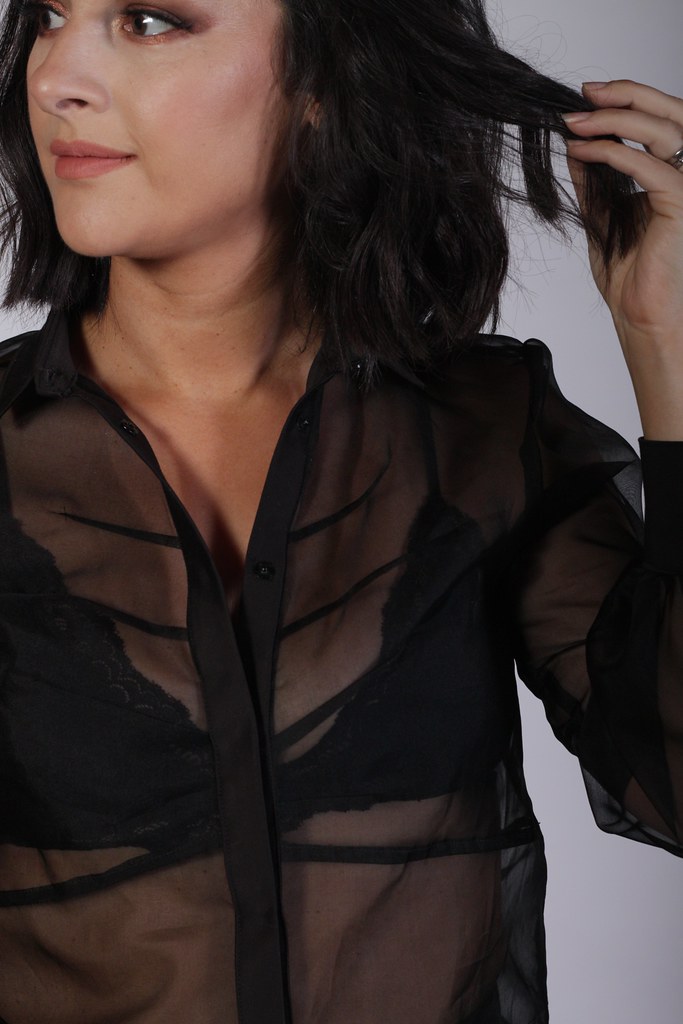
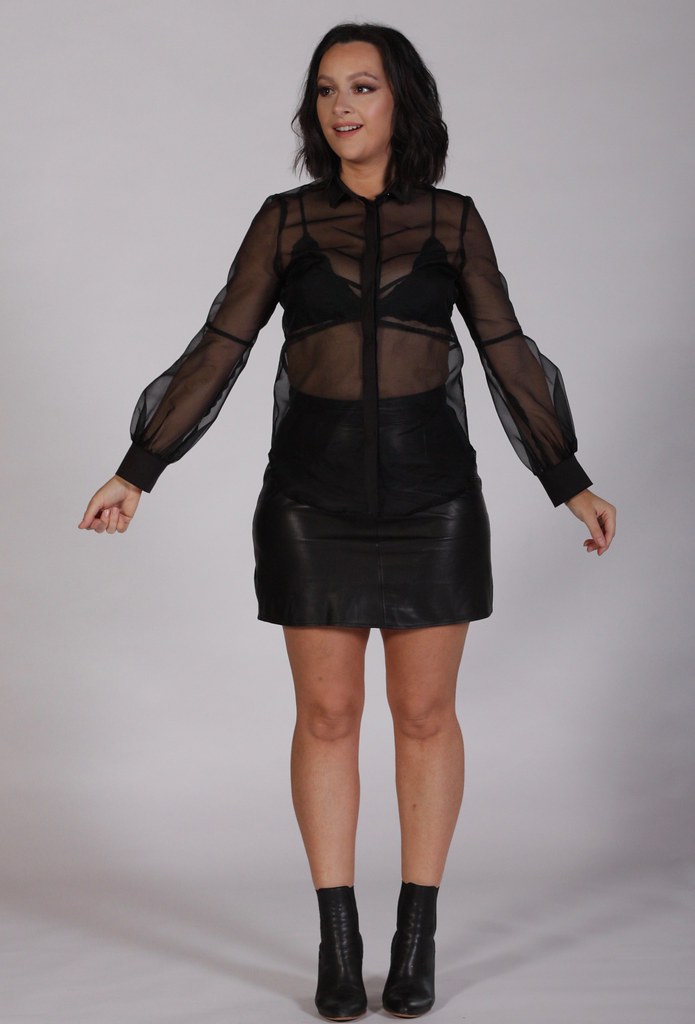
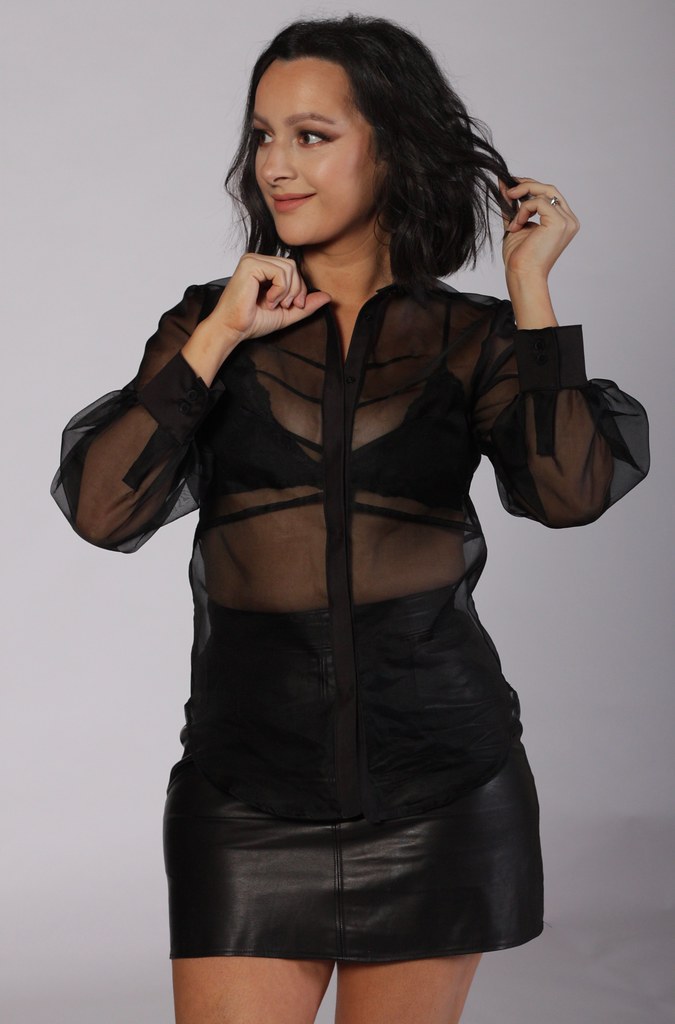
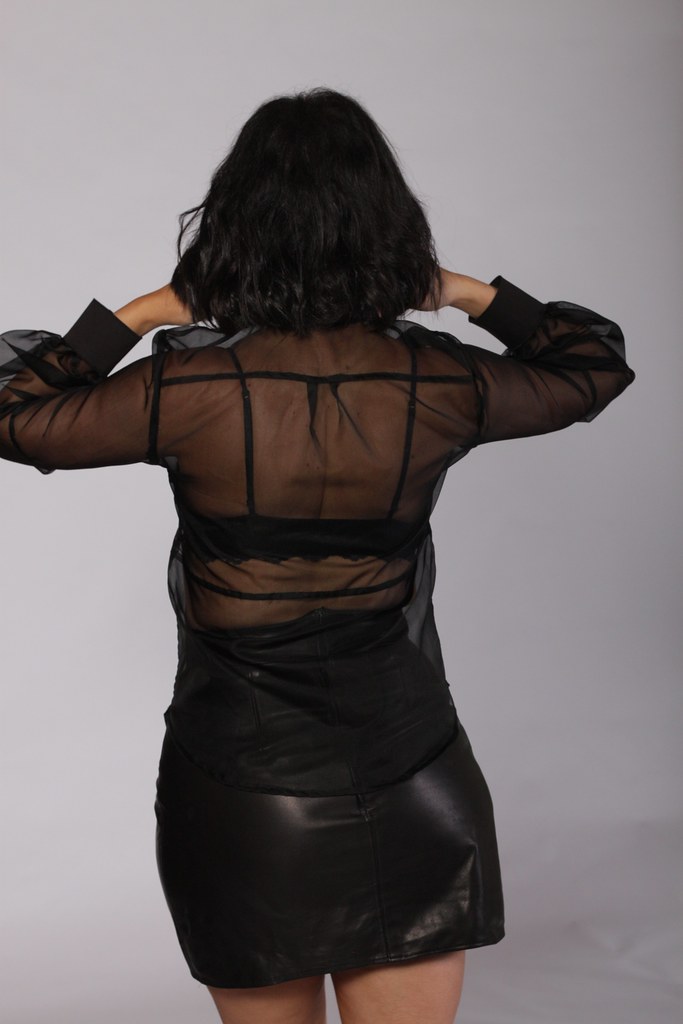
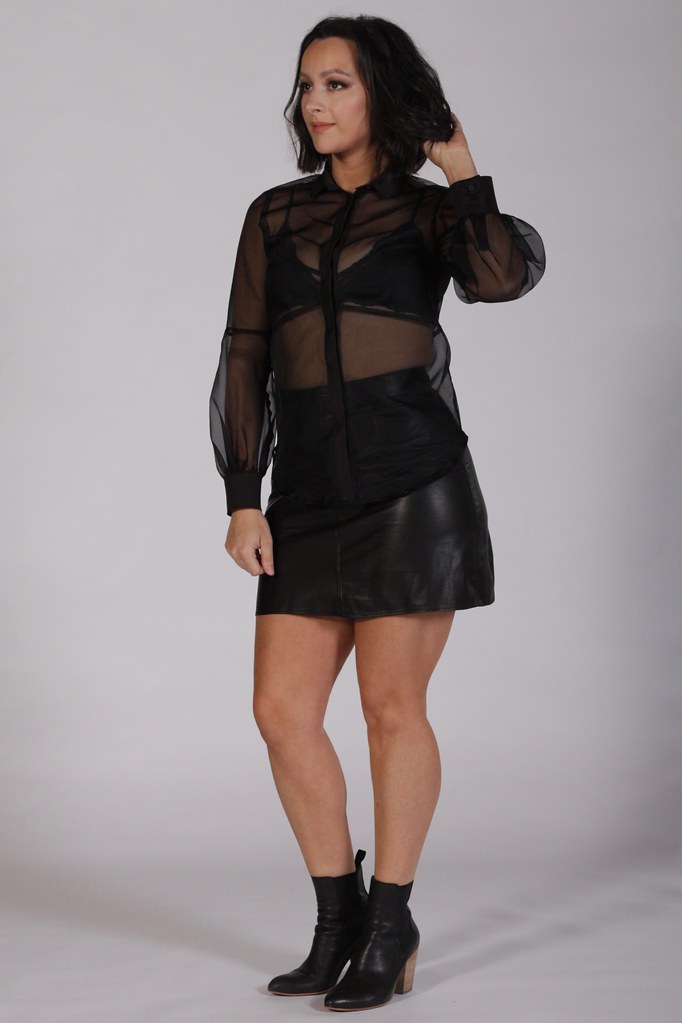
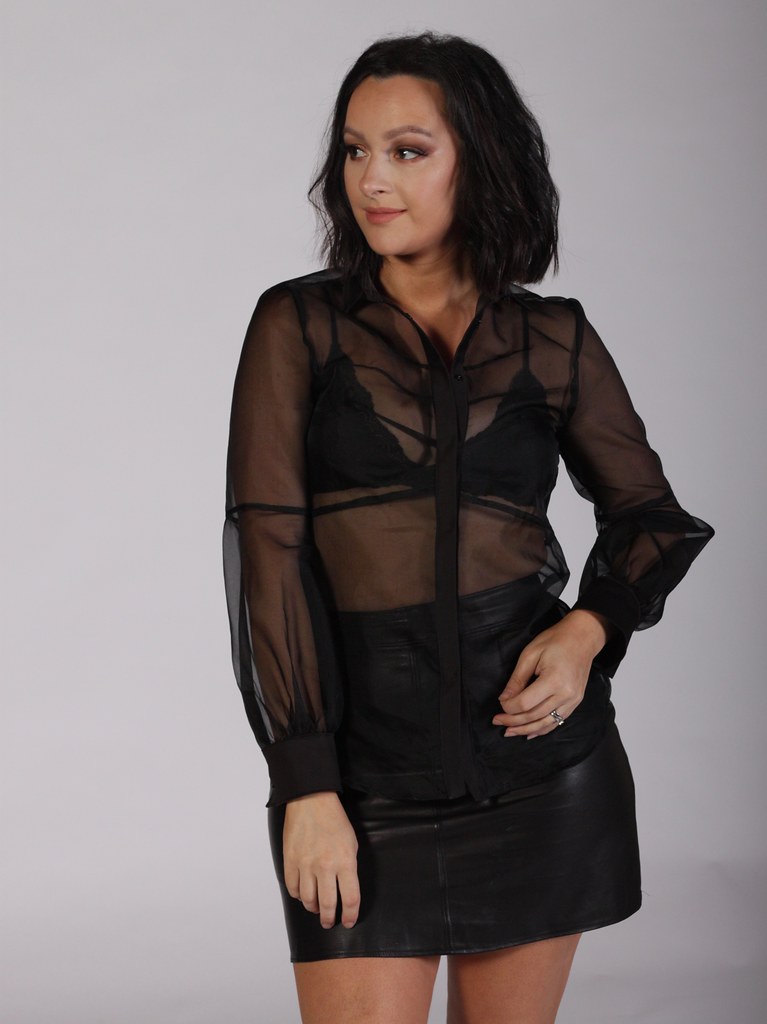
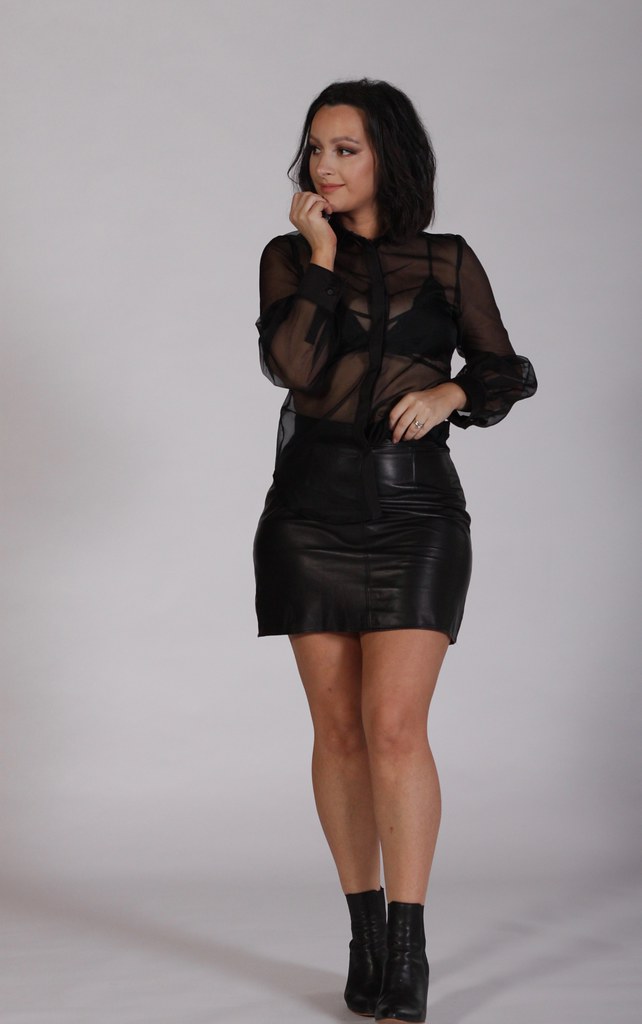
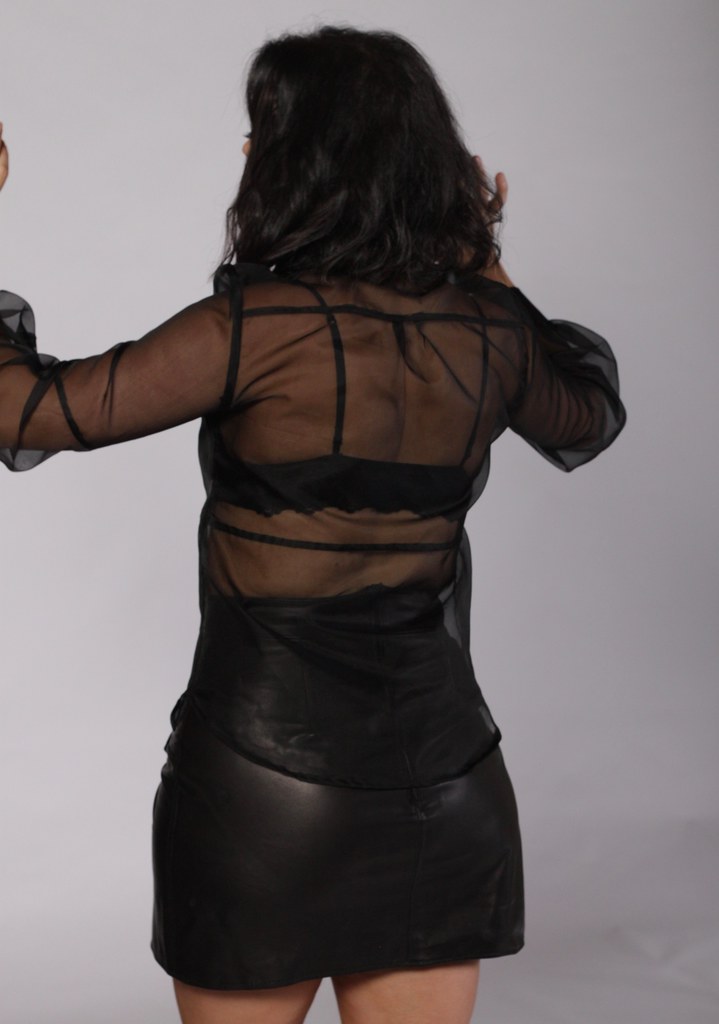
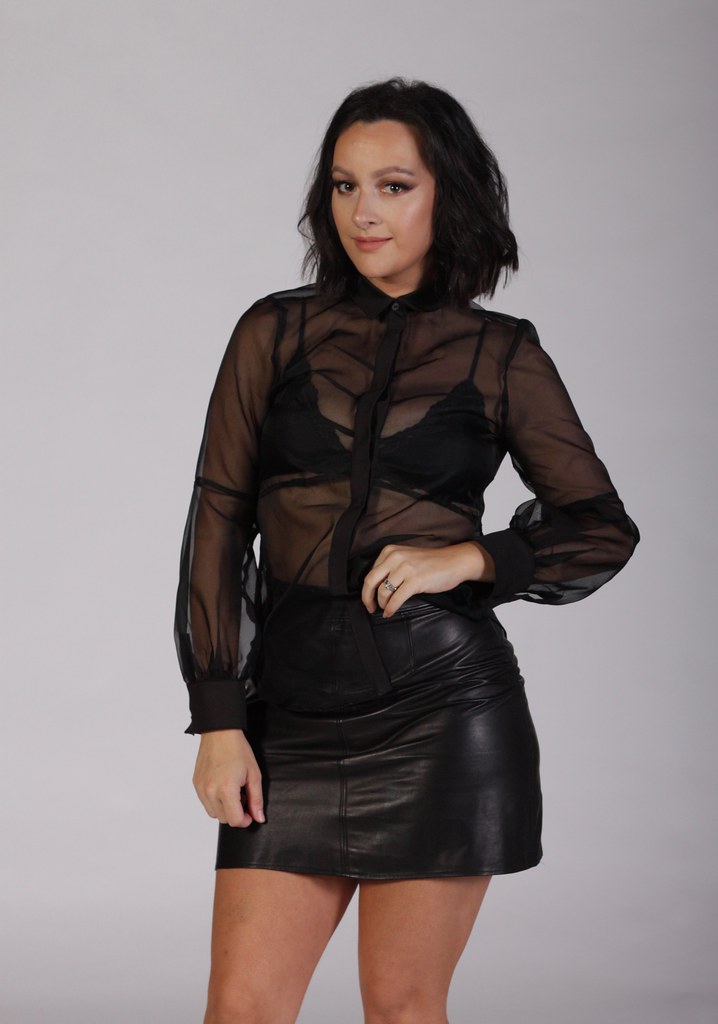
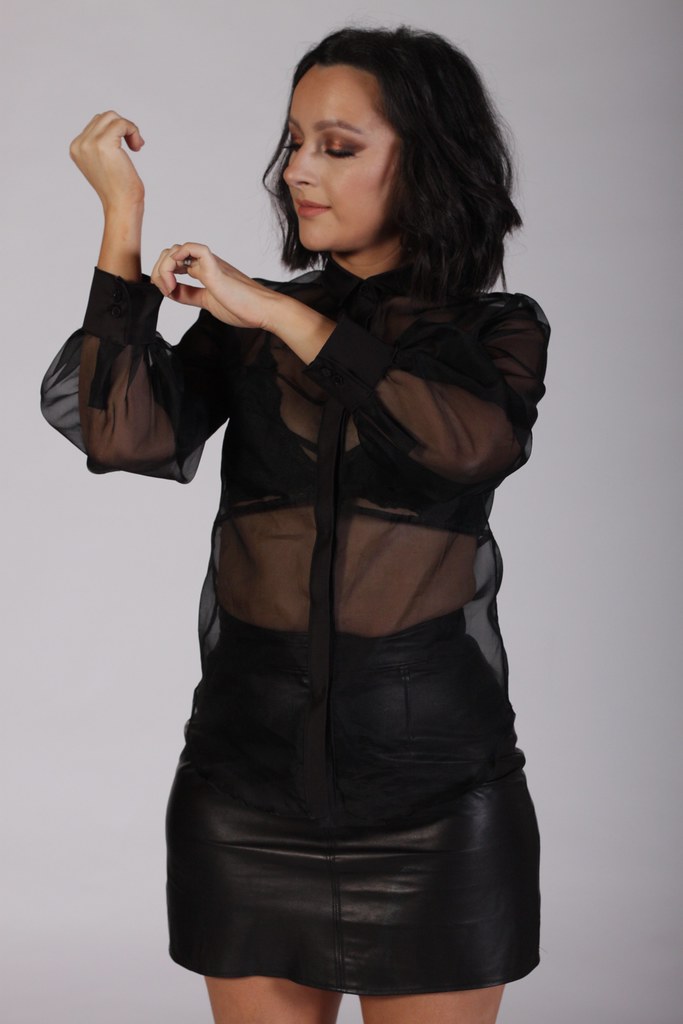
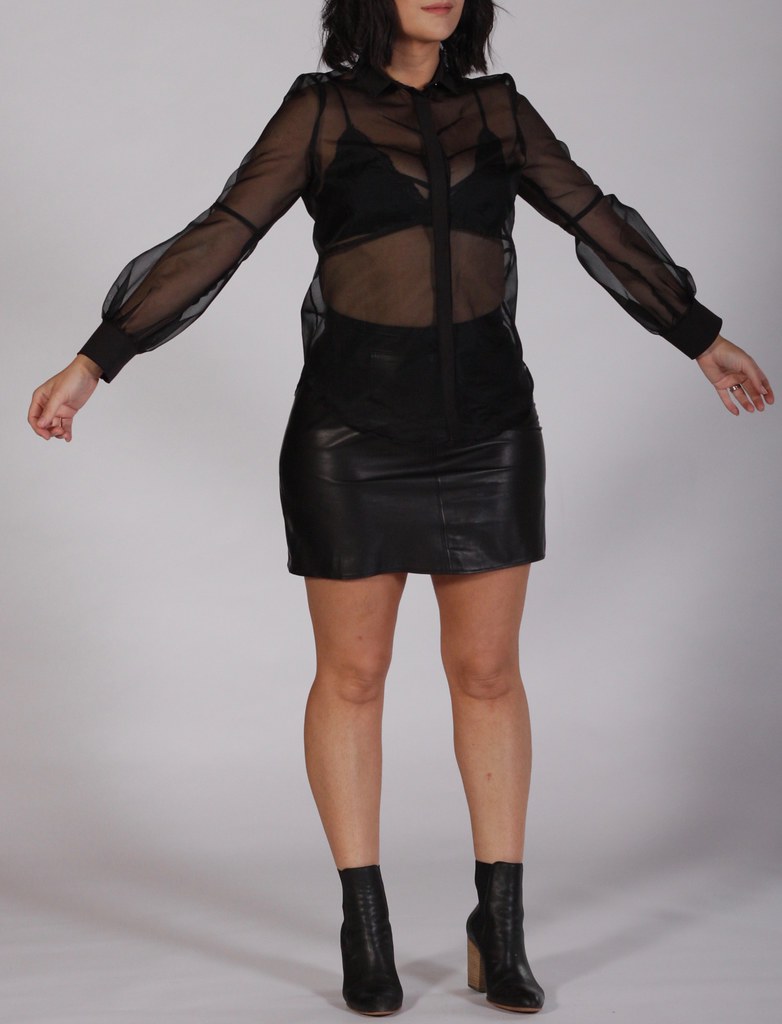
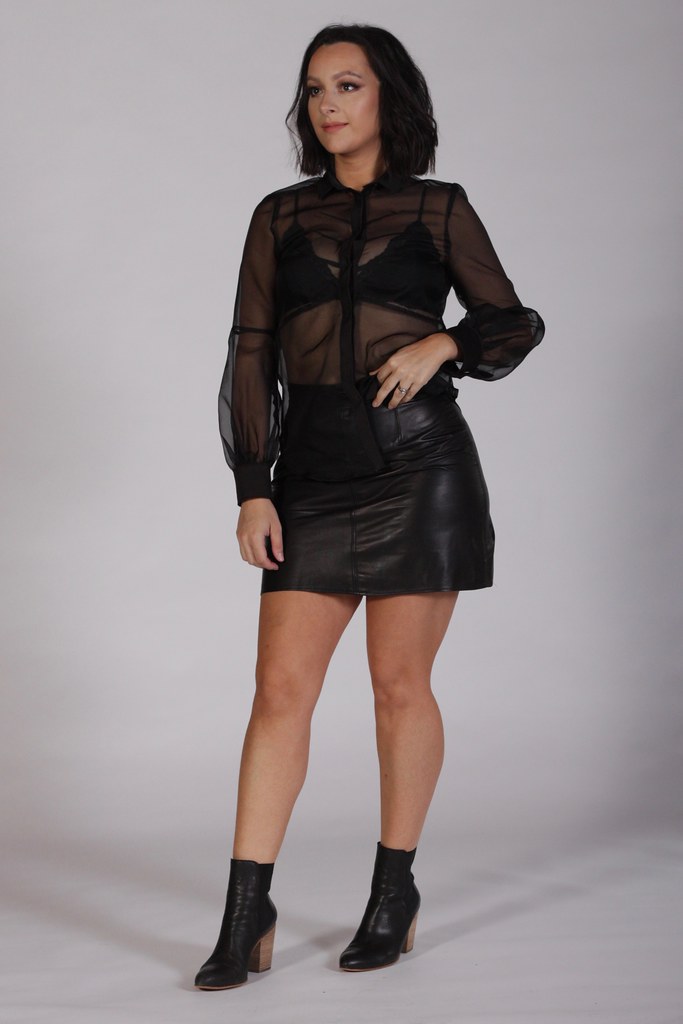
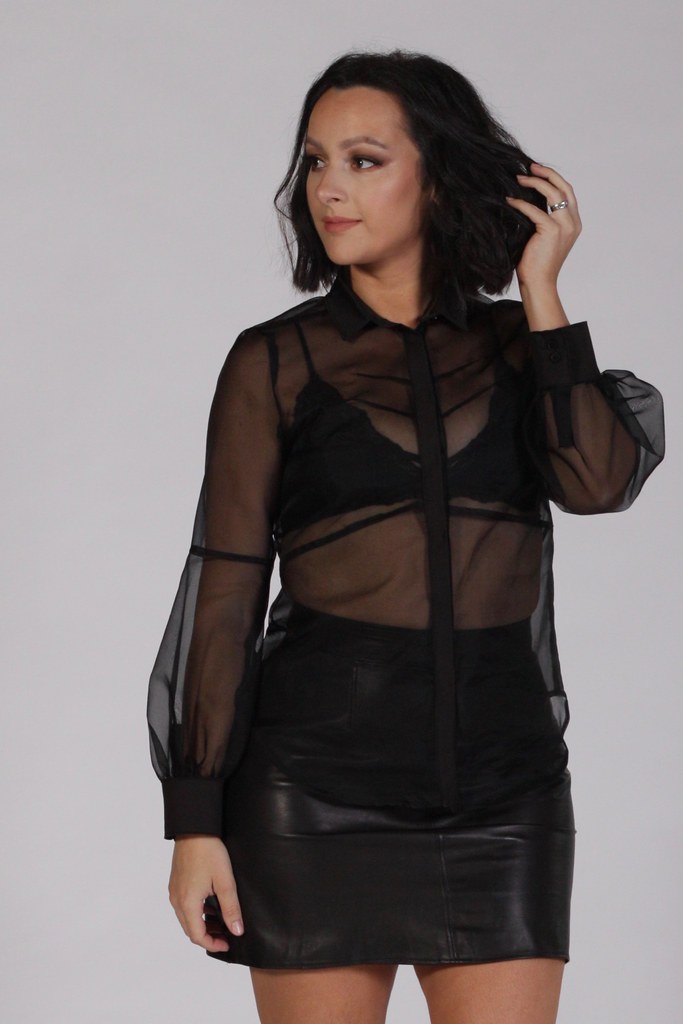
I made this blouse in a beautiful crisp black, silk organza from The Cloth Shop in Ivanhoe.
Silk organza is such a unique fabric with it's transparency and stiff texture. It is such a great fabric to play with volume.
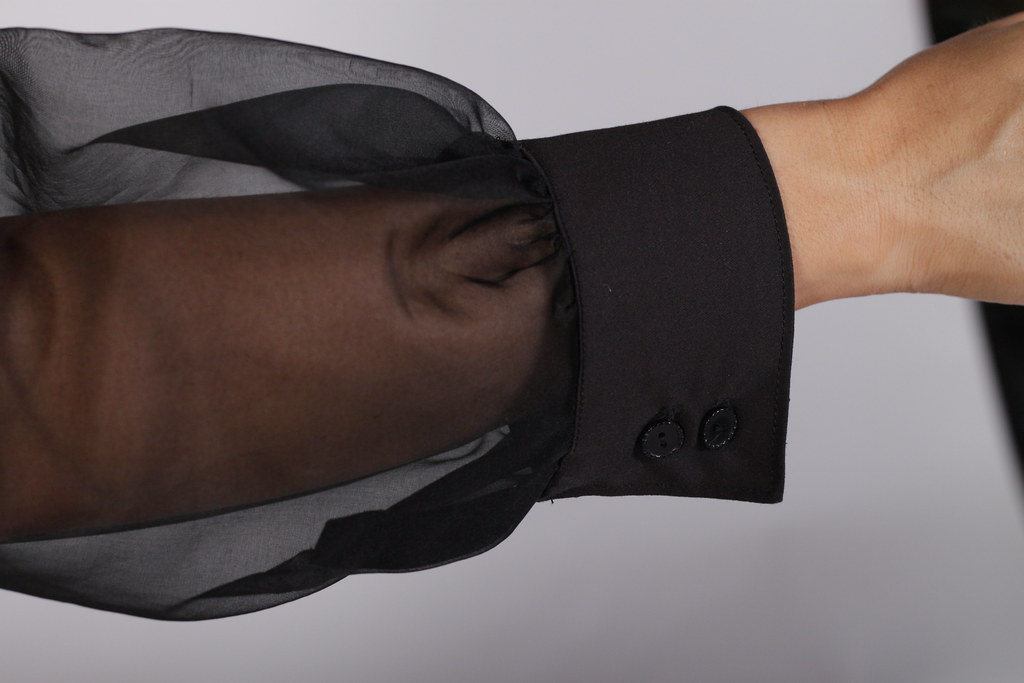
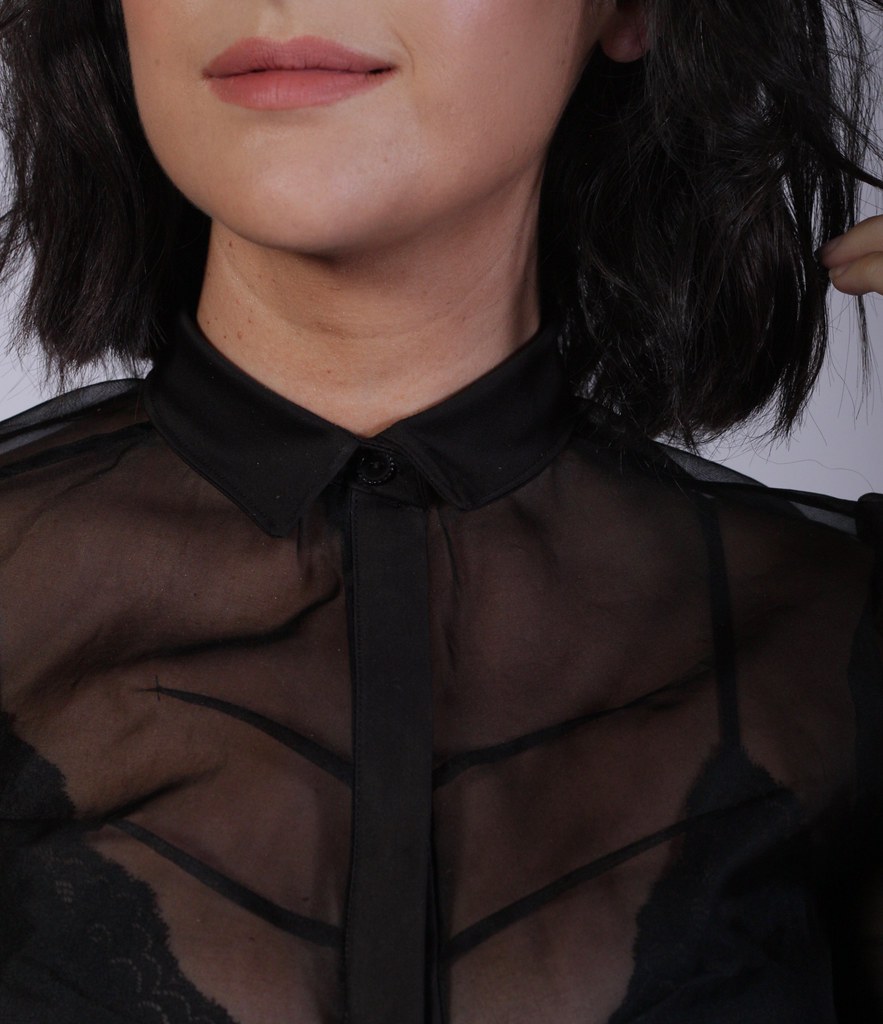
I used a solid black cotton sateen from Spotlight for the button band, collar and cuffs, which added a nice contrast to the organza.
I'm loving the 'transparent fashion' look at the moment, recently using a purple silk organza to make this fancy trench coat below:
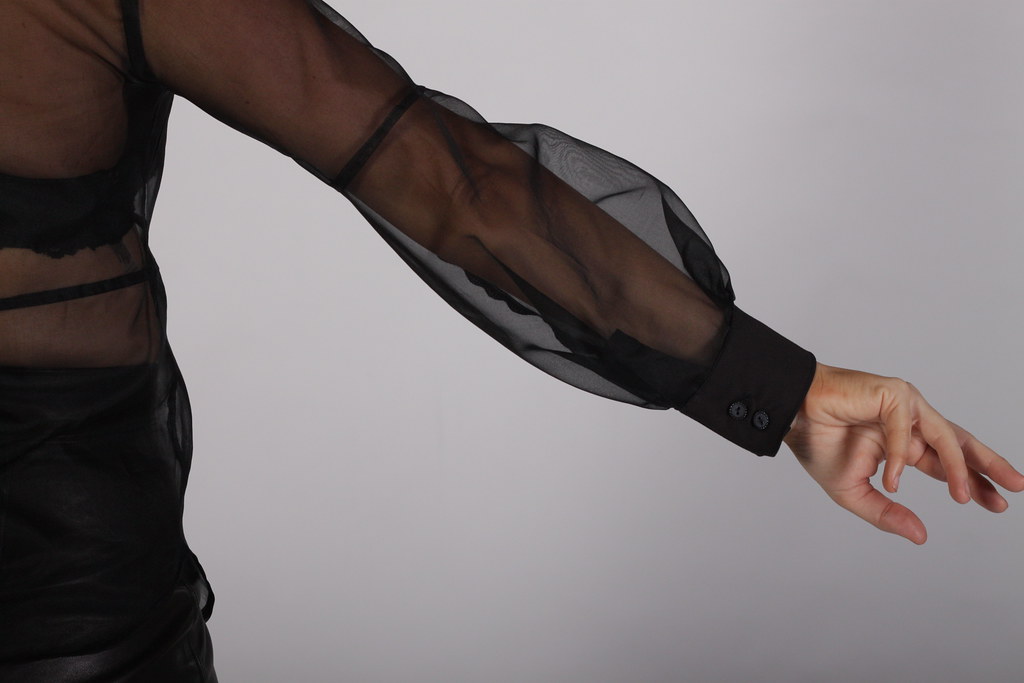
Full statement sleeves are all the rage at the moment and I'm a sucker for a fashion fad. The sleeves already had a bit of volume in the pattern, but I altered it to give even more volume. Because sometimes more is just MORE, OK?
FULLER SLEEVES - I drew three vertical lines through the pattern and cut from the bottom to the top, leaving a slight hinge in the paper at the top of the pattern. This ensured that the width of the pattern top remained the same.
I then spread out the pattern evenly and stuck it down to some paper. The bottom edge is gathered to fit the sleeve cuffs, so you can go as big as you want!
I FLAT FELLED my seams which kept the seams flat, and hid raw edges.
Overlocked seams would be more visible in this transparent shirt and I love how neat it made the shirt look on the inside.
The only exception was the armhole and sleeves seam, which I serged.
I decided to use a COTTON SATEEN FABRIC in a solid black for the collar, cuffs and centre-front closures in cotton sateen. I love how it contrasts with transparent organza, and gives it a bit of an edge.
I Finished the centre front with SNAP BUTTONS for a sleek look to the button band. The shirt already has so much detail and the hidden closures adds to the dressiness of the look.
I Used buttons and BUTTON HOLES on the cuffs (two each side) and for the collar. These areas receive the most tension so the buttons are appropriate, and it gives the shirt a little extra detail.
I didn't line the BACK YOKE. The extra layer would have made that section darker, which I don't mind, but I didn't want to make the shirt too busy with the cotton sateen details already adding contrast.
Love
I love the fullness of the lower half of the SLEEVES and how it contrasts with the slim upper sleeve.
The ANGLED DARTS on the bodice front are such a different and interesting way to add shape and design to this shirt.
I love the CURVED HEM, which seems to be the perfect length on my frame.
The DOUBLE BUTTONS on the sleeve cuffs, adds that subtle bit of extra detail and is also very practical.
THAT FIT - I don't know what it is about BurdaStyle, but they just seem to suit my shape well. I rarely have to make major changes, and the fit seems to be well suited to my proportions. I don't claim to understand it but I love it
Tips
This sewing pattern is excellent and well drafted, but if you're looking for clear instructions on how to make it, you won't find it with this pattern.
I used the following online tutorials to make my sleeve plackets and collar, which I couldn't work out from the limited, unillustrated pattern instructions:
This pattern is such a lovely design, and could be easily adapted for a slimmer sleeve if big bouncy forearms aren't your thing.
I love it in the silk organza, which would pair well with a camisole for a less conspicuous look.
They say the Melbourne uniform is 'all-black', and so this usually colourful girl is feeling suitably city proud in this get up.
With Christmas just around the corner I wanted to thank all my lovely readers for all your support and encouragement this year, and to wish you and yours a very merry and very safe festive season!!