Julia Bobbin Header Image and Menu Past Projects Tutorials Celebrity Copy Cat Awards About Me
Showing posts with label Burda Style. Show all posts

Wednesday, 13 November 2019

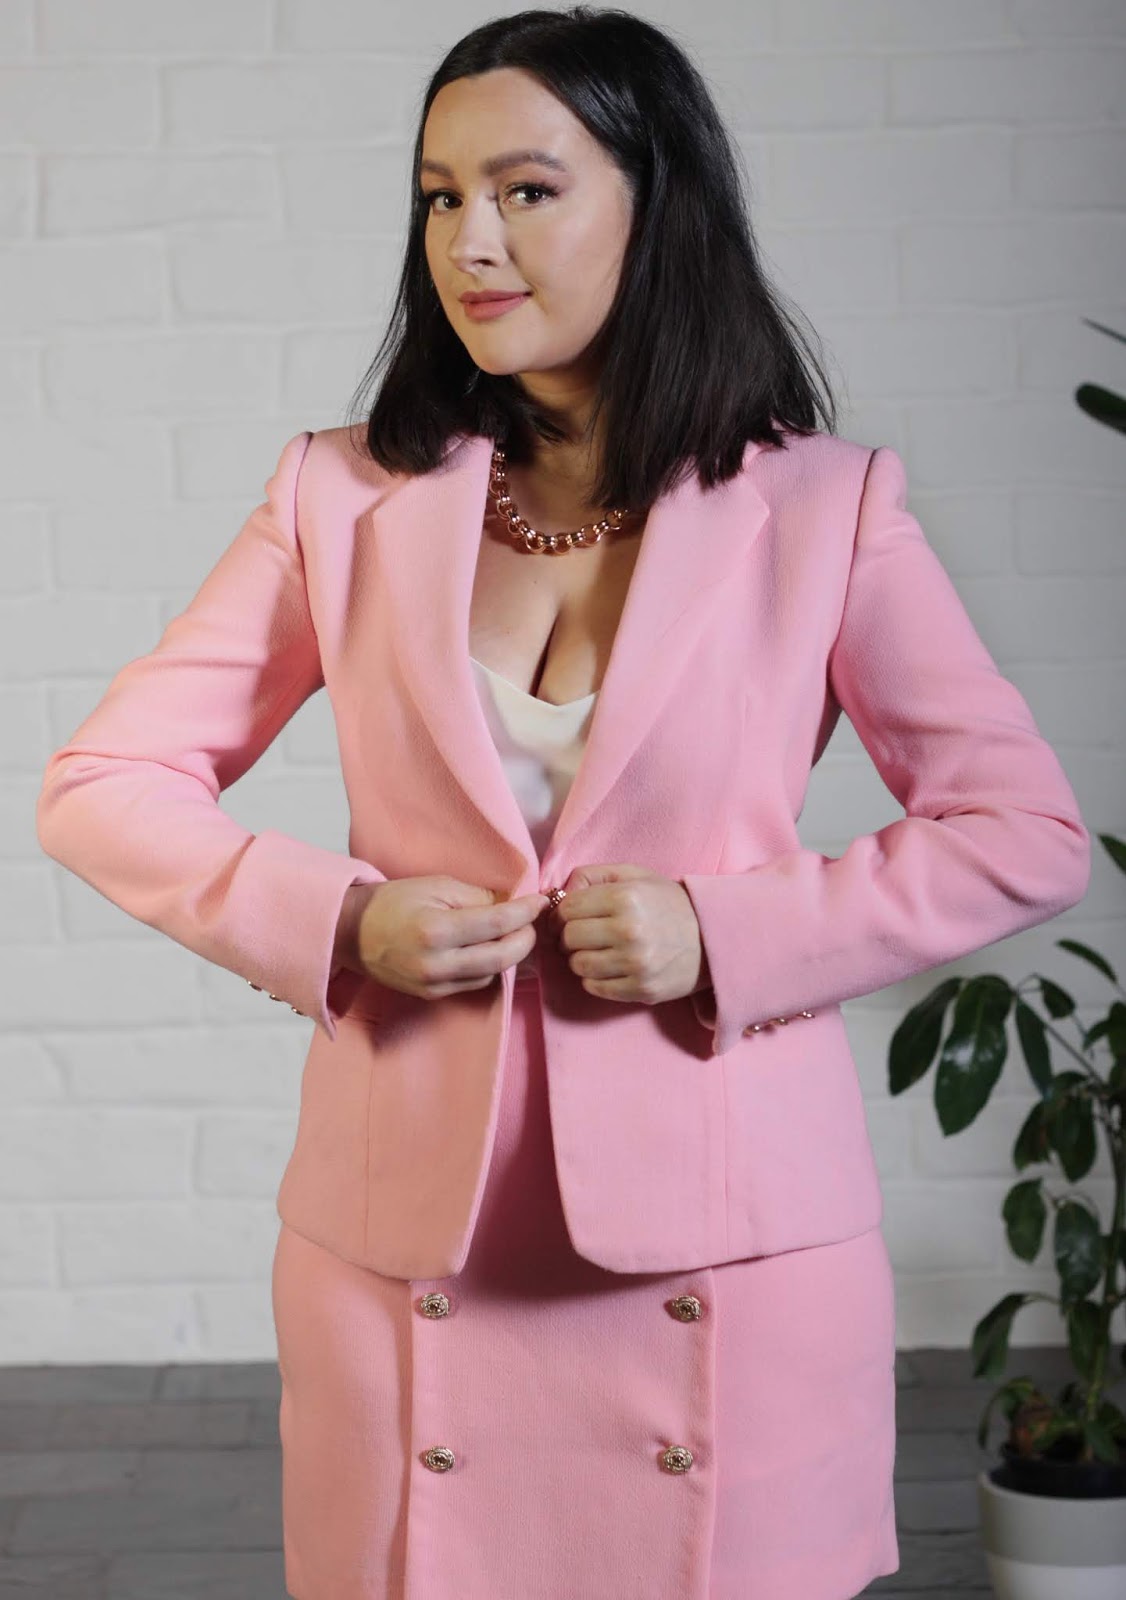
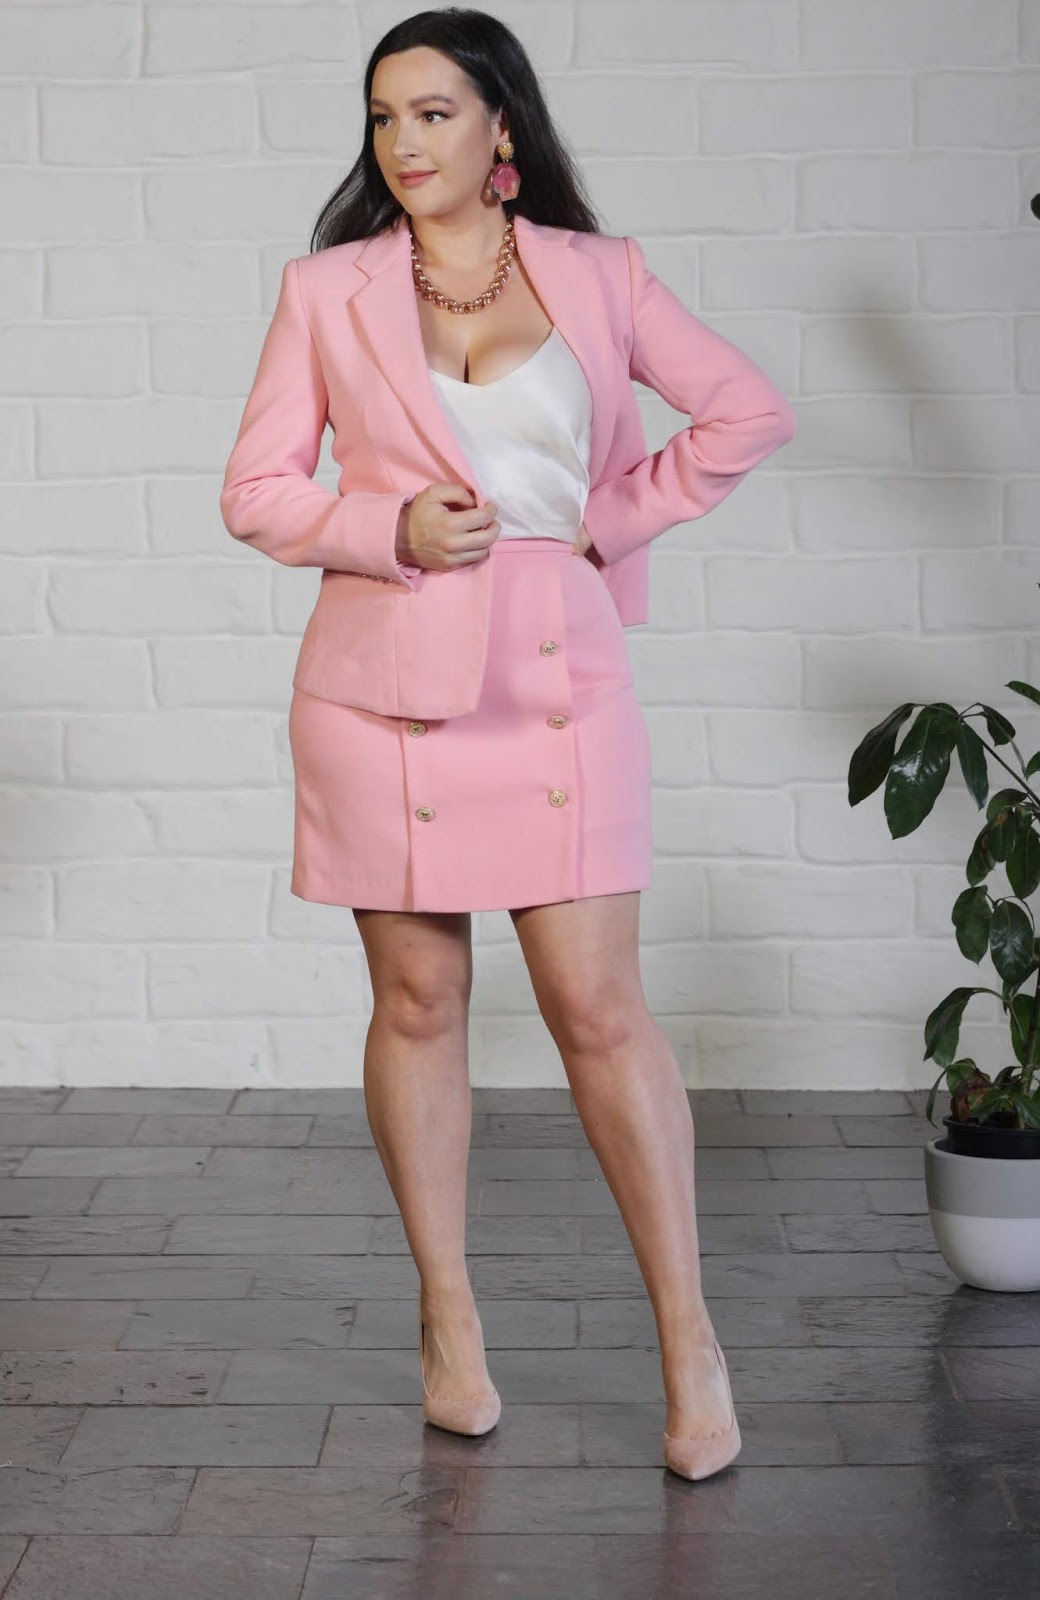
My First TAILORED Blazer - Burda 6875

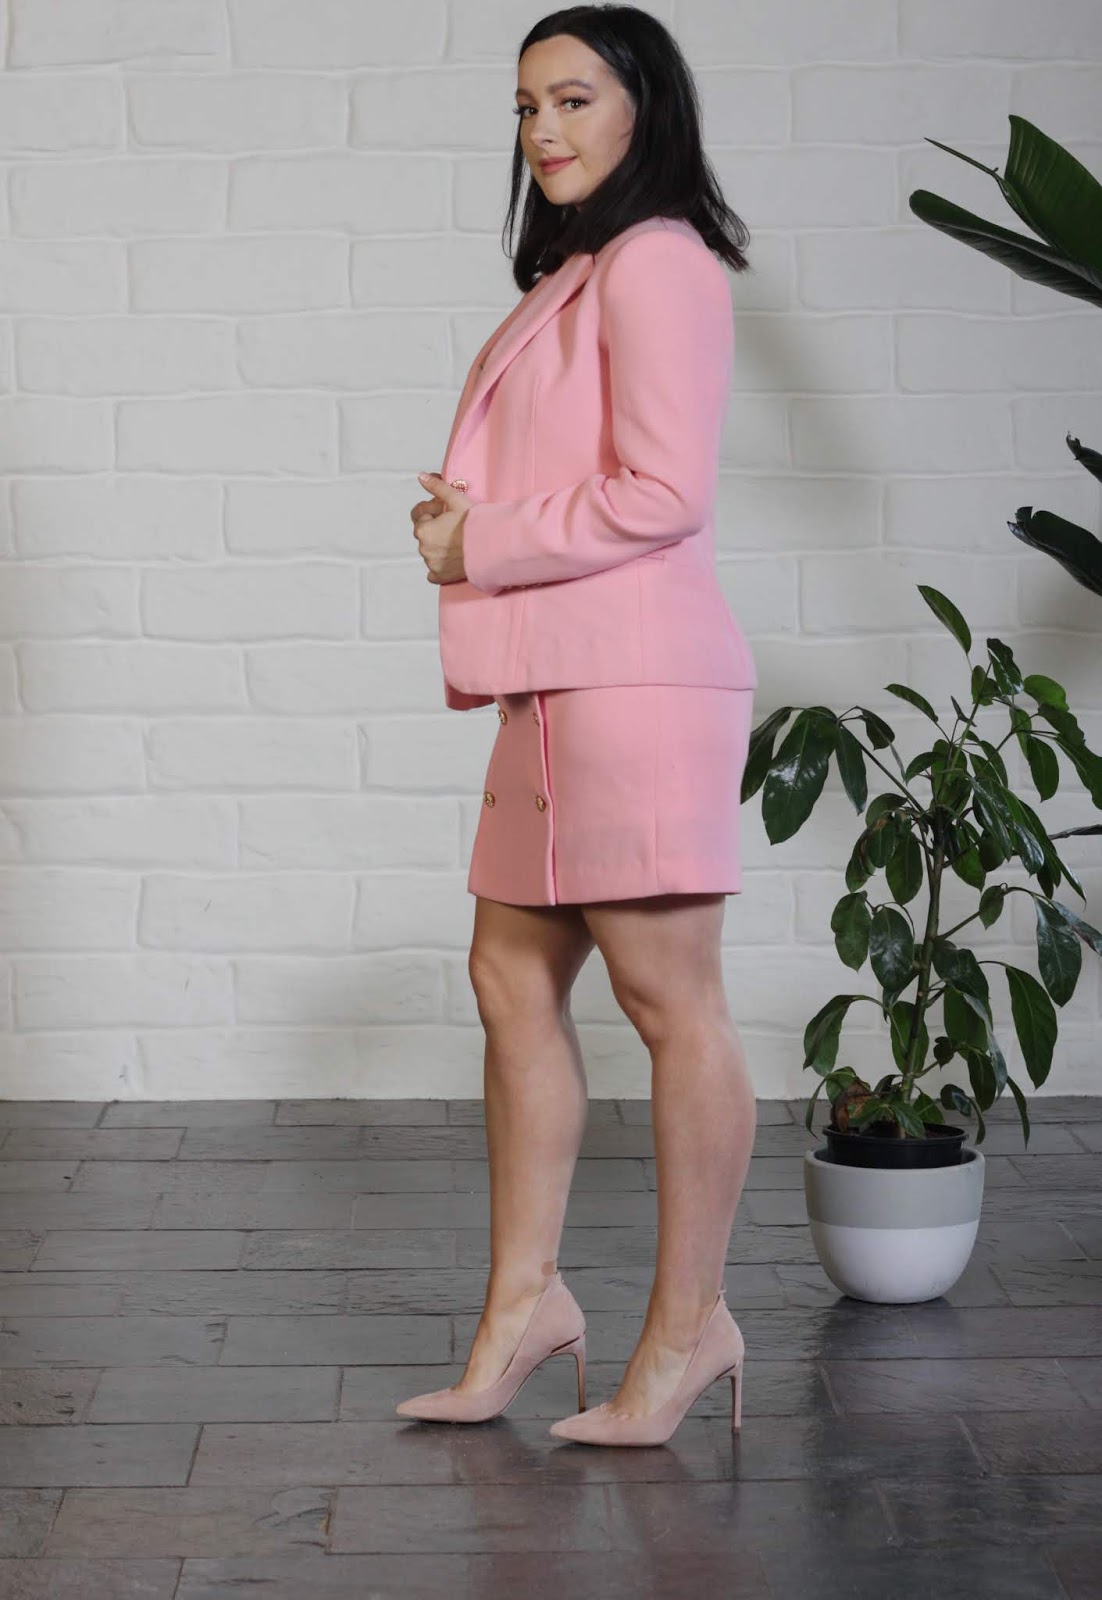
Julia Bobbin - First Tailored Blazer - Burda 6875

I am so excited to share with you, my FIRST ever, TAILORED BLAZER!!!! ALL THE EMOTIONS!

For many years I've fantasised about making a tailored blazer.
A blazer that included canvas interfacing, pad stitching, roll-lines and is mainly sewn by hand.

I've always been fascinated by the engineering of such garments and intimidated by their apparent complexity but I decided I was ready to take the plunge and challenge myself to make a proper, bespoke blazer; and HERE IT IS!

Julia Bobbin - First Tailored Blazer - Burda 6875

THIS BLAZER includes:

  1. Canvas (soft hair cloth) interfacing
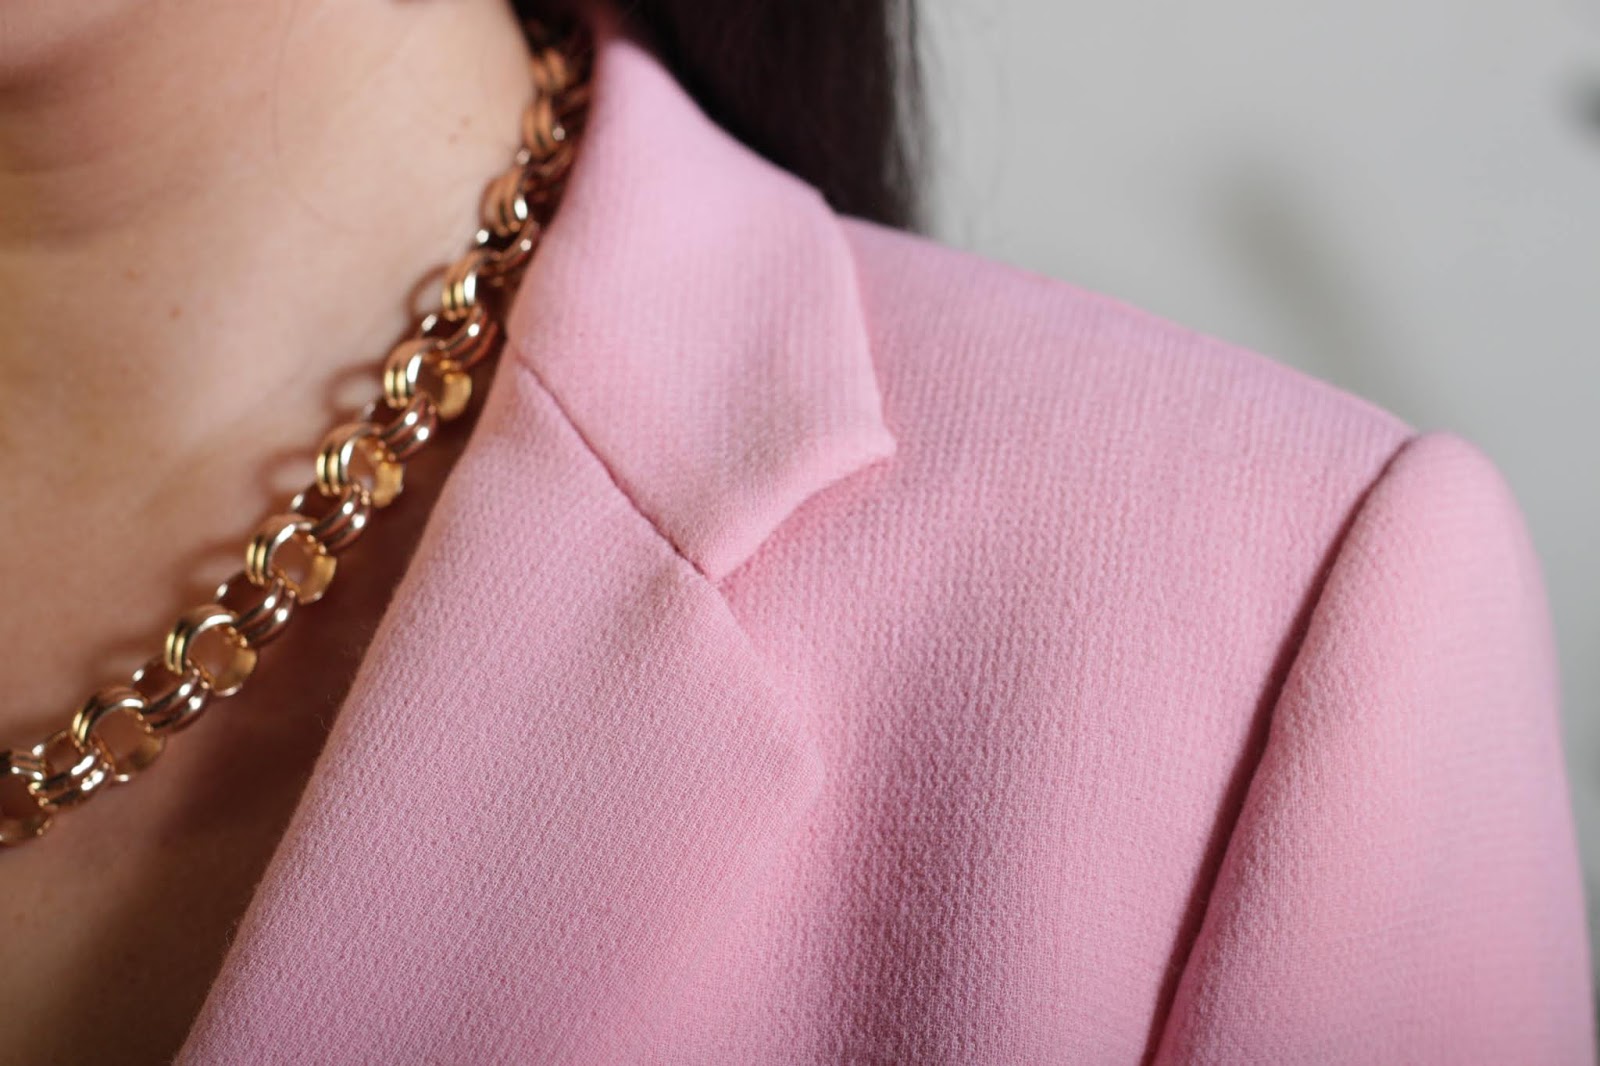
  2. Pad stitched lapels and under collar
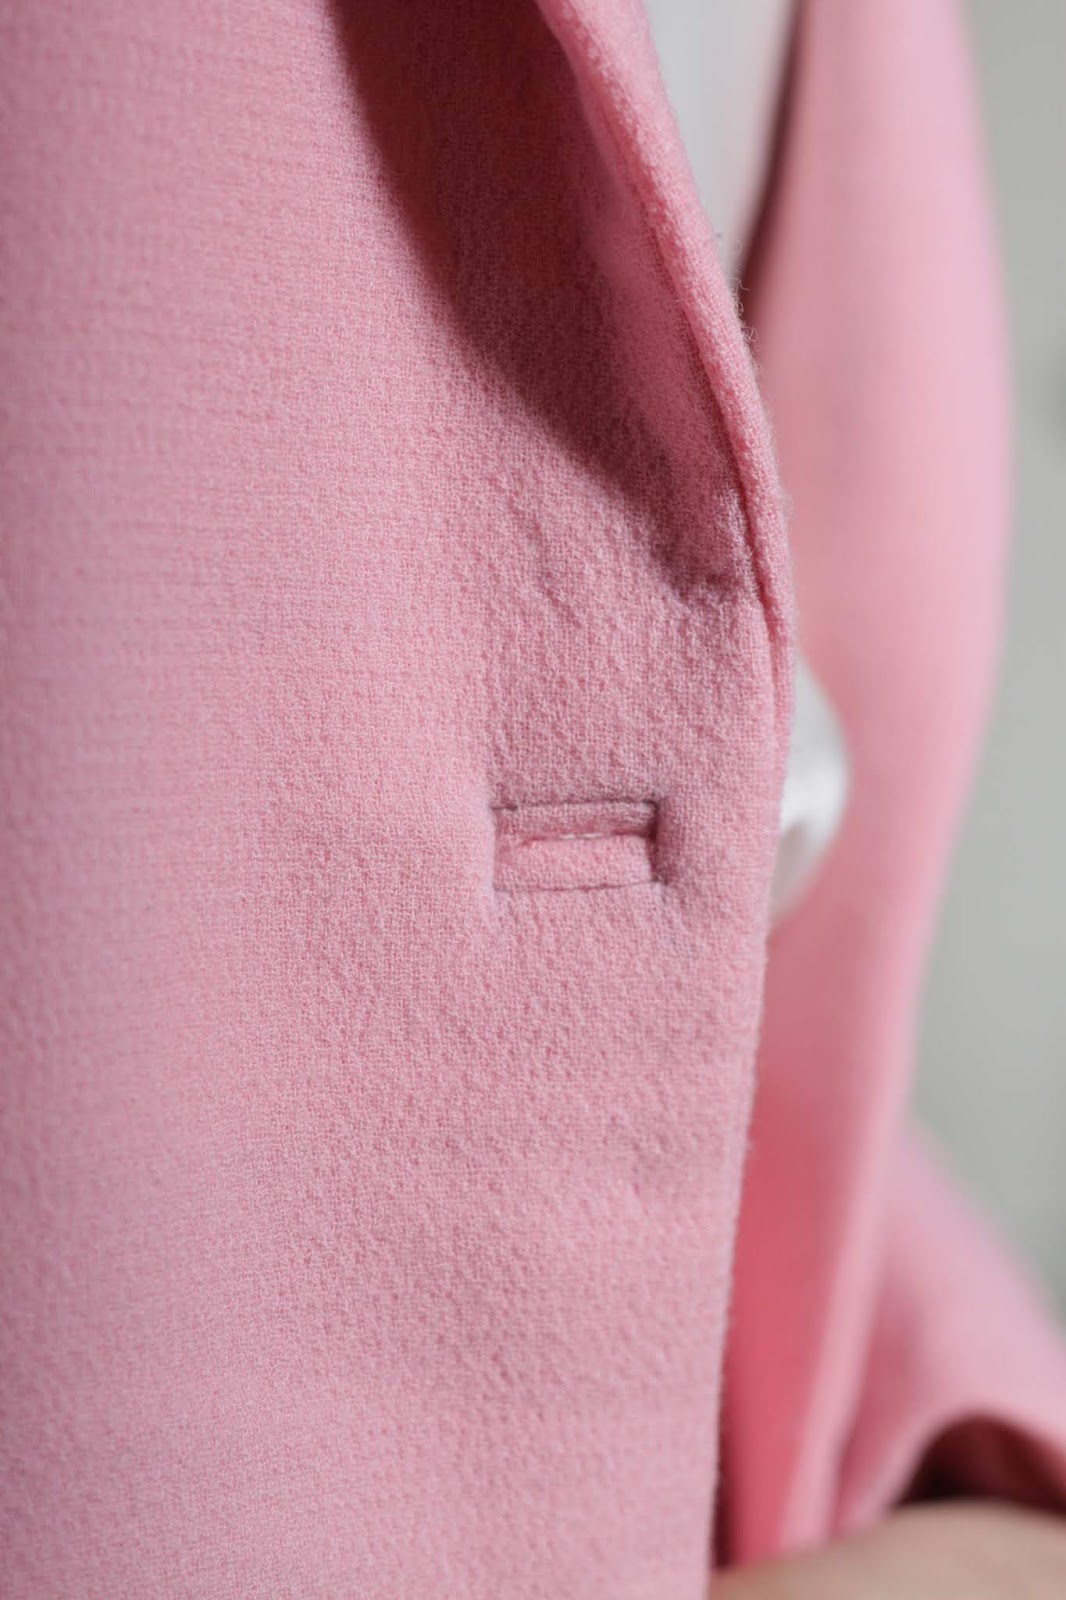
  3. Bound button holes
  4. Surgeon sleeves (vented sleeves) with mitred corners
  5. Sleeve heads and shoulder pads
  6. Silk organza back stay
  7. Double welted pockets
  8. Twill tape along roll line and facing edges
  9. Liberty of London pocket lining
  10. Silk lining, each piece sewn in by hand
  11. Blind stitched and canvased hems
  12. Wool felt under collar
  13. Upper and under collar sewn to neck and gorge line by hand
  14. Vintage buttons
  15. All hand sewing completed with silk thread
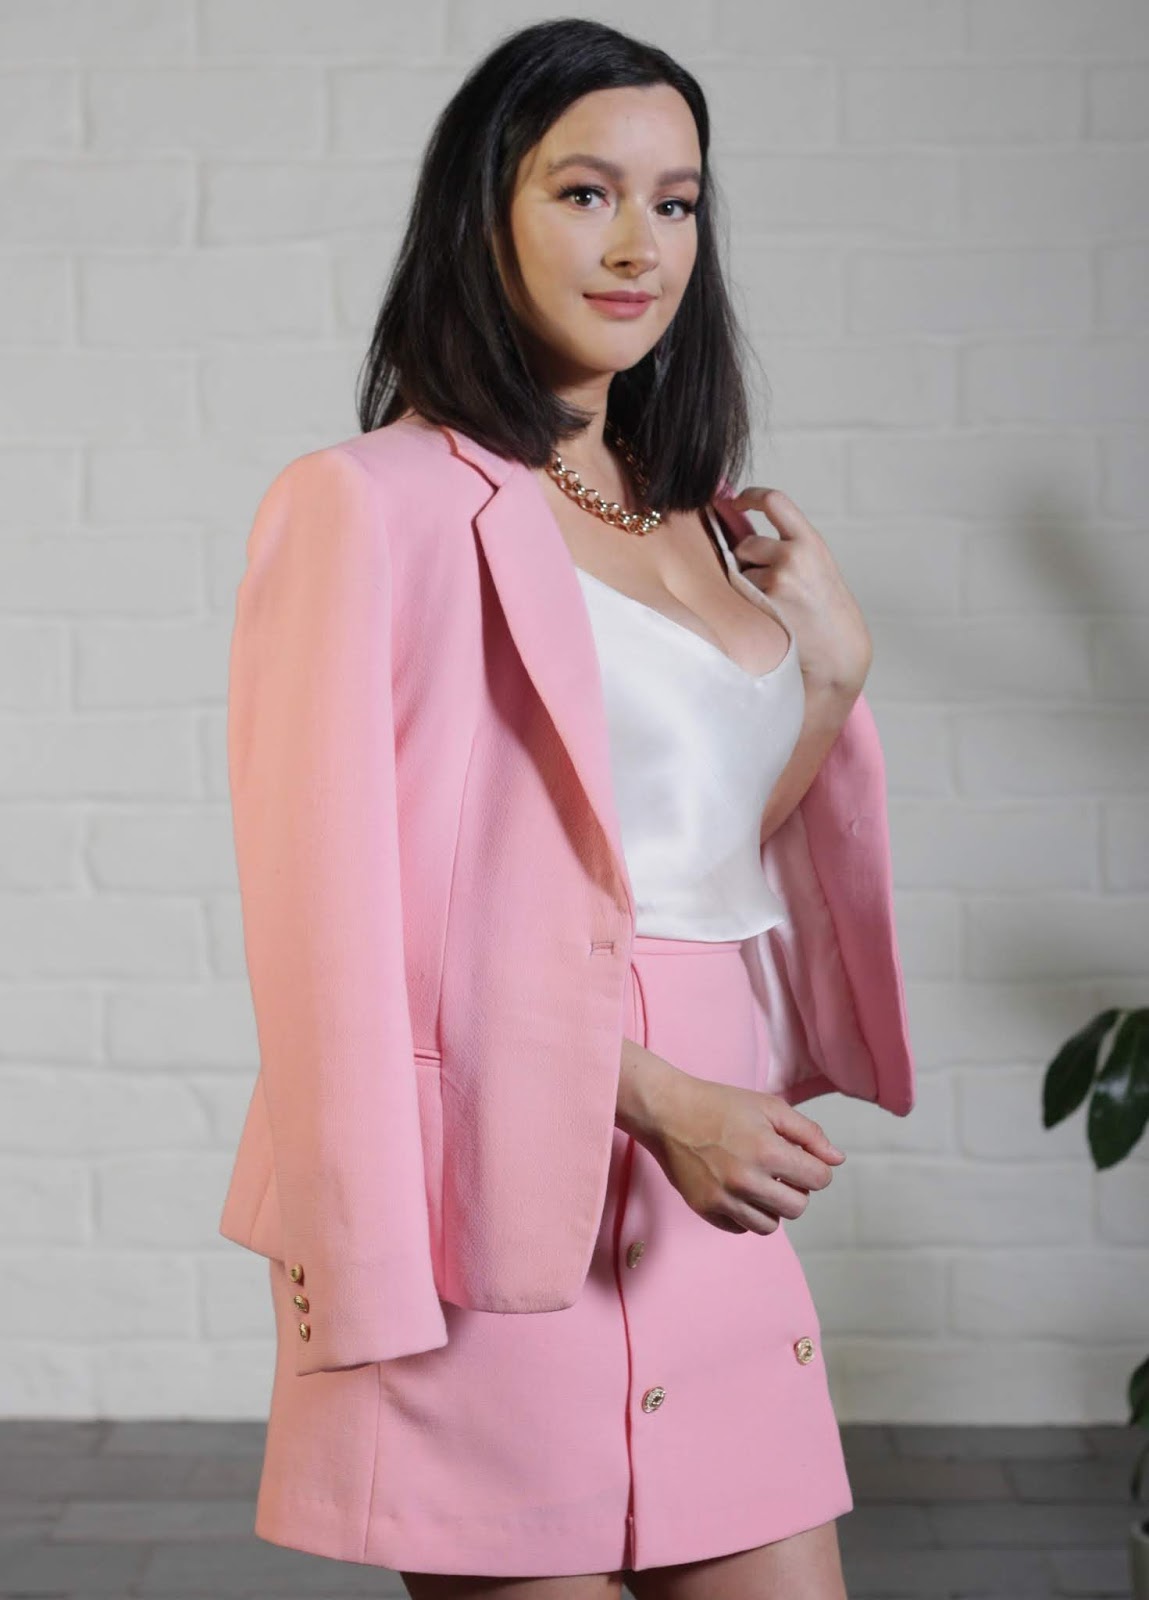
Julia Bobbin - First Tailored Blazer - Burda 6875

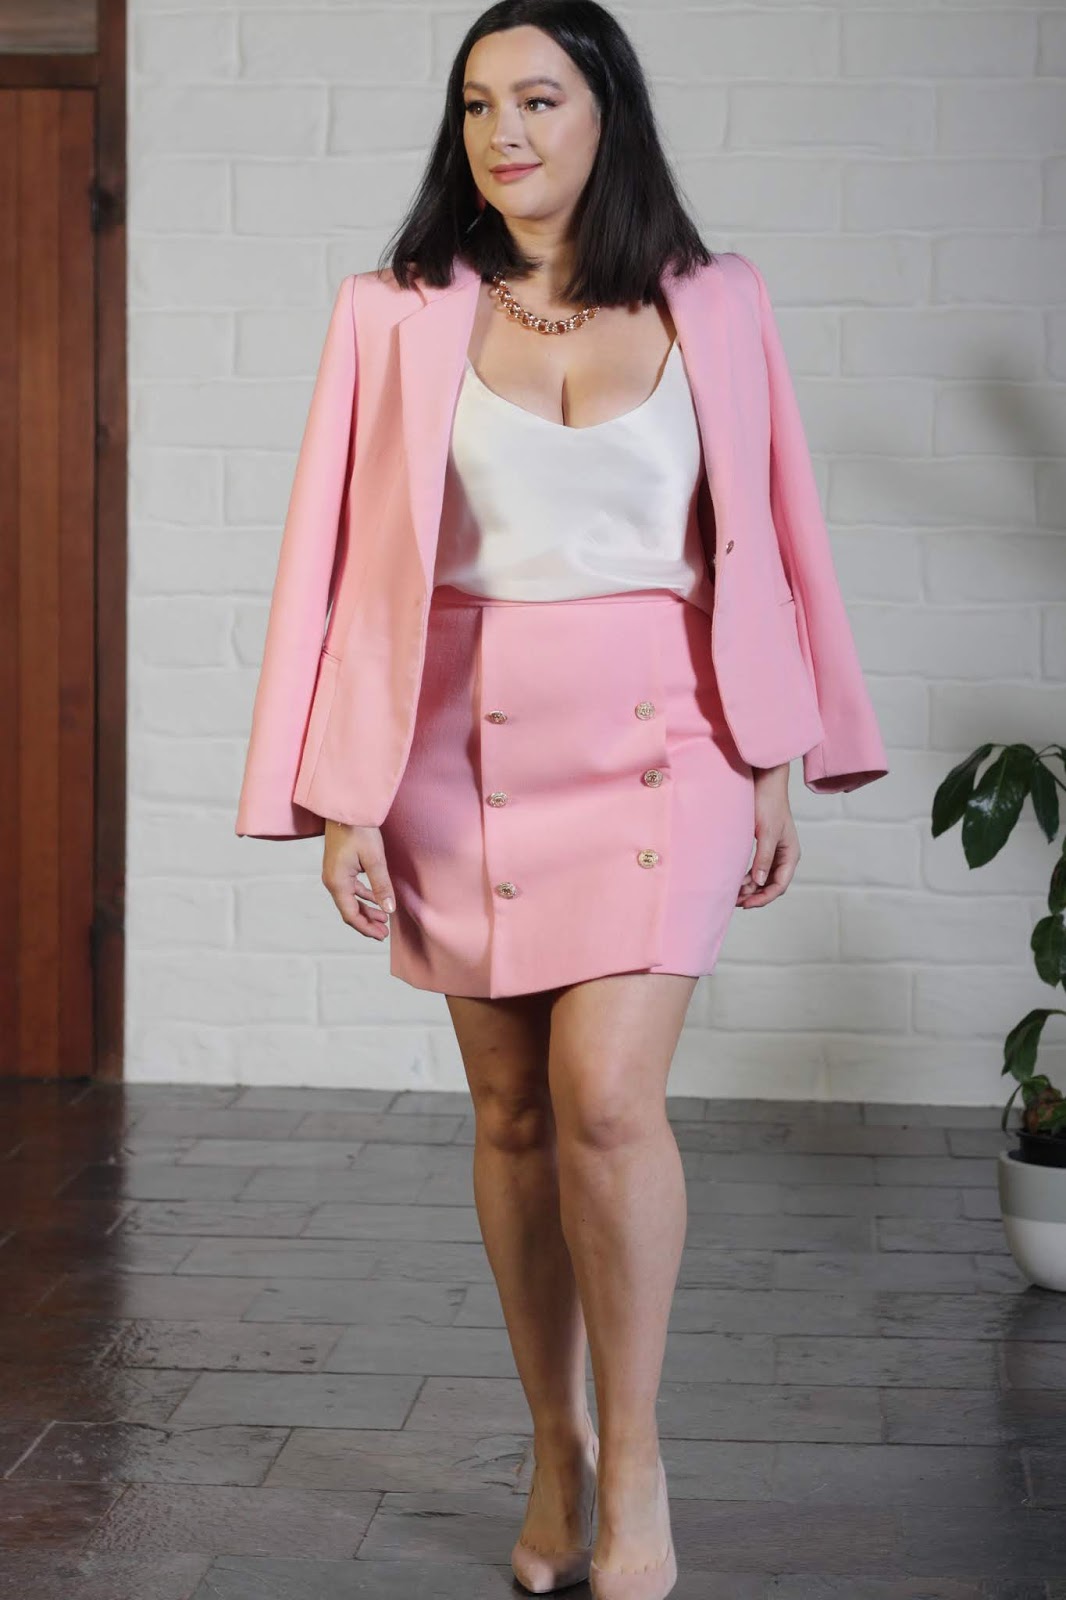
The Fabric

The most beautiful Italian double wool crepe from Mood Fabrics.
The weight and drape of this fabric work so well with this pattern, and the thick texture hides hand stitching well.

It is lined with a 19mm silk satin from Home Craft Textiles, which makes wearing the jacket feel luxurious and super comfortable.

Julia Bobbin - First Tailored Blazer - Burda 6875

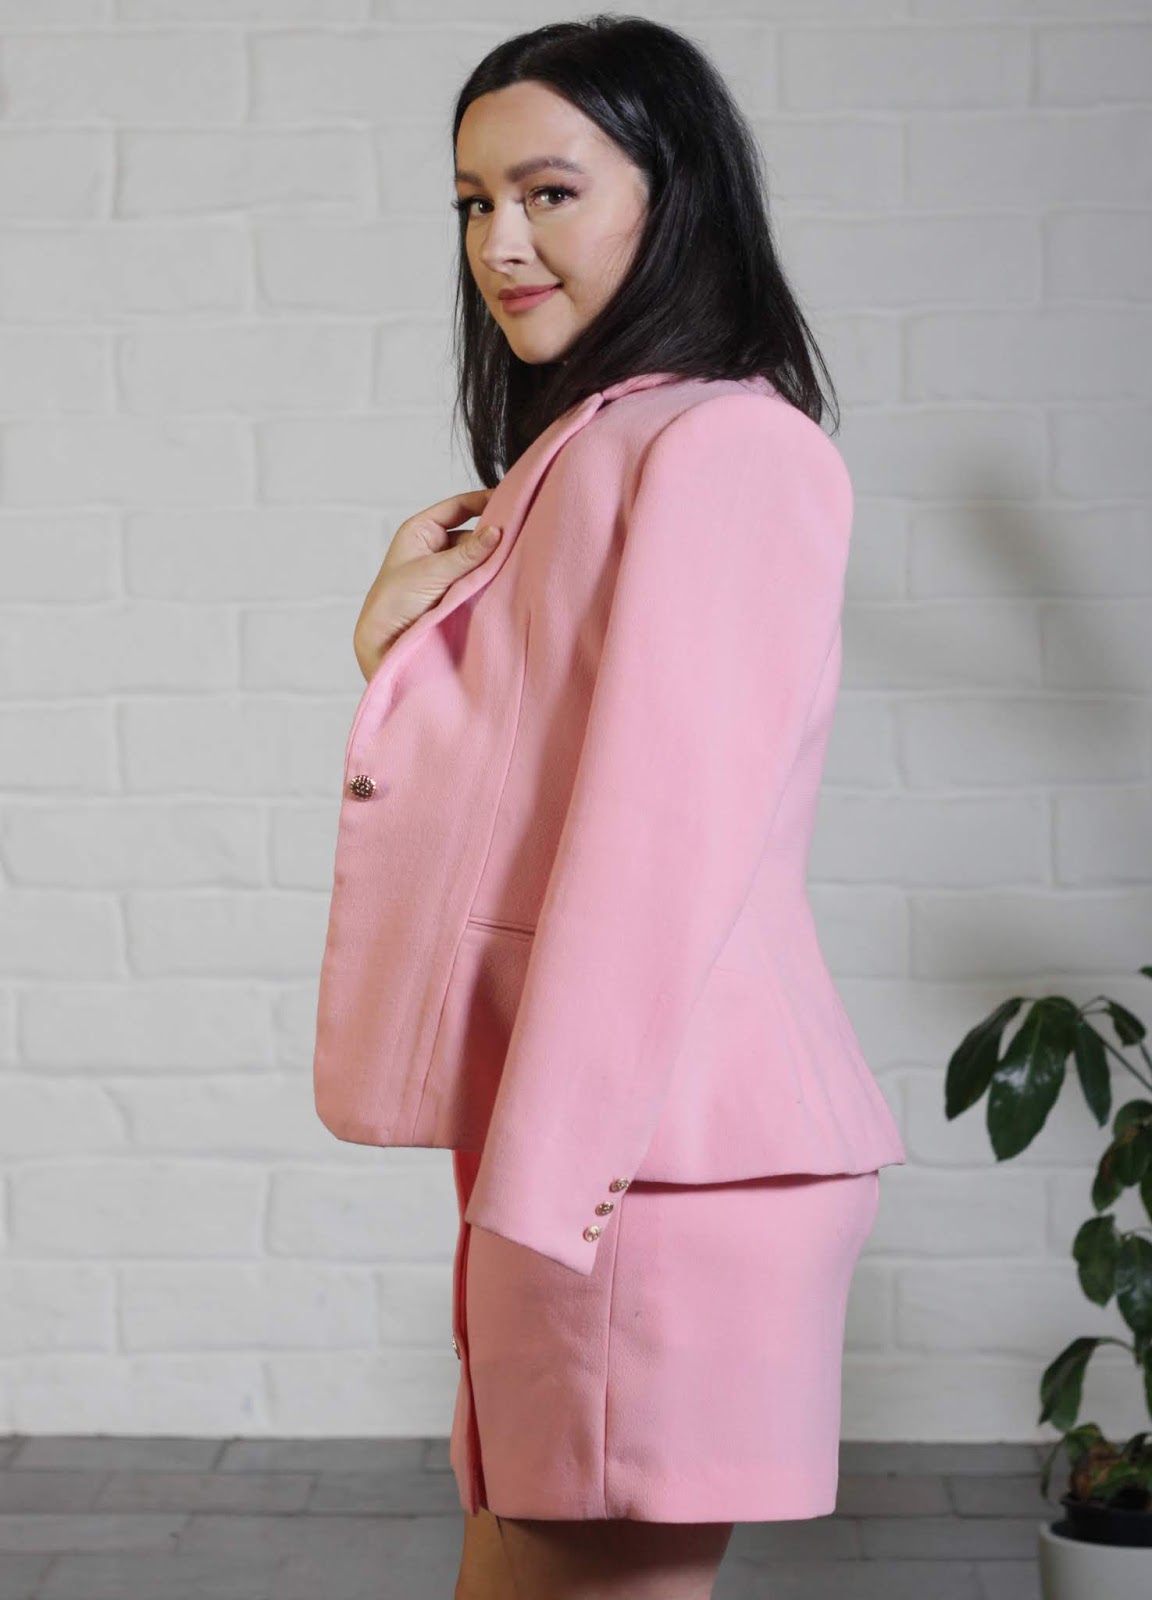
The Pattern

For the JACKET I used Burda 6875 in View A

THE SKIRT is self-drafted with a faux button placket, fully lined and a blind stitched hem. The waistband of the skirt is interfaced with silk organza (attached by hand) and closed with an invisible zipper down the centre back.

The CAMI is another Kate Bias Top by Just Patterns in a silk satin from Home Craft Textiles. I used silk organza as interfacing, instead of stay tape and I under-stitched the lining with a pick stitch by hand.
Julia Bobbin - First Tailored Blazer - Burda 6875

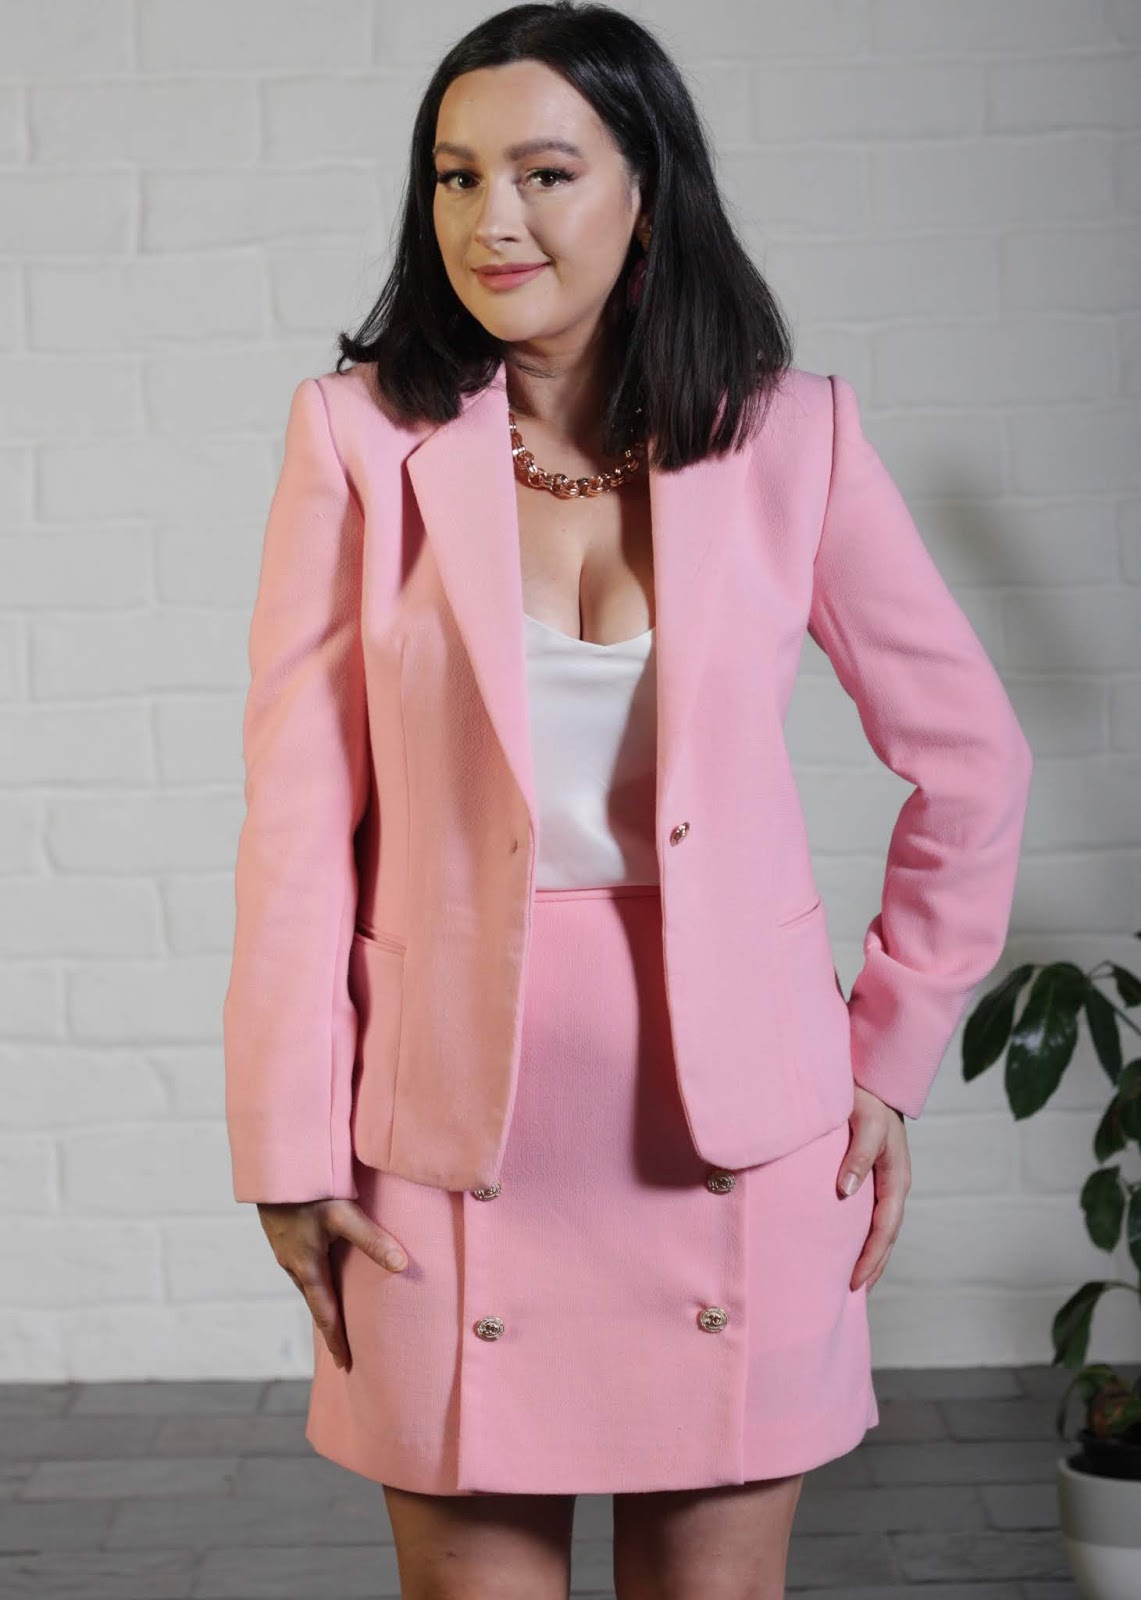
Changes

The construction of this jacket was very different to the original pattern, considering it was tailored and mostly hand sewn, but as for changes to the actual pattern, I did the following:

  • Lowered the top button and removed the second to make it a one button closure
  • Made a bound button hole instead of a machine button hole
  • Lengthened the sleeve vents to 11.5cm
  • Removed the centre back vent for a European style
  • Made a 2cm sway back adjustment
  • increased the width of the hip at the side seams and back princess seams by 4cm total.
  • Added 3cm to the width of the lining armhole to accommodate the shoulder pad and sleeve heads.
  • Vented the sleeve lining hems so surgeon sleeves could be functional
Julia Bobbin - First Tailored Blazer - Burda 6875

Pad Stitching

Pad stitching is the art of sewing together the two layers of fabric, the garment and the canvas interfacing, to act as one. 
It is done using small hand stitches that run along and parallel to the roll lines of the collar and lapel. When done correctly these stitches are almost invisible on the right side of the garment.

When stitching, the fabric and canvas is rolled over the index finger to encourage a curve in the fabric. Smaller stitches are made at lapel corners and at the roll line to set the roll line and to make corners of lapels and collars turn slightly to the body, rather than sticking out.

This is my first time pad-stitching and the results are so effective that it has completely won me over. No more stick-out corners, or twisted lapels. The lapel and collar curve to the body and refuse to fold anywhere but along the roll lines.

The under collar is made of wool felt and cut with out seam allowances. The under and upper collars are sewn by hand and attached to the garment with a fell stitch. This gives such wonderful control, and is apparently the mark of a true bespoke jacket.

Julia Bobbin - First Tailored Blazer - Burda 6875

Tailoring

I spent countless hours sleuthing the internet for any bits of information I could find on pad stitching and tailoring. If it's on the web, I've likely seen it by now. I also purchased the book 'Tailoring: The Classic Guide to Sewing the Perfect Jacket" which is an excellent resource and very picture heavy.

Below are a few progress pics of jacket, which I documented in my Instagram stories.


You can see the whole process and a lot more photos on my instagram highlights saved under 'Tailored Jacket'.


Final Thoughts

This jacket took countless hours and a lot of patience. I took my time to do a toile before I started sewing, and to practise making the welt pockets and bound buttonholes.

I originally set myself the challenge of making a tailored jacket to further my learning and to see just how much of an impact the engineering had on the final product. What I didn't expect is just how much I would enjoy and fall in love with it! Since posting this I have made and completed my SECOND tailored blazer (coming soon) and I already have plans for my next.

This was a project of love and I am so thrilled to learn these news skills. They have absolutely heightened my enjoyment of the final garment and makes me excited to learn more!

Julia Bobbin - First Tailored Blazer - Burda 6875

Thursday, 20 December 2018

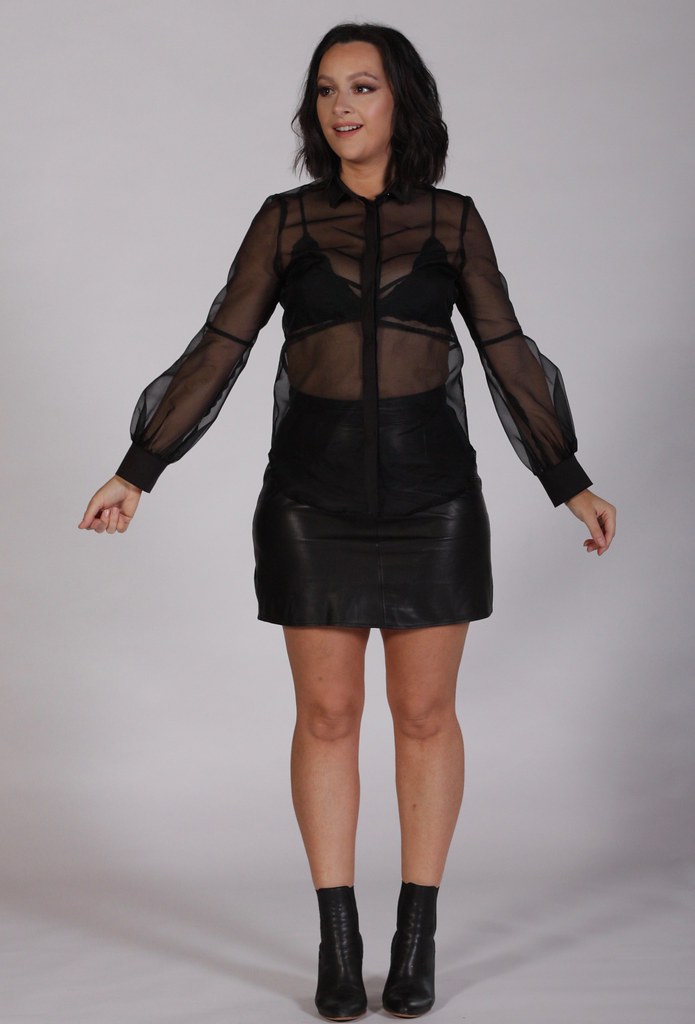
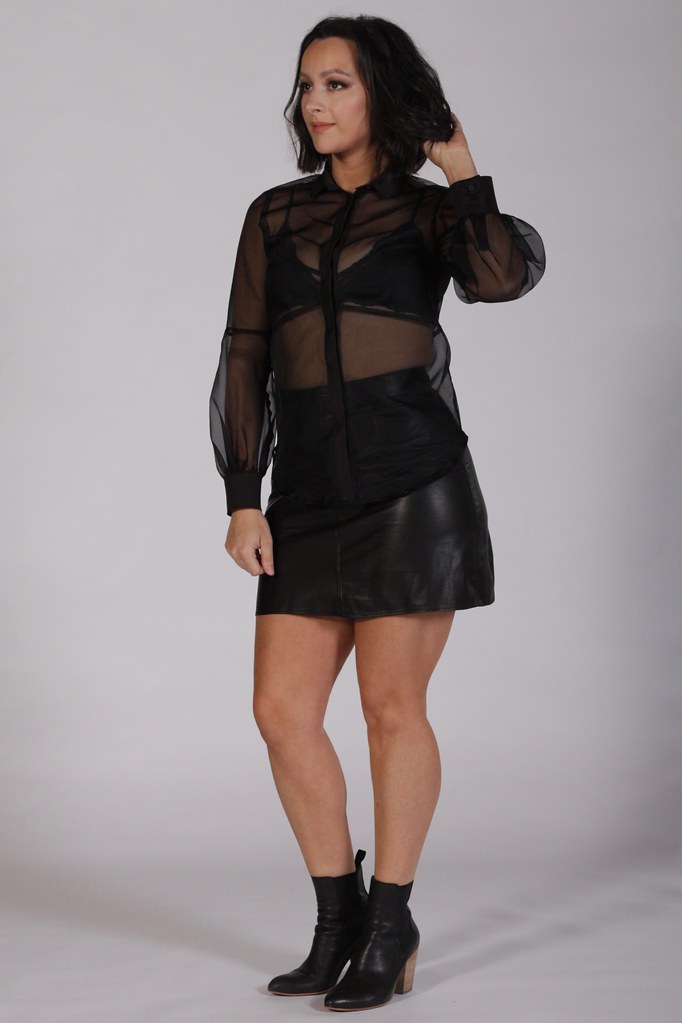
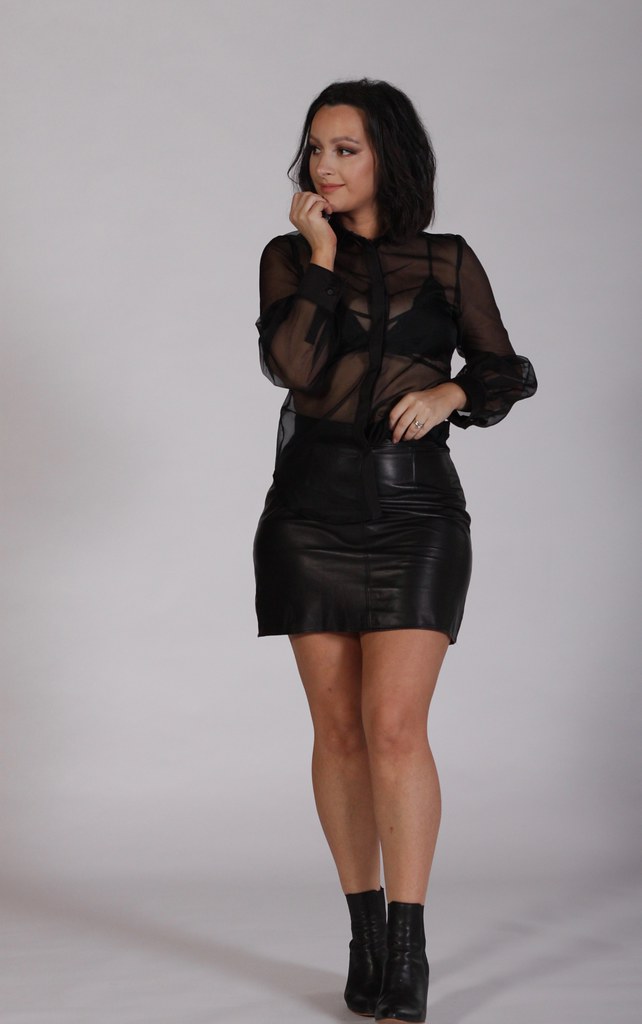
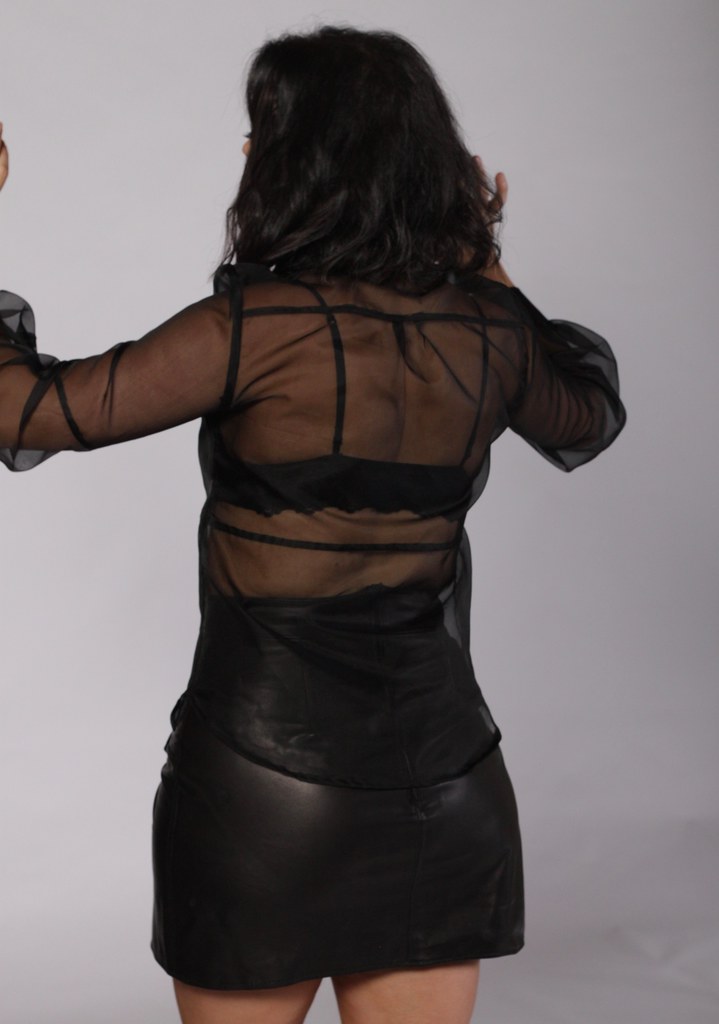
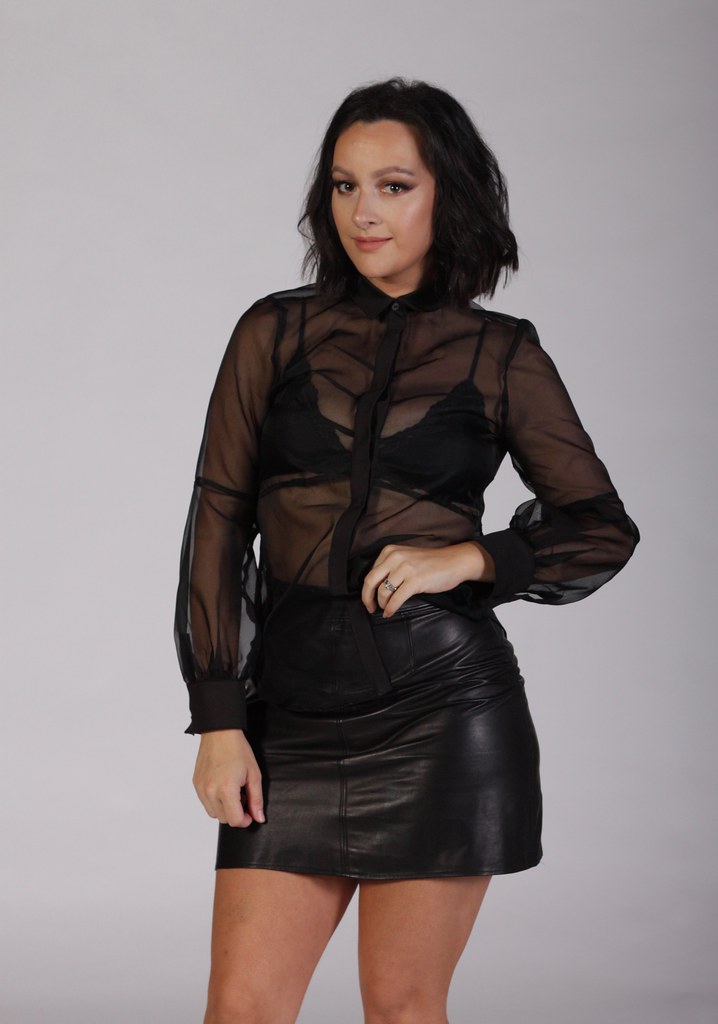
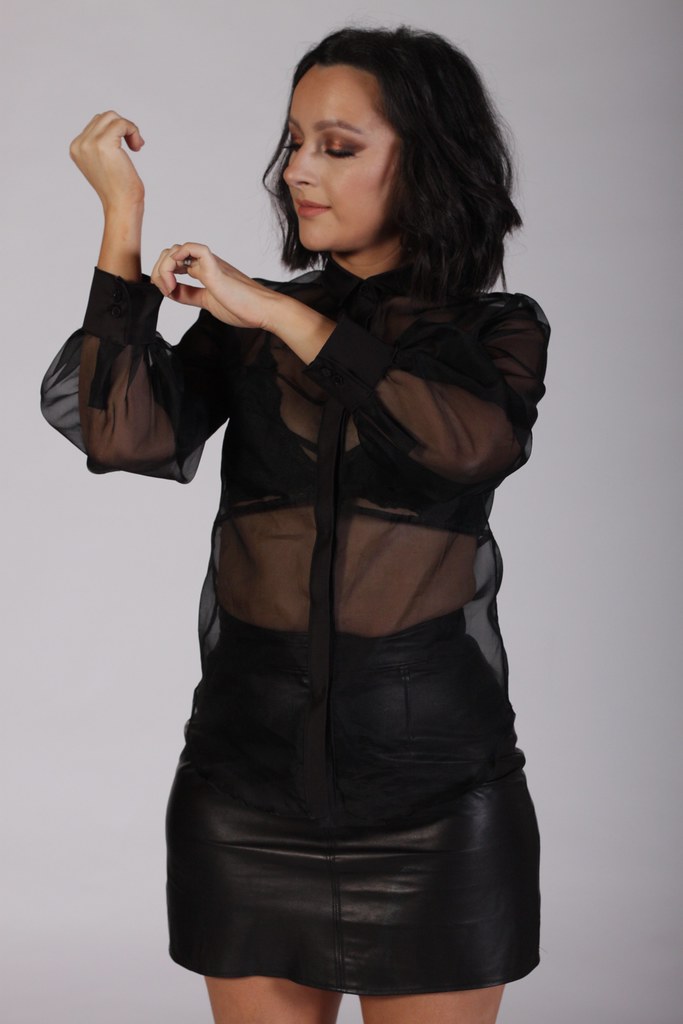
Silk Organza Transparent Blouse - BurdaStyle 04/2018 #105B

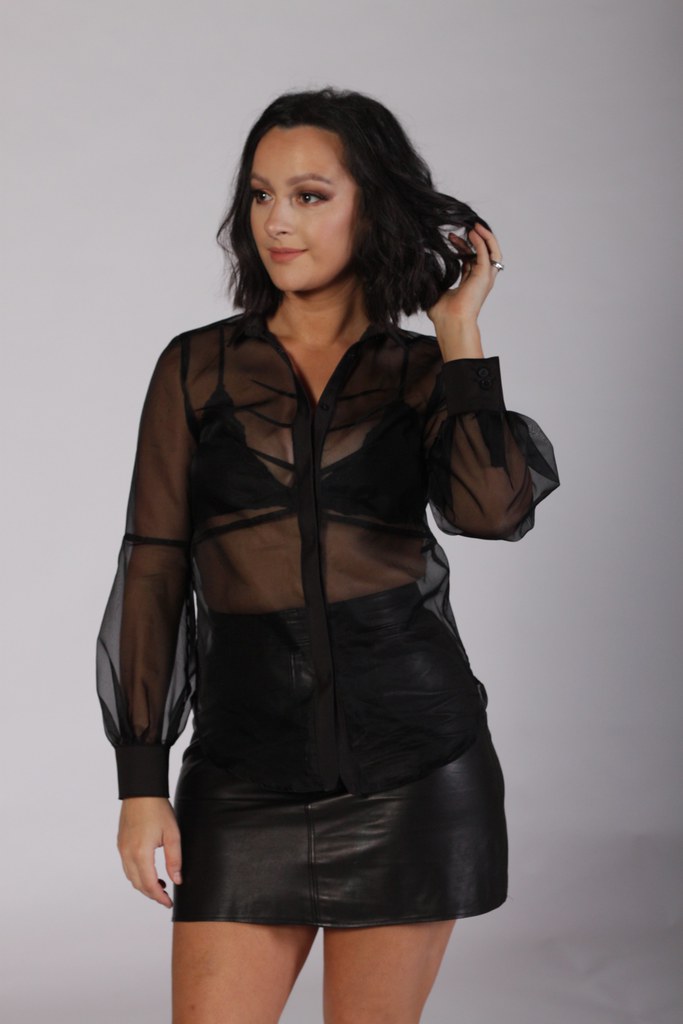
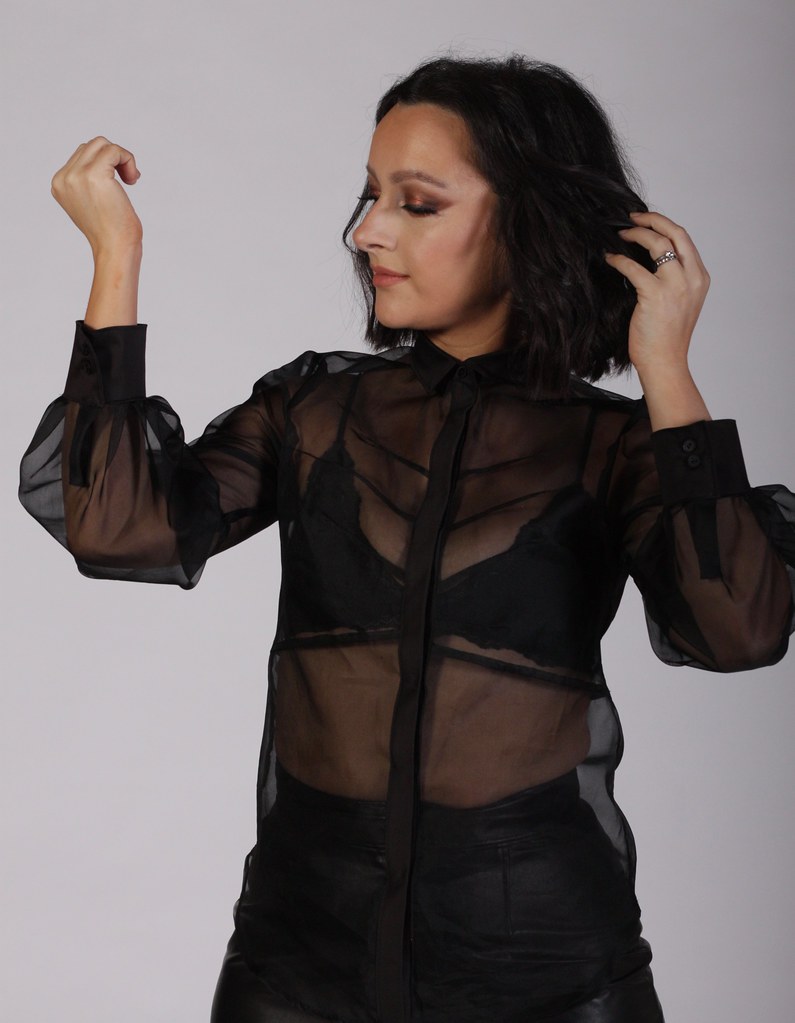
Julia Bobbin - Silk Organza Shirt

One day I'll stop making transparent clothing, but it is not. this. day.

HELLO!
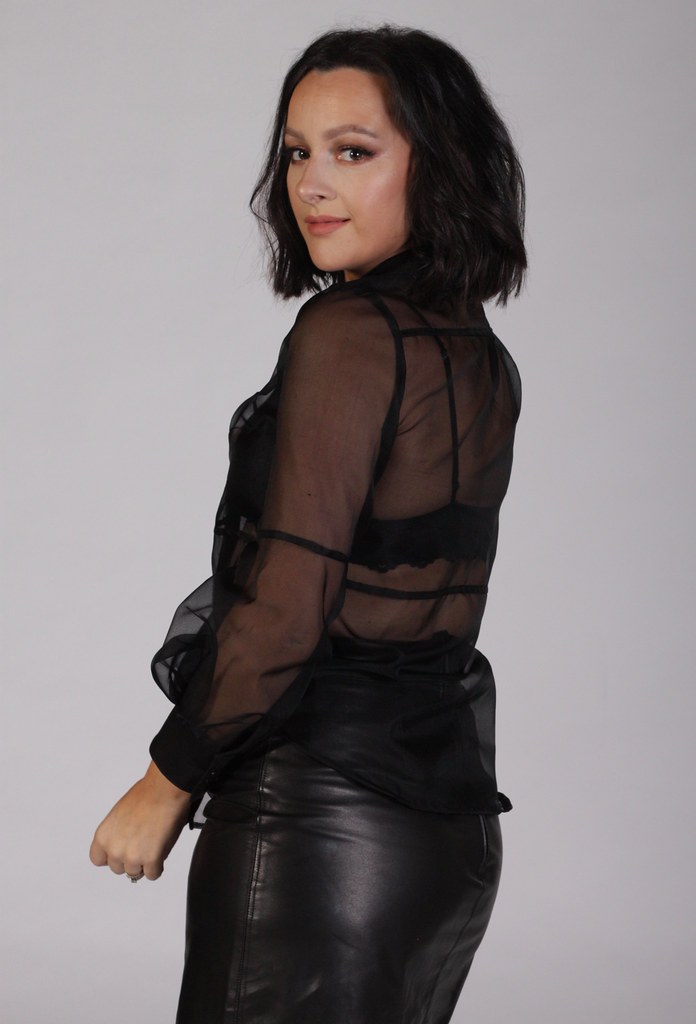
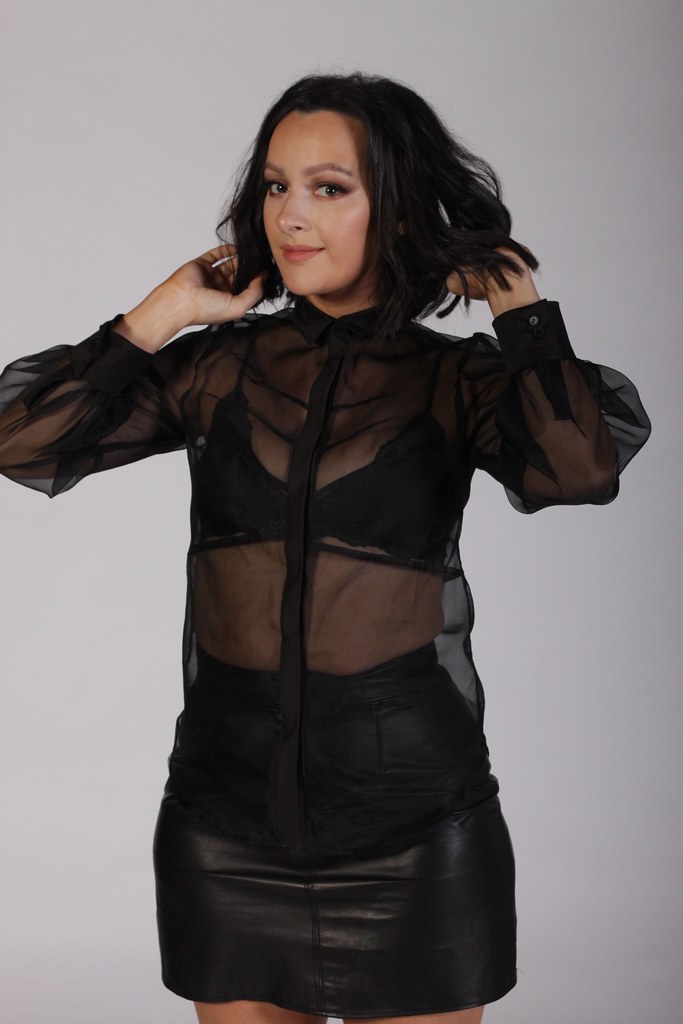
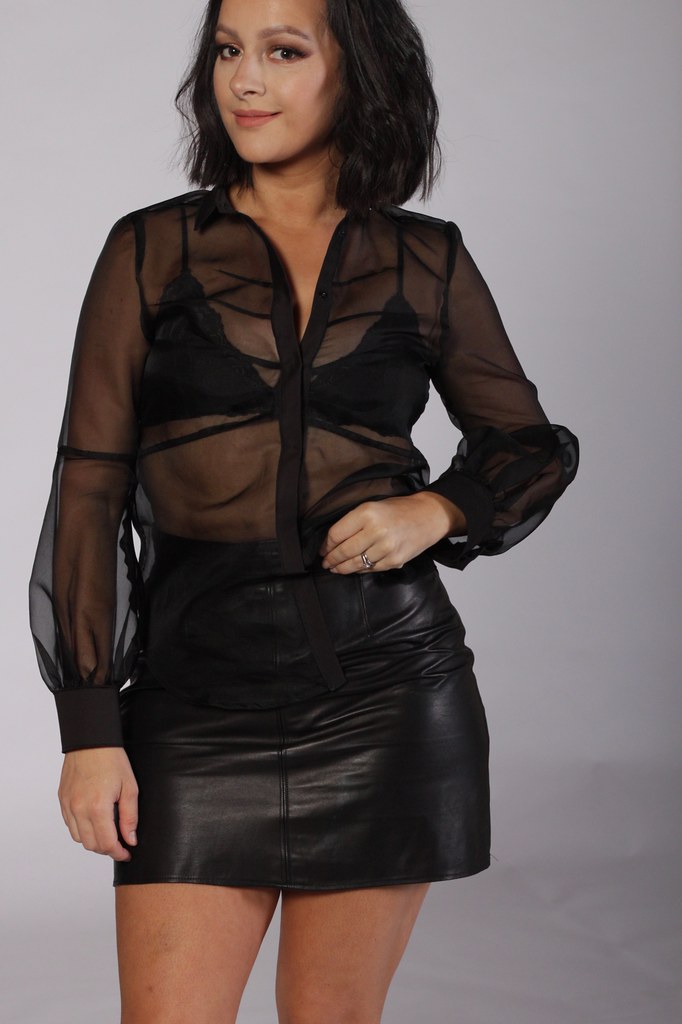
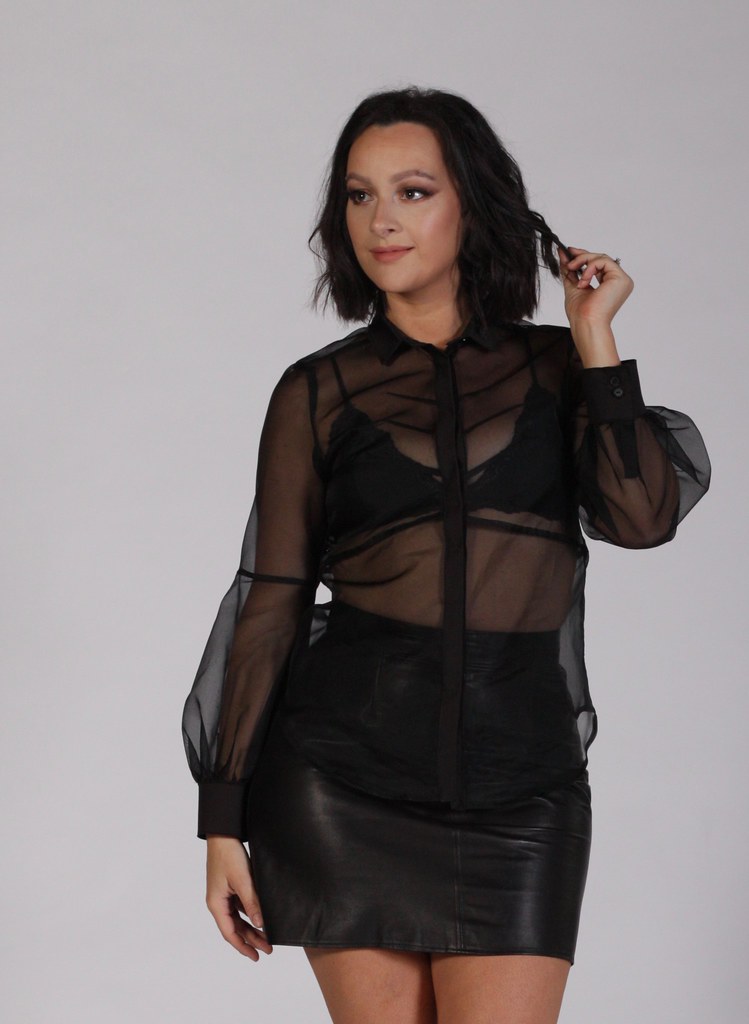
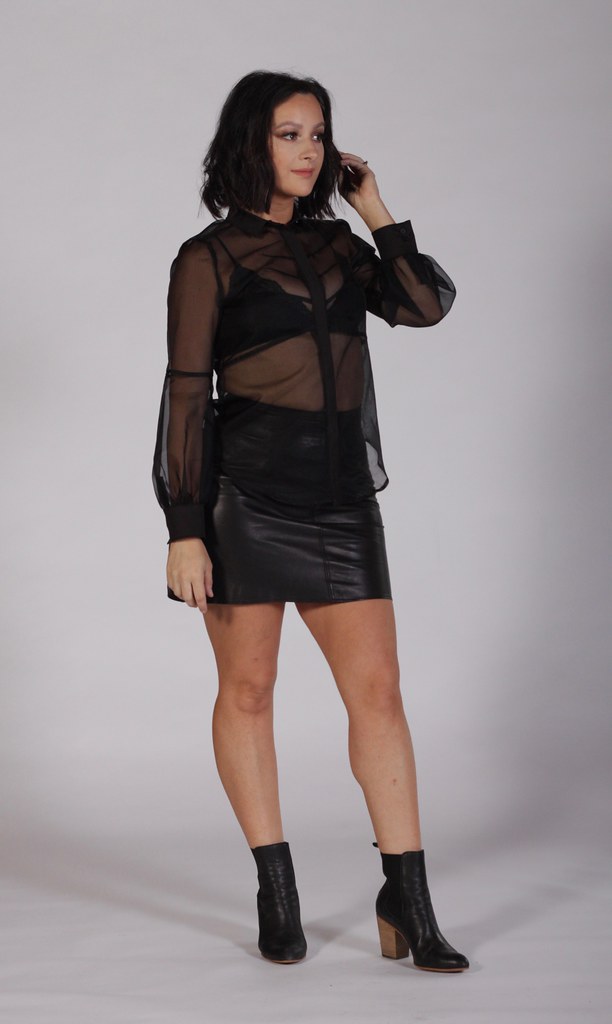
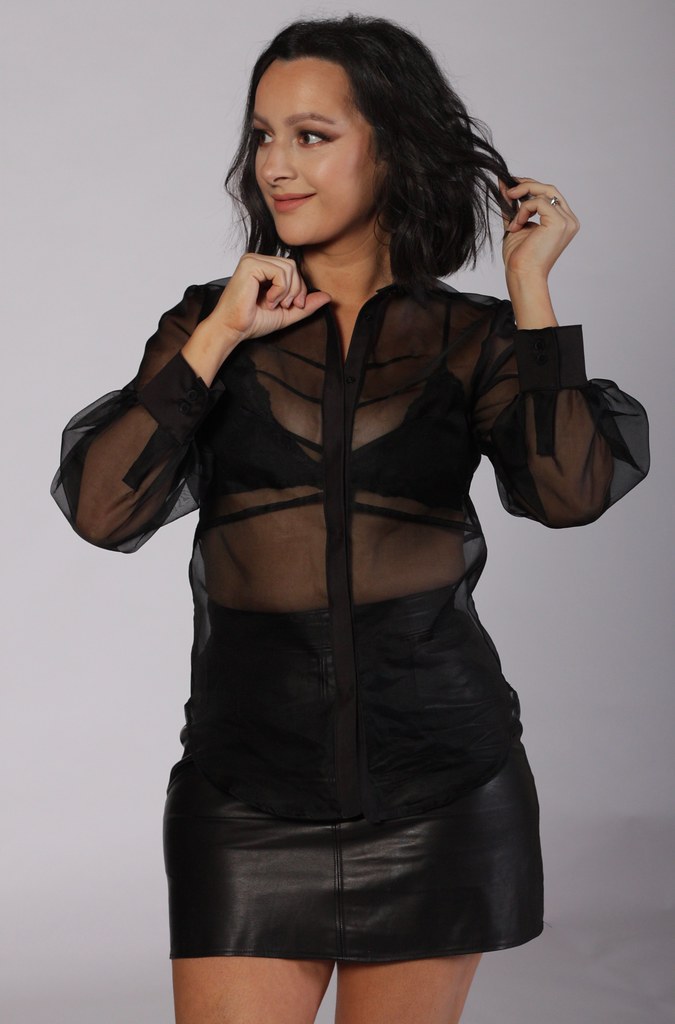
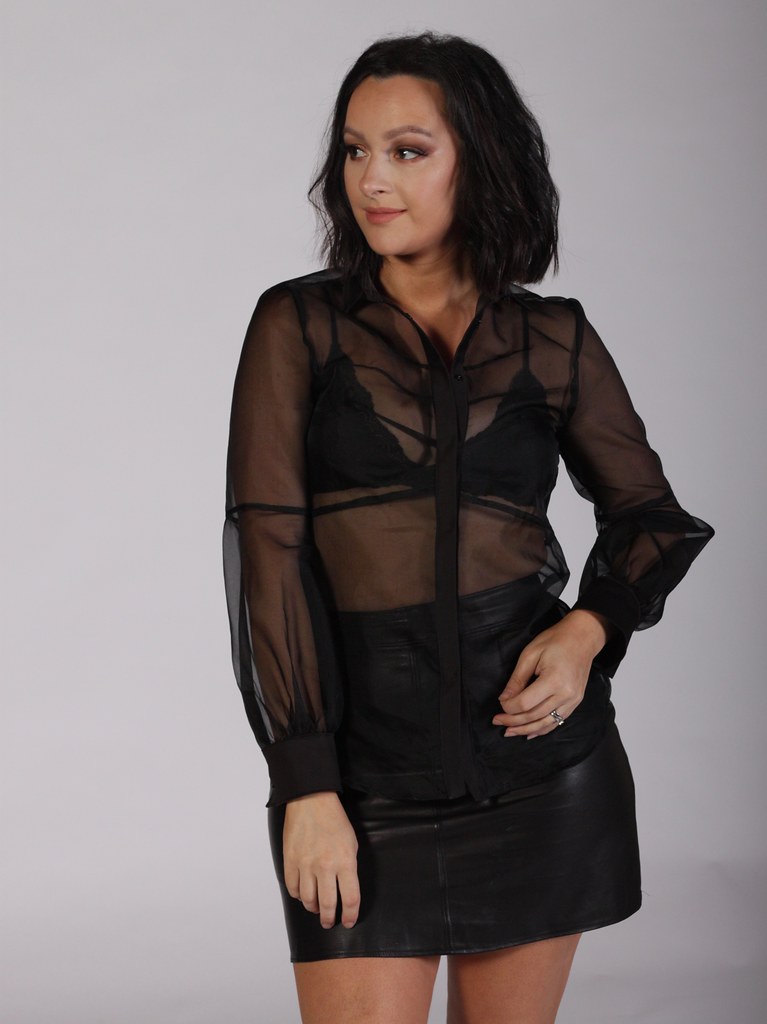
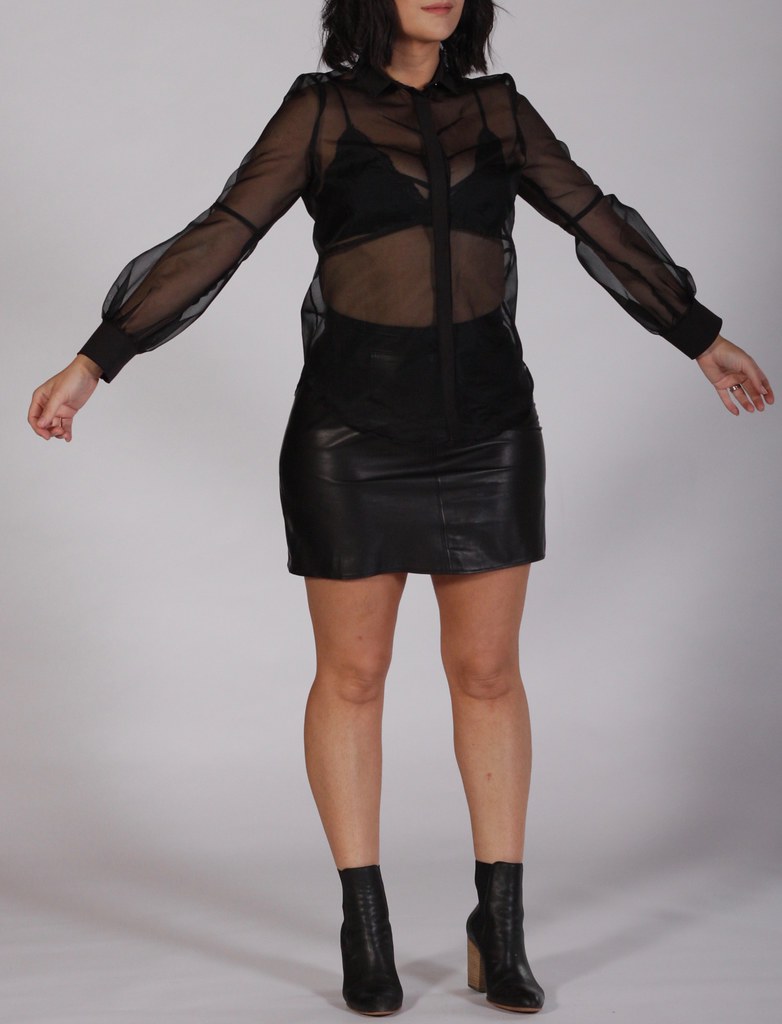
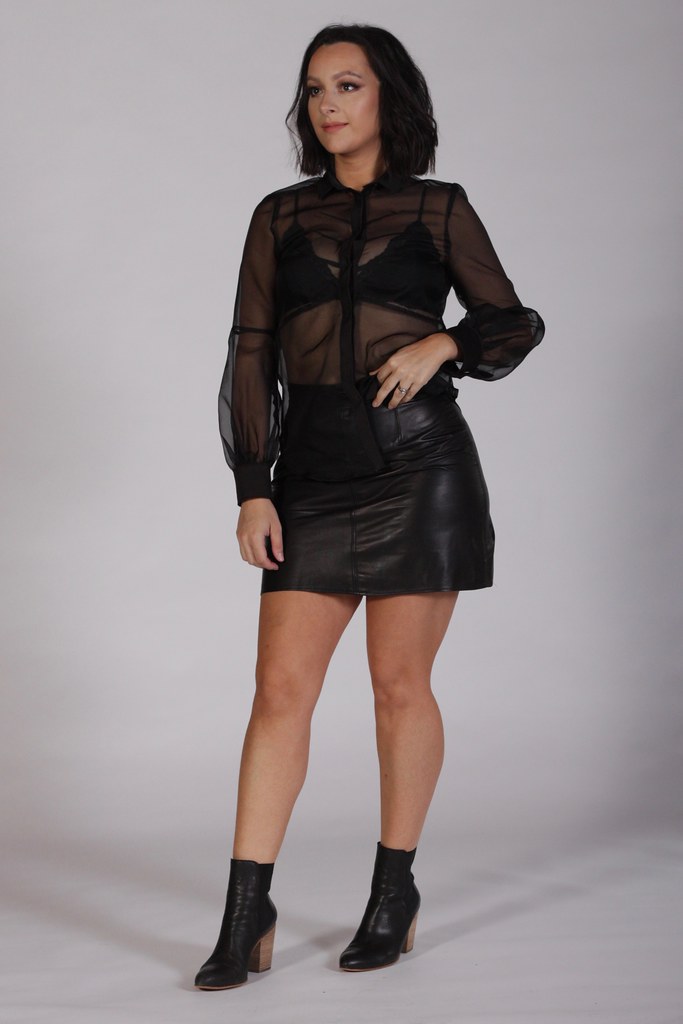
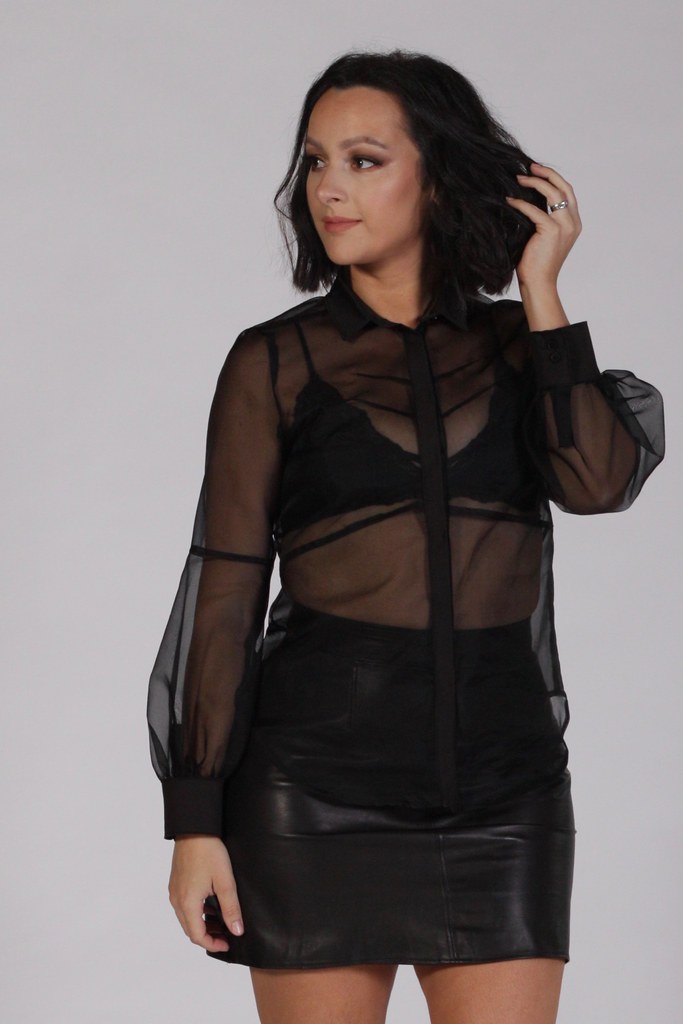
Just keeping it casual in this low-key look; my me-made silk organza blouse and me-made leather skirt. SO BASIC.

Julia Bobbin - Silk Organza Shirt

The Pattern

It's the Darted Sport Blouse by BurdaStyle, pattern #105B from their 04/2018 issue.

I cut a size 40 and it gave me just the right amount of ease to be fitted but not tight.  I find the BurdaStyle patterns run a bit on the smaller side, but the cut of their patterns always seems to work so well for me.

Julia Bobbin - Silk Organza Shirt

The Fabric

I made this blouse in a beautiful crisp black, silk organza from The Cloth Shop in Ivanhoe.
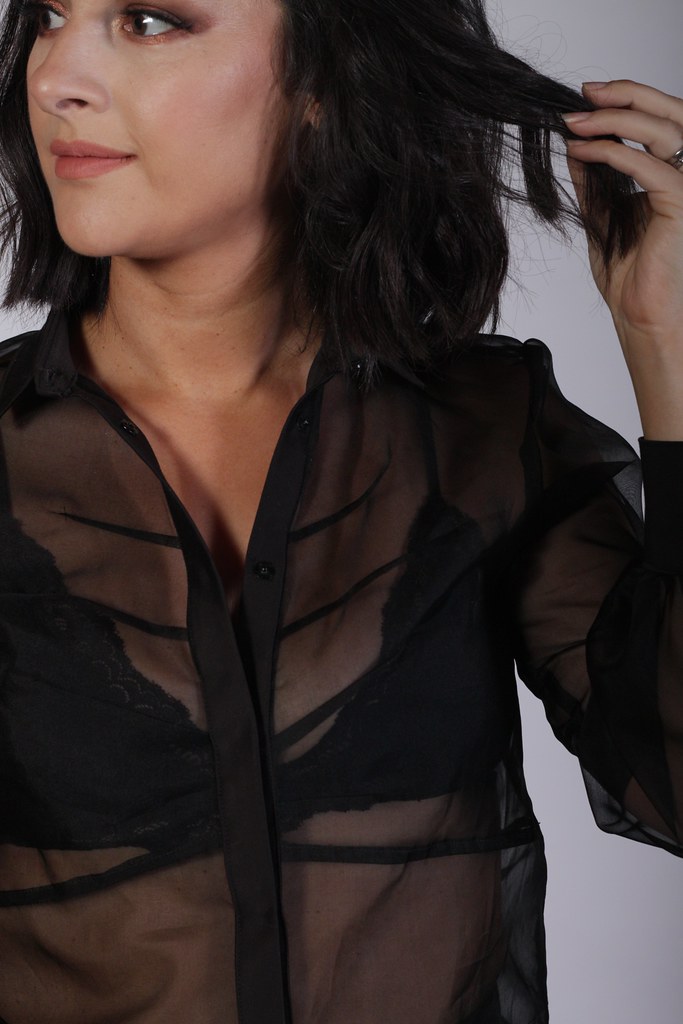
Silk organza is such a unique fabric with it's transparency and stiff texture. It is such a great fabric to play with volume.

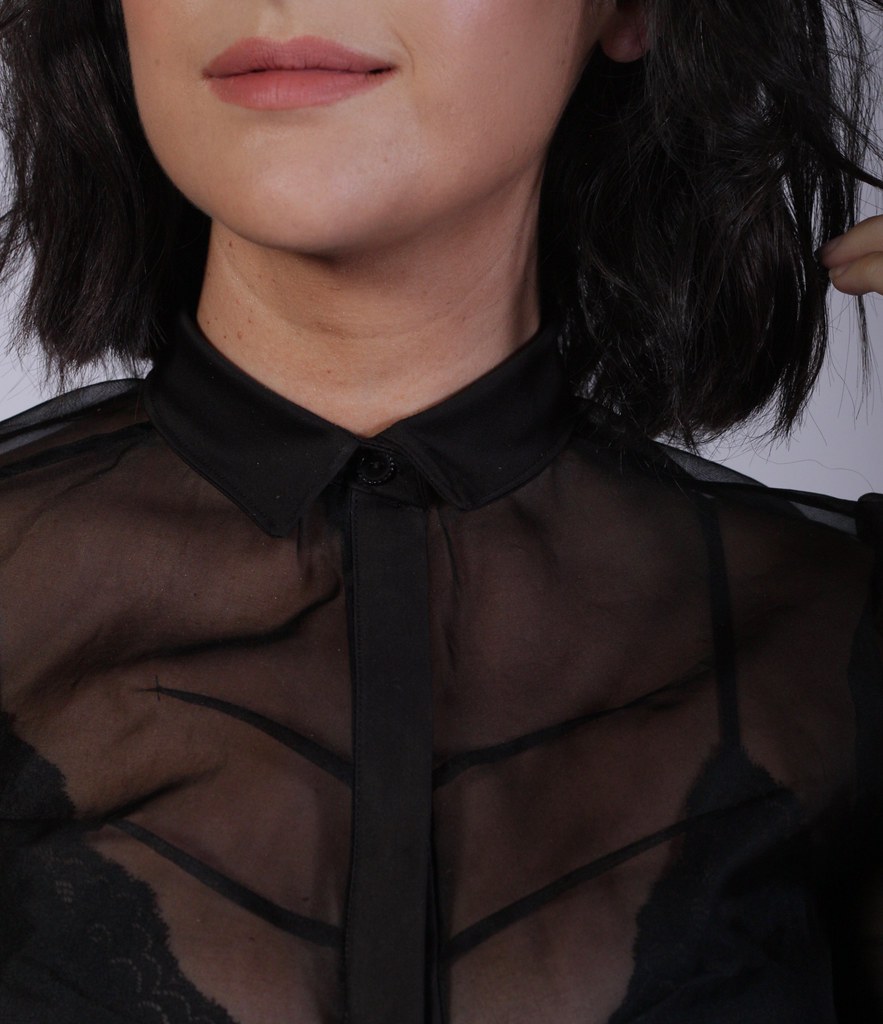
I used a solid black cotton sateen from Spotlight for the button band, collar and cuffs, which added a nice contrast to the organza.

I'm loving the 'transparent fashion' look at the moment, recently using a purple silk organza to make this fancy trench coat below:


Changes

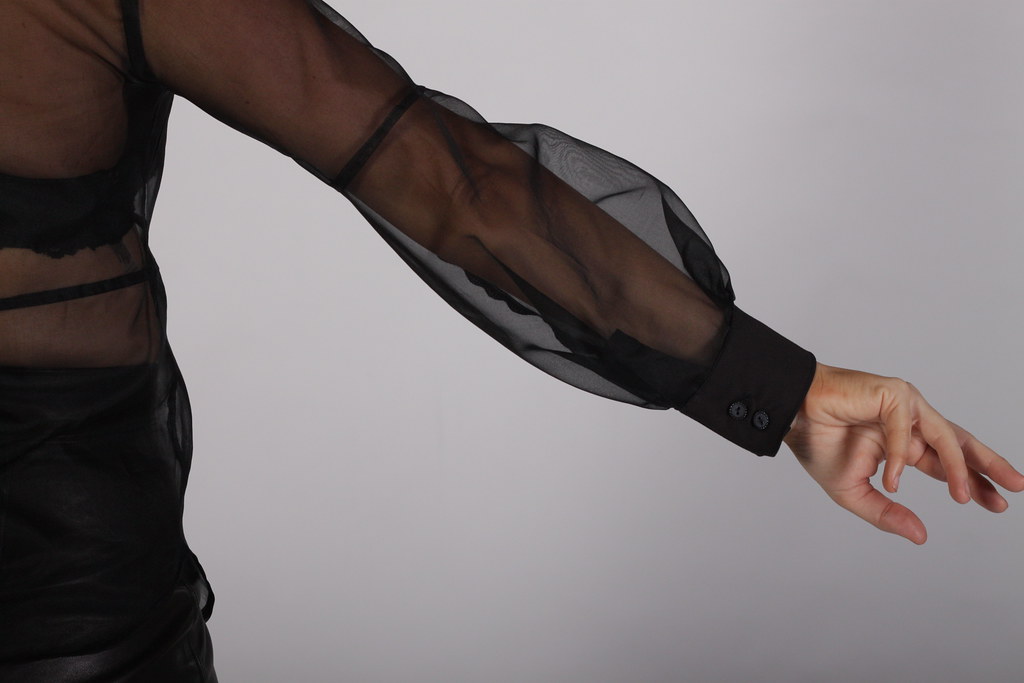
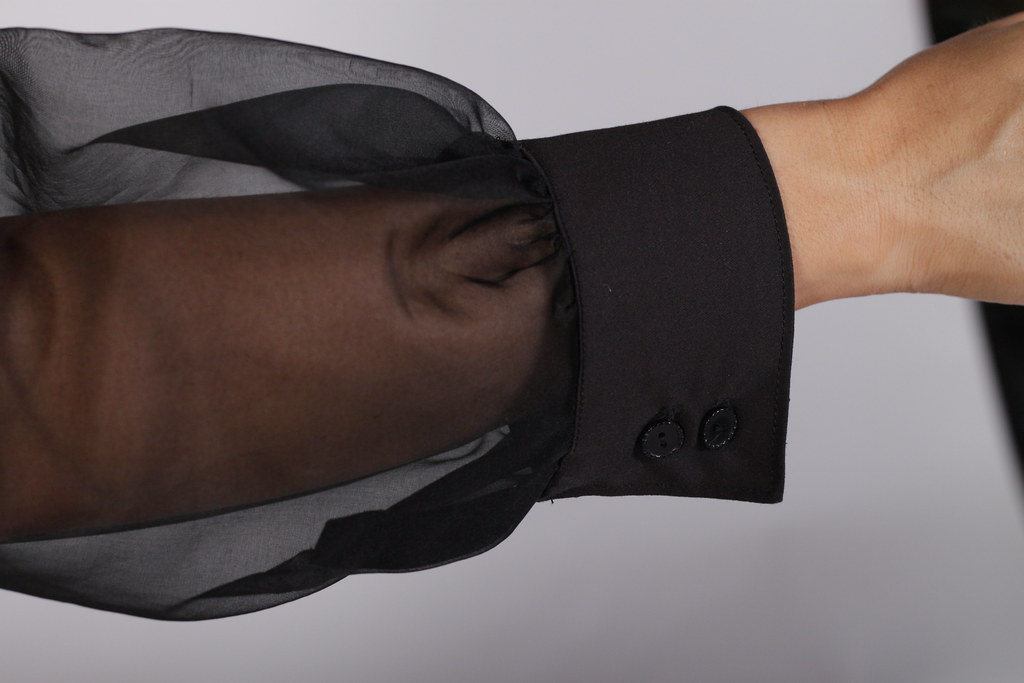
Full statement sleeves are all the rage at the moment and I'm a sucker for a fashion fad. The sleeves already had a bit of volume in the pattern, but I altered it to give even more volume. Because sometimes more is just MORE, OK?

FULLER SLEEVES - I drew three vertical lines through the pattern and cut from the bottom to the top, leaving a slight hinge in the paper at the top of the pattern. This ensured that the width of the pattern top remained the same.

I then spread out the pattern evenly and stuck it down to some paper. The bottom edge is gathered to fit the sleeve cuffs, so you can go as big as you want!


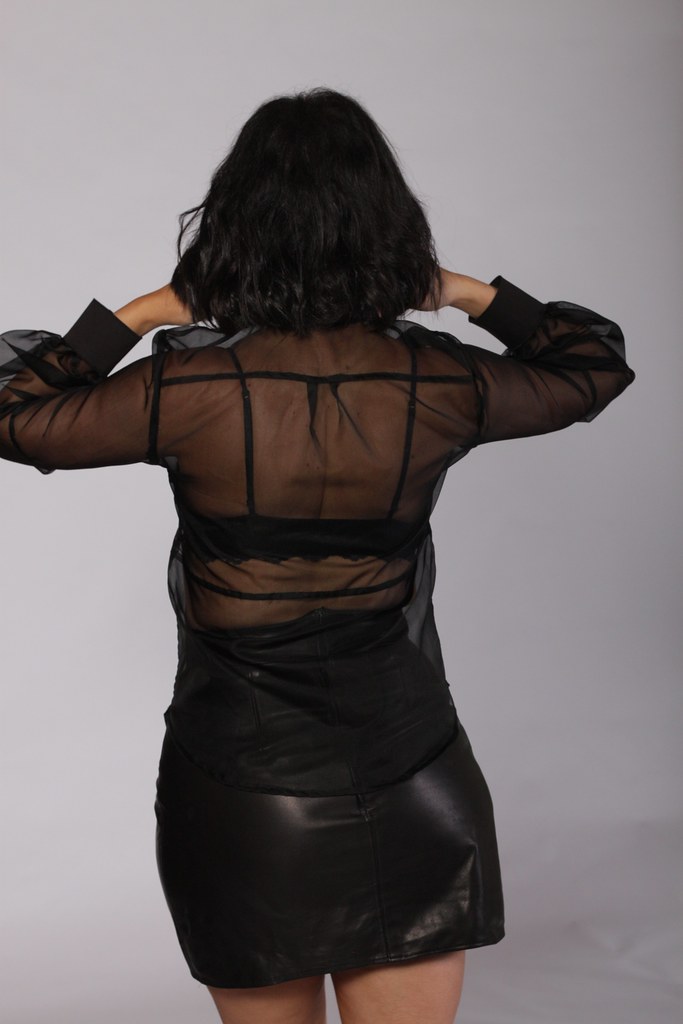
I FLAT FELLED my seams which kept the seams flat, and hid raw edges.
Overlocked seams would be more visible in this transparent shirt and I love how neat it made the shirt look on the inside.
The only exception was the armhole and sleeves seam, which I serged.

I decided to use a COTTON SATEEN FABRIC in a solid black for the collar, cuffs and centre-front closures in cotton sateen. I love how it contrasts with transparent organza, and gives it a bit of an edge.

I Finished the centre front with SNAP BUTTONS for a sleek look to the button band. The shirt already has so much detail and the hidden closures adds to the dressiness of the look.

I Used buttons and BUTTON HOLES on the cuffs (two each side) and for the collar. These areas receive the most tension so the buttons are appropriate, and it gives the shirt a little extra detail.

I didn't line the BACK YOKE.  The extra layer would have made that section darker, which I don't mind, but I didn't want to make the shirt too busy with the cotton sateen details already adding contrast. 

Julia Bobbin - Silk Organza Shirt

Love

I love the fullness of the lower half of the SLEEVES and how it contrasts with the slim upper sleeve.

The ANGLED DARTS on the bodice front are such a different and interesting way to add shape and design to this shirt.

I love the  CURVED HEM, which seems to be the perfect length on my frame.

The DOUBLE BUTTONS on the sleeve cuffs, adds that subtle bit of extra detail and is also very practical.

THAT FIT - I don't know what it is about BurdaStyle, but they just seem to suit my shape well. I rarely have to make major changes, and the fit seems to be well suited to my proportions. I don't claim to understand it but I love it

Julia Bobbin - Silk Organza Shirt


Tips

This sewing pattern is excellent and well drafted, but if you're looking for clear instructions on how to make it, you won't find it with this pattern.
I used the following online tutorials to make my sleeve plackets and collar, which I couldn't work out from the limited, unillustrated pattern instructions:

SLEEVE PLACKETS

COLLAR AND COLLAR STAND

Julia Bobbin - Silk Organza Shirt
Julia Bobbin - Silk Organza Blouse
Julia Bobbin - Silk Organza Shirt


Conclusion

This pattern is such a lovely design, and could be easily adapted for a slimmer sleeve if big bouncy forearms aren't your thing.

I love it in the silk organza, which would pair well with a camisole for a less conspicuous look.
They say the Melbourne uniform is 'all-black', and so this usually colourful girl is feeling suitably city proud in this get up.

With Christmas just around the corner I wanted to thank all my lovely readers for all your support and encouragement this year, and to wish you and yours a very merry and very safe festive season!!

Merry Christmas everyone!

Julia Bobbin - Silk Organza Shirt