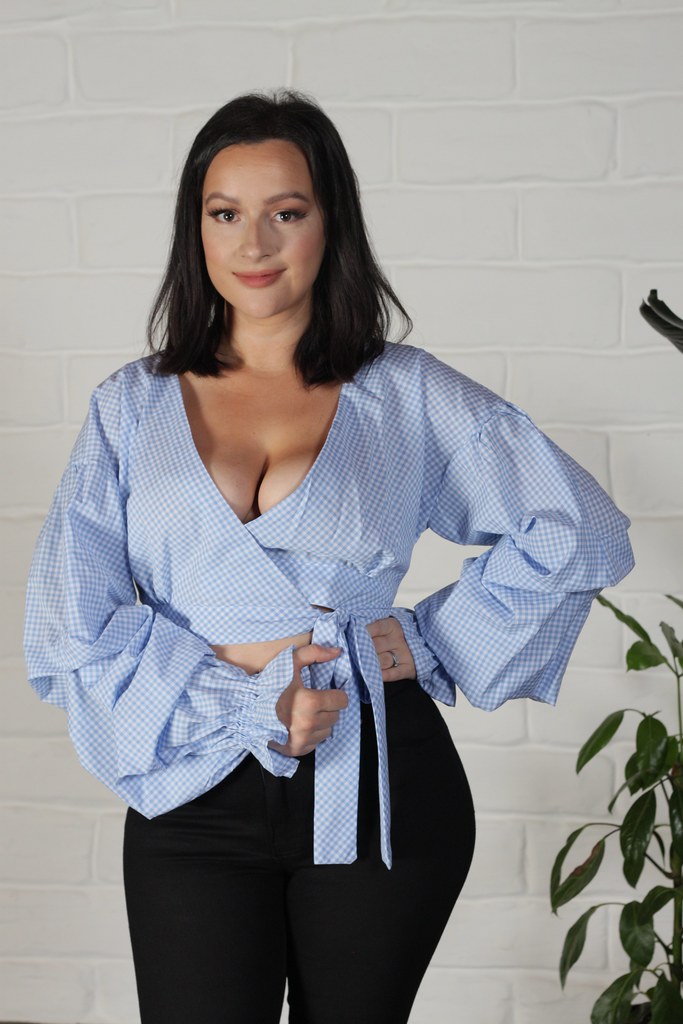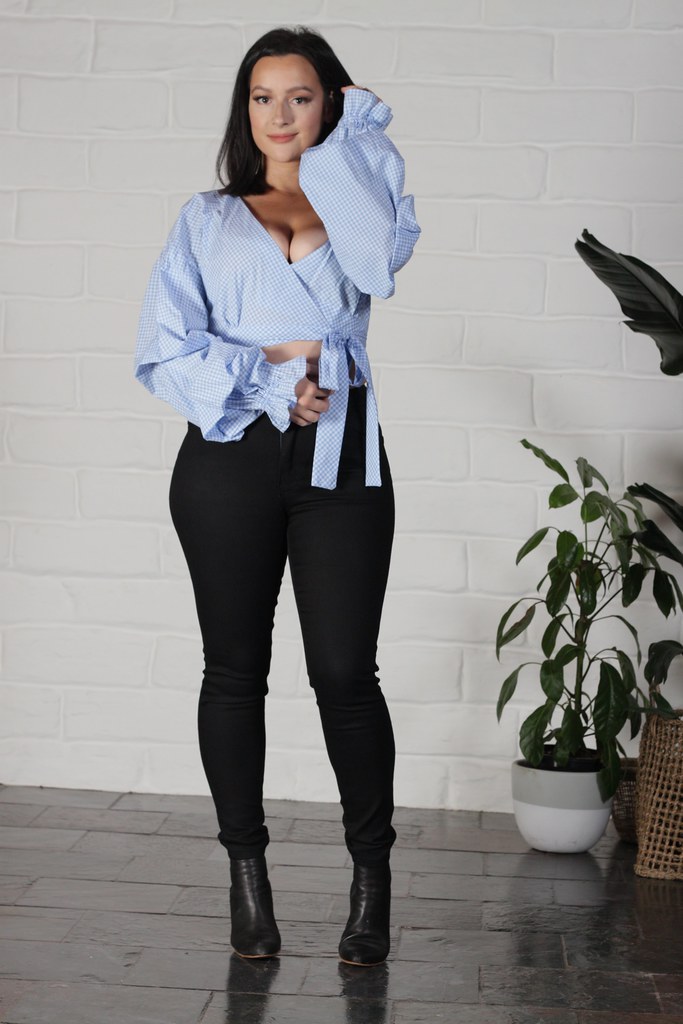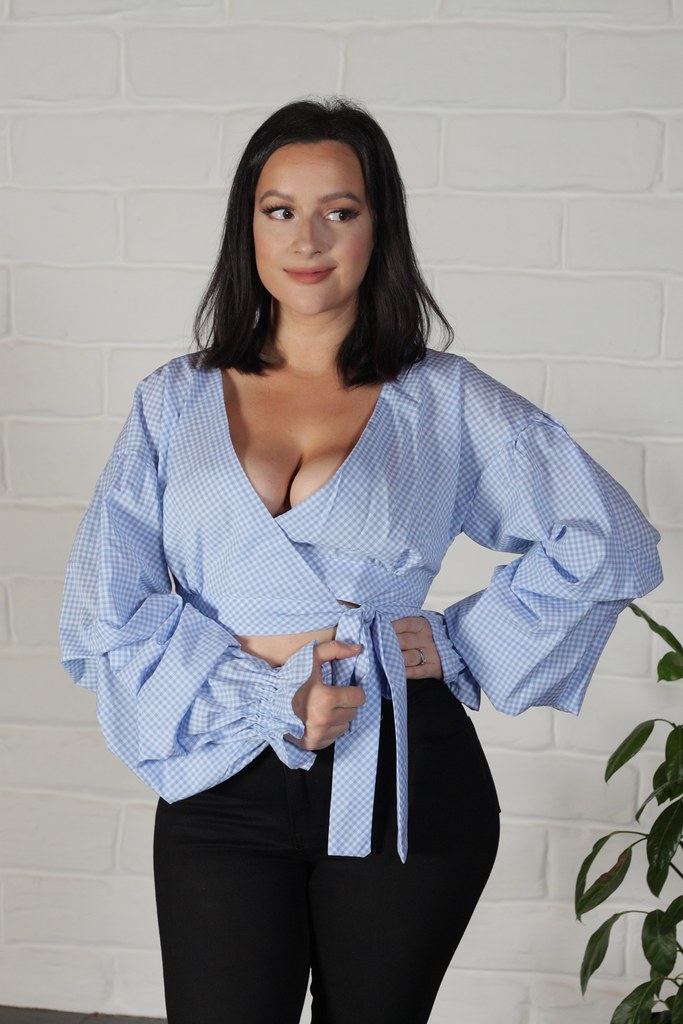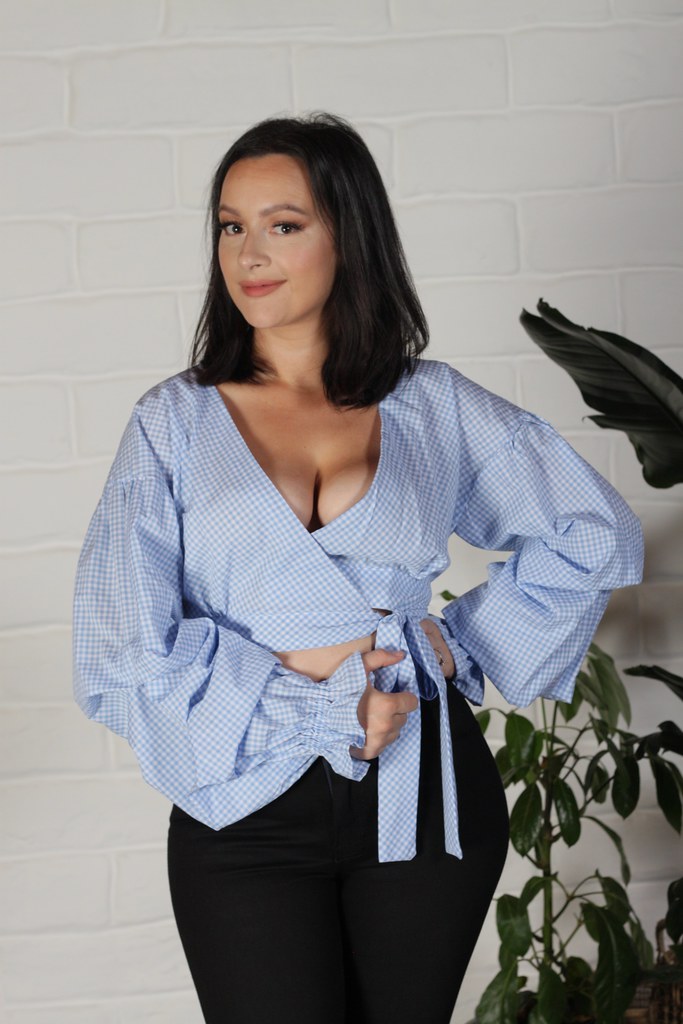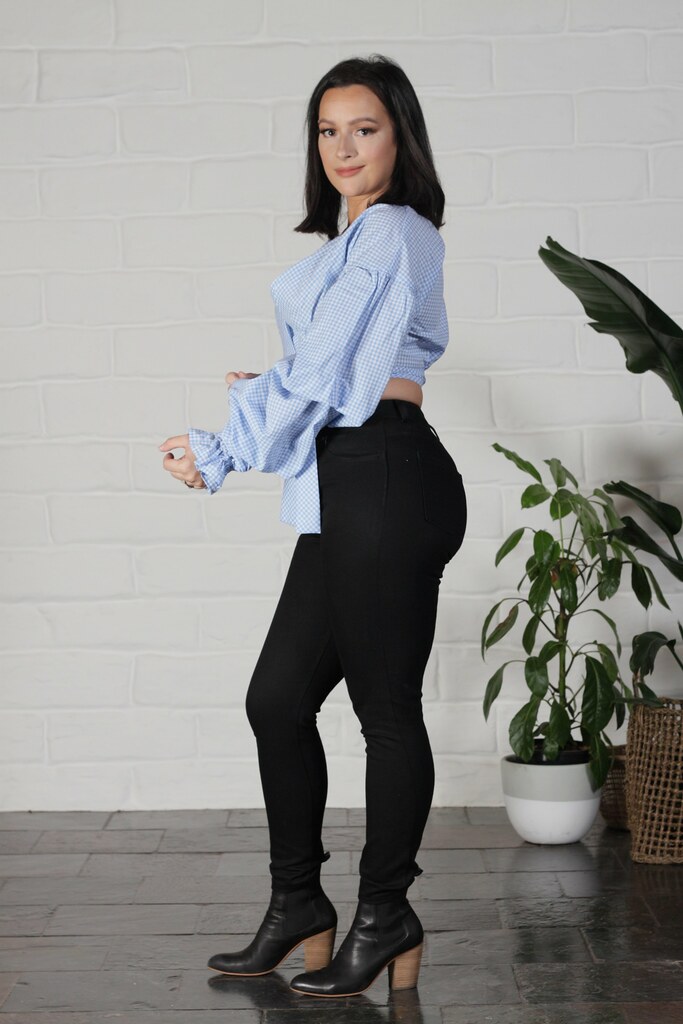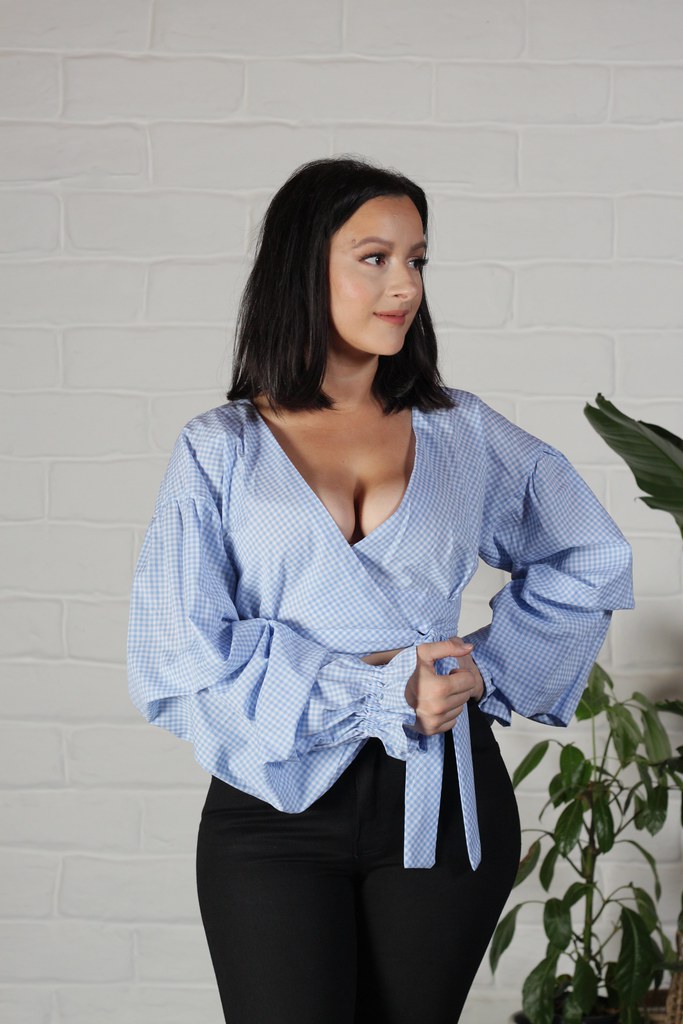


Hi friends, I interrupt my tailoring posts to bring you my silver jacket, which is actually sort of a tailoring post in disguise, because hand sewn buttonholes, friends. Hand sewn buttonholes! But more on that later.
Meet the shiny new addition to my wardrobe, the classic denim jacket. But with a silver twist!
This was an incredibly fun and rewarding project, and already in my top ten makes! It's versatile, trés-chic and just a little bit fancy. Let's get into it!
The Pattern
The denim jacket is simplicity #8845 by the perpetually stylish Mimi G and Norris Danta Ford.
It's sized XS-XL and I made a cropped version (more details below) in a size small.
Fabric
10oz bull denim from The Fabric Store in 'nickel'.
Jeans Buttons from Button Mania


Hand Sewn Buttonholes
If you've visited my instagram page recently, you may have noticed that I am head over heals for hand sewn buttonholes.
Legend has it, it takes 100 buttonholes before you master your first. As there are eleven buttonholes on this jacket (normally 12 but I shortened the length) I thought this would be a perfect jacket to practise this new skill on. I'm still well under 100, but I have made many more since this silver jacket, and I learn something new with each buttonhole I make!
To make my buttonholes I used:
- Gütermann agreman gimp
- Güterman silk buttonhole twist thread
Top Stitching
The top stitching really adds to this jacket, and I loved seeing how it made everything come together!
- I used the same thread (silk buttonhole twist) that I used for the buttonholes, but used a regular sew-all polyester thread in the bobbin. This makes it so much less likely for your machine to get jammed up with the thread, you just need to remember do all the top stitching from the right side up.
- I changed the stitch length to 2.8
- And finally I loosened the thread tension on machine.


Changes
The biggest change I made was to crop the jacket.
I cut along the waist line marking on the jacket front, and attached the waistband as normal at this new point.
Note: The waistline marking on the back is different to the front pieces which must be an error. Ignore the back markings and cut along the front, if you want to achieve the same length as I have.
Size
Because I shortened the pattern, I didn't have to worry about the jacket fitting my hips, so I cut a size small.
The style of this jacket is broader at the shoulders, and narrower at the hips, which is not a problem if you plan on wearing the jacket undone, but if you want the option of doing it up, you may want to adjust the pattern to allow extra room at the hips.
I plan on making this again in the regular length, however I would wear it undone so this wouldn't bother me.
The pattern has you fold under the seam allowance of the POCKET PIECE, and then attach it to the jacket front. The problem with this, is that when you lift up the pocket flap, you can see the raw edge. Instead of folding the pocket under, I overlocked the edges and it gave a lot cleaner and less bulky finish, and meant no raw edges poked through.
I also sewed the POCKET flap with only a 1cm allowance instead of the standard 1.5cm. This allowed it to slightly overlap the opening of the pocket. Without it, you are likely to see gaps at the side of the pockets, and it also means the top stitching of the flap and the pocket line up perfectly.

See how the pocket edge is flat and not folded under?

No raw edges poking through the opening.

Flaps cover the opening and the top stitching lines up.
Collars and Button Tabs
Normally, when we sew button tabs and collars, we sew two mirrored pieces together, right side to right side, and then turn them out.
Because this 10oz fabric is very thick and bulky, for small areas that have little stress on them but are more decorative, I do the following. I iron under the seam allowance of each piece to get nice sharp edges and points, and then top stitch them together. That way they don't get stretched, warped and bulky from being turned right side out. Made such a massive difference!

Seam allowances are folded under and then top stitched together. See how sharp and clean the edges and corners are?!!
Seam Finishings
I finished the seams with flat felled seams on the inside, with one exception. The horizontal seam where the jacket front meets the top yoke was too bulky in this fabric to flat fell, so I finished the seam with an overlocker and then top stitched into place as normal.

Final Thoughts
I love the oversized shape of this jacket with the dropped shoulders, and I especially love this in the cropped version, which makes it so versatile with so many things in my closet.
This is a great pattern by Mimi and Norris, and Norris has even filmed a step by step sew-a-long to walk you through the construction, which is super helpful.
I can see this pattern, and certainly this silver jacket, becoming a regular fixture of my makes and wardrobe.